Love this? Save it for later!
Share the inspiration with your friends
It was 10:47 PM on a random Wednesday in January, and I had that familiar, restless feeling—the one where you want something cozy and sweet but not the kind that leaves you feeling heavy and regretful. I didn’t have any fancy chocolate bars or heavy cream, but I had a half-empty container of good cocoa powder, some almond milk in the back of the fridge, and a bag of peppermint candies from the holidays that were staring at me from the pantry. Honestly, I almost talked myself out of it. But something about the quiet of the house and the cold rain tapping on the window made me think, “Why not just try something?”
So I grabbed my smallest saucepan, threw in the cocoa powder, and started experimenting. I figured if it turned out terrible, no one would know. The first sip was a little thin, so I added a splash more milk. Then it was too sweet, so I balanced it with a pinch of salt. And then—this is the part that still makes me smile—I crushed up a few of those peppermint candies with the bottom of a measuring cup and stirred them in. The kitchen smelled like a holiday memory, but it was a random January night, and I was in my pajamas. Maybe you’ve been there, standing in your kitchen at a weird hour, chasing a craving that doesn’t quite have a name yet.
That night, I made a mess, used the wrong spoon, and burned my tongue on the first taste. But I also made something that felt like a warm hug without the sugar crash. This cozy peppermint hot cocoa bar is what came out of that late-night experiment—a lighter, more mindful version of the classic winter drink. It’s not about deprivation. It’s about having your cozy moment and feeling good about it afterward. That’s why I keep making it, even months later, on quiet nights when I just need something that tastes like comfort but treats my body kindly.
Why You’ll Love This Recipe
This isn’t just another hot cocoa recipe. After testing this dozens of times (and yes, a few flops along the way), I can tell you this version hits all the right notes without the usual guilt. Here’s why it works:
- Quick & Easy: From start to finish, you’re looking at about 10 minutes. Perfect for those evenings when you want something warm and cozy but don’t want to spend an hour in the kitchen.
- Simple Ingredients: No need for a specialty grocery run. You probably already have cocoa powder, milk, and a sweetener in your pantry. The peppermint is optional but highly recommended.
- Perfect for Cozy Nights: Whether it’s a snowy evening, a rainy afternoon, or just a Tuesday that needs a little pick-me-up, this drink fits the mood.
- Crowd-Pleaser: I’ve served this at gatherings and watched even the pickiest friends go back for seconds. Kids love the peppermint crunch, adults love the balanced sweetness.
- Unbelievably Delicious: The trick is in the technique—blending the cocoa powder with a tiny bit of hot water first to make a paste. This prevents clumps and gives you that silky, rich texture without needing heavy cream.
What makes this different from every other hot cocoa recipe out there is the balance. It’s not watery, but it’s not a calorie bomb either. The peppermint adds a fresh, bright note that cuts through the richness, so you feel satisfied with one cup instead of needing three. I’ve had friends tell me it’s the best hot cocoa they’ve ever had, and when I tell them it’s “lighter,” they don’t believe me. That’s the kind of reaction that makes a recipe worth keeping.
This recipe is comfort food reimagined—healthier, faster, but with the same soul-soothing satisfaction. It’s perfect for impressing guests without stress, or turning a simple evening into something memorable. Honestly, it’s the kind of drink that makes you close your eyes after the first sip.
What Ingredients You Will Need
This recipe uses simple, wholesome ingredients to deliver that rich, indulgent flavor without the fuss. Most of these are pantry staples, so you likely have everything on hand already.
- Unsweetened cocoa powder – 2 tablespoons (I prefer Ghirardelli or Hershey’s Special Dark for a deeper chocolate flavor)
- Milk of your choice – 1 ½ cups (I use unsweetened almond milk for a lighter option, but oat milk makes it creamier, and whole milk works beautifully too)
- Maple syrup or honey – 1 to 2 tablespoons, depending on how sweet you like it (maple syrup adds a lovely warmth that pairs well with peppermint)
- Vanilla extract – ½ teaspoon (pure vanilla extract makes a noticeable difference over imitation)
- Pinch of sea salt – just a tiny one (this balances the sweetness and deepens the chocolate flavor)
- Peppermint extract – ¼ teaspoon (start with less and add more to taste—it’s potent!)
- Crushed peppermint candies or candy canes – 2 tablespoons, for garnish (optional but highly recommended for that festive crunch)
- Optional toppings: Light whipped cream, mini marshmallows, dark chocolate shavings, or a sprinkle of cinnamon
Ingredient Tips: For the best texture, use a high-quality cocoa powder. Dutch-processed cocoa gives a smoother, less acidic flavor, but regular unsweetened cocoa works just fine. If you’re using a plant-based milk, go for an unsweetened variety so you can control the sweetness. I’ve tested this with oat milk, and it’s incredibly creamy—perfect for those who want a dairy-free option without sacrificing richness.
Substitutions: Need it sugar-free? Use a monk fruit sweetener or stevia drops. Want it extra indulgent? Swap the almond milk for half-and-half. No peppermint extract? Steep a peppermint tea bag in the warm milk for 5 minutes before adding the cocoa—it’s a clever trick that works surprisingly well.
Equipment Needed
You don’t need a fancy setup for this recipe. Here’s what you’ll need:
- Small saucepan – A 1.5 to 2-quart saucepan works perfectly. I’ve used my trusty Calphalon for years, but any non-reactive pan (stainless steel or enameled) will do.
- Whisk – A small wire whisk is ideal for smoothing out the cocoa paste. A fork works in a pinch, but you’ll have to work a little harder.
- Measuring spoons – For accuracy, especially with the peppermint extract. A little goes a long way.
- Liquid measuring cup – For the milk. A glass one with clear markings is my preference.
- Small bowl – For mixing the cocoa paste before adding the milk.
- Mug or heatproof glass – For serving. A clear glass mug shows off the beautiful color and peppermint garnish.
- Ziplock bag and rolling pin (or mortar and pestle) – For crushing the peppermint candies. I’ve used the bottom of a heavy skillet in a pinch—works like a charm.
Budget-Friendly Tip: If you don’t have a whisk, use a fork. If you don’t have a saucepan, a microwave-safe bowl works—just heat the milk in 30-second intervals and whisk between each. I’ve made this in a hotel room with a coffee maker and a ceramic mug. Where there’s a will, there’s hot cocoa.
Preparation Method
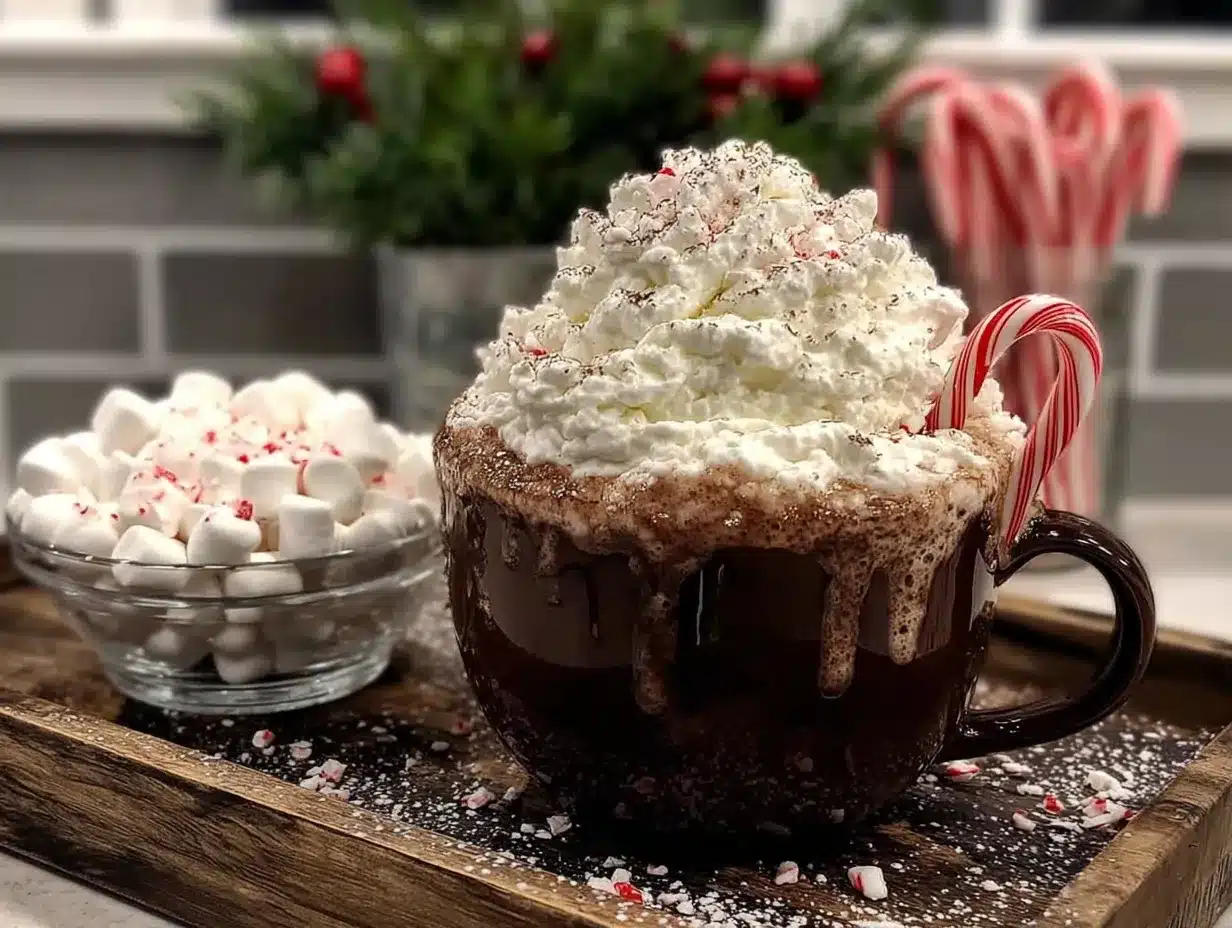
- Make the cocoa paste. In a small bowl, combine 2 tablespoons of unsweetened cocoa powder with 2 tablespoons of hot water. Whisk until smooth. This step is crucial—it prevents the cocoa from clumping when you add it to the milk. The paste should look like a thick, dark chocolate sauce. If it’s too thick, add another teaspoon of water.
- Heat the milk. Pour 1 ½ cups of your chosen milk into a small saucepan. Heat over medium-low heat, stirring occasionally. You want it steaming but not boiling—about 3 to 4 minutes. If you see bubbles forming around the edges, you’re right on track. Boiling can scorch the milk and ruin the flavor.
- Combine the paste and milk. Once the milk is warm, add the cocoa paste to the saucepan. Whisk continuously until fully incorporated. This should take about 30 seconds. The mixture will turn a rich, even brown. If you see any lumps, keep whisking—they’ll break up.
- Add the sweetener and flavorings. Stir in 1 to 2 tablespoons of maple syrup or honey, ½ teaspoon of vanilla extract, and a tiny pinch of sea salt. Whisk to combine. Taste it here—this is your chance to adjust. Want it sweeter? Add another teaspoon of maple syrup. Want it more chocolatey? Add a pinch more cocoa powder.
- Add the peppermint. Remove the saucepan from heat. Stir in ¼ teaspoon of peppermint extract. Start with less—you can always add more, but you can’t take it out. The peppermint should be a background note, not overpowering. Whisk gently until combined.
- Prepare the garnish. While the cocoa is heating, place 2 tablespoons of peppermint candies in a ziplock bag. Seal it, then gently crush them with a rolling pin or the bottom of a heavy pan. You want a mix of fine dust and small chunks for texture. Be careful not to overdo it—you don’t want powder.
- Serve immediately. Pour the hot cocoa into your favorite mug. Top with a dollop of light whipped cream (if using) and a generous sprinkle of crushed peppermint. For an extra touch, add a few dark chocolate shavings or a mini candy cane as a stirrer. Serve warm and enjoy immediately.
Pro tip: If you’re making this for a crowd, you can double or triple the recipe. Just use a larger saucepan and keep the heat low. The cocoa paste can be made ahead and stored in the fridge for up to 3 days—just whisk it into warm milk when you’re ready.
Cooking Tips & Techniques
I’ve made this recipe more times than I can count, and I’ve learned a few things the hard way. Here are the tips that make the difference between “good” cocoa and “I can’t stop drinking this” cocoa.
Don’t skip the paste step. I know it seems like an extra dish to wash, but it’s non-negotiable. I once tried to be lazy and dumped the cocoa powder directly into the milk. The result was a grainy, clumpy mess that no amount of whisking could fix. The paste ensures a silky smooth texture every time.
Watch your heat. Milk burns easily, especially plant-based milks. Keep the heat at medium-low and stir frequently. If you see steam rising, you’re good. If you see bubbles, you’re close to boiling. I’ve ruined a batch by walking away for “just a second”—don’t be me.
Taste as you go. Everyone’s sweetness preference is different. I like mine on the less sweet side, so I start with 1 tablespoon of maple syrup. My sister likes hers sweeter, so she adds the full 2 tablespoons. The same goes for peppermint—start small and build up. You can always add more, but you can’t undo it.
Crush the candies just before serving. If you crush them too early, they’ll absorb moisture from the air and get sticky. I learned this when I prepped them an hour ahead and ended up with a clumpy mess. Freshly crushed is best.
Use room temperature milk. Cold milk takes longer to heat, which can lead to uneven temperature and a longer cooking time. Let your milk sit on the counter for 10 minutes before you start. It’s a small step that makes a difference.
Variations & Adaptations
One of the best things about this recipe is how easy it is to adapt. Here are some of my favorite variations:
- Dairy-Free Delight: Use unsweetened oat milk or coconut milk for a creamy, dairy-free version. Oat milk is my go-to—it’s naturally sweet and has a lovely thickness. Coconut milk adds a subtle tropical note that pairs surprisingly well with peppermint.
- Extra Creamy: Replace half the milk with canned coconut cream or half-and-half. This turns it into a truly decadent treat, perfect for special occasions. Just be mindful of the calorie bump.
- Spiced Peppermint Cocoa: Add a pinch of cinnamon, a tiny pinch of nutmeg, and a dash of cayenne pepper along with the cocoa powder. The warmth of the spices complements the peppermint beautifully. I tried this on a whim one cold evening and it’s now my winter favorite.
- Mocha Twist: Add 1 shot of espresso or 2 tablespoons of strong brewed coffee along with the milk. The coffee deepens the chocolate flavor without making it taste like coffee. It’s perfect for an afternoon pick-me-up.
- White Chocolate Peppermint: Swap the cocoa powder for 2 ounces of melted white chocolate. Stir it into the warm milk until smooth, then add the peppermint extract. It’s sweeter and creamier—a real treat.
- Kid-Friendly Version: Omit the peppermint extract and use a peppermint tea bag steeped in the warm milk for 5 minutes. It gives a very mild flavor that kids love. Top with lots of mini marshmallows.
I’ve tried all of these, and honestly, I can’t pick a favorite. The spiced version is my go-to on snowy days, while the mocha twist gets me through mid-week slumps. Don’t be afraid to experiment—that’s half the fun.
Serving & Storage Suggestions
This hot cocoa is best enjoyed fresh, but I’ve got you covered if you need to prep ahead or have leftovers.
Serving: Serve immediately in your favorite mug. The peppermint garnish should be added just before serving to keep its crunch. For a fun presentation, set up a small hot cocoa bar with bowls of toppings: crushed peppermint, mini marshmallows, dark chocolate shavings, cinnamon sticks, and whipped cream. Let everyone customize their own cup. It’s perfect for parties, movie nights, or just a cozy evening at home.
Storage: Leftover hot cocoa can be stored in an airtight container in the refrigerator for up to 3 days. The flavors actually meld together overnight, making it even better the next day. Just keep the garnishes separate until you’re ready to serve.
Reheating: Pour the cocoa into a small saucepan and warm over low heat, whisking occasionally. Do not boil. You can also reheat it in the microwave in 30-second intervals, stirring between each, until hot. If the cocoa has thickened in the fridge, add a splash of milk to thin it out.
Freezing: You can freeze the cocoa (without garnishes) in a freezer-safe container for up to 2 months. Thaw in the refrigerator overnight, then reheat as directed. The texture might be slightly thinner after freezing, but the flavor will still be delicious.
One thing I love about this recipe is that the peppermint flavor becomes more pronounced after sitting overnight. So if you’re making it ahead for a gathering, you might actually prefer the flavor on day two.
Nutritional Information & Benefits
Here’s an approximate nutritional breakdown for one serving (using unsweetened almond milk and 1 tablespoon maple syrup, without whipped cream):
| Nutrient | Amount |
|---|---|
| Calories | 120 |
| Total Fat | 3g |
| Saturated Fat | 1g |
| Carbohydrates | 22g |
| Fiber | 3g |
| Sugar | 14g |
| Protein | 4g |
| Calcium | 300mg |
| Iron | 2mg |
Health Benefits: Cocoa powder is rich in antioxidants called flavonoids, which can help support heart health and reduce inflammation. Peppermint is known for its digestive benefits and can help soothe an upset stomach. By using unsweetened almond milk and a natural sweetener like maple syrup, you’re avoiding refined sugars and keeping the calorie count low. This is a treat you can feel good about—it satisfies your sweet tooth while providing some actual nutritional value.
Dietary Considerations: This recipe is naturally gluten-free, dairy-free (if using plant-based milk), and can be made vegan by using maple syrup instead of honey. It’s also relatively low in sugar compared to traditional hot cocoa mixes. If you’re watching your sugar intake, use a sugar-free sweetener or reduce the maple syrup to 1 teaspoon.
Allergen Note: Contains dairy if using cow’s milk. Peppermint extract is generally safe, but some brands may contain trace allergens—always check the label if you have concerns.
Conclusion
This cozy peppermint hot cocoa bar is more than just a drink—it’s a moment. It’s the warm mug in your hands on a cold night, the quiet pause in a busy day, the small act of kindness you give yourself when you need it most. I love that it’s lighter without feeling like a compromise. You get all the richness, all the comfort, and none of the regret.
I hope you’ll try this recipe and make it your own. Add an extra pinch of peppermint, pile on the marshmallows, or keep it simple and pure. There’s no wrong way to enjoy it. And when you do, I’d love to hear about it. Leave a comment below, share your photos, tell me about the night you made it for yourself or someone you love. That’s what this is all about—connecting over something warm and wonderful.
So go ahead, grab your favorite mug, and treat yourself. You deserve it.
Frequently Asked Questions
Can I make this hot cocoa in the microwave?
Absolutely! Combine the cocoa powder and hot water in a microwave-safe mug to make the paste. Add the milk and microwave in 30-second intervals, stirring between each, until hot. Stir in the remaining ingredients. It’s not quite as smooth as the stovetop version, but it works in a pinch.
How do I make this sugar-free?
Use a monk fruit sweetener or stevia drops instead of maple syrup or honey. Make sure your cocoa powder is unsweetened. The peppermint extract is naturally sugar-free, and you can skip the crushed candies or use a sugar-free version.
Can I use dark chocolate instead of cocoa powder?
Yes! Melt 2 ounces of high-quality dark chocolate (70% cocoa or higher) into the warm milk instead of using cocoa powder. The result will be richer and creamier. You may need to adjust the sweetener since dark chocolate has some sugar already.
Why did my cocoa turn out grainy?
This usually happens when the cocoa powder isn’t fully dissolved. Make sure you make a smooth paste with hot water before adding it to the milk. Also, whisk continuously while heating. If it’s still grainy, try using a finer cocoa powder or sifting it first.
Can I use peppermint tea instead of extract?
Definitely! Steep 1 peppermint tea bag in the warm milk for 5 to 7 minutes before adding the cocoa paste. Remove the tea bag, then proceed with the recipe. It gives a milder, more herbal peppermint flavor that’s lovely and less intense than extract.
Pin This Recipe!
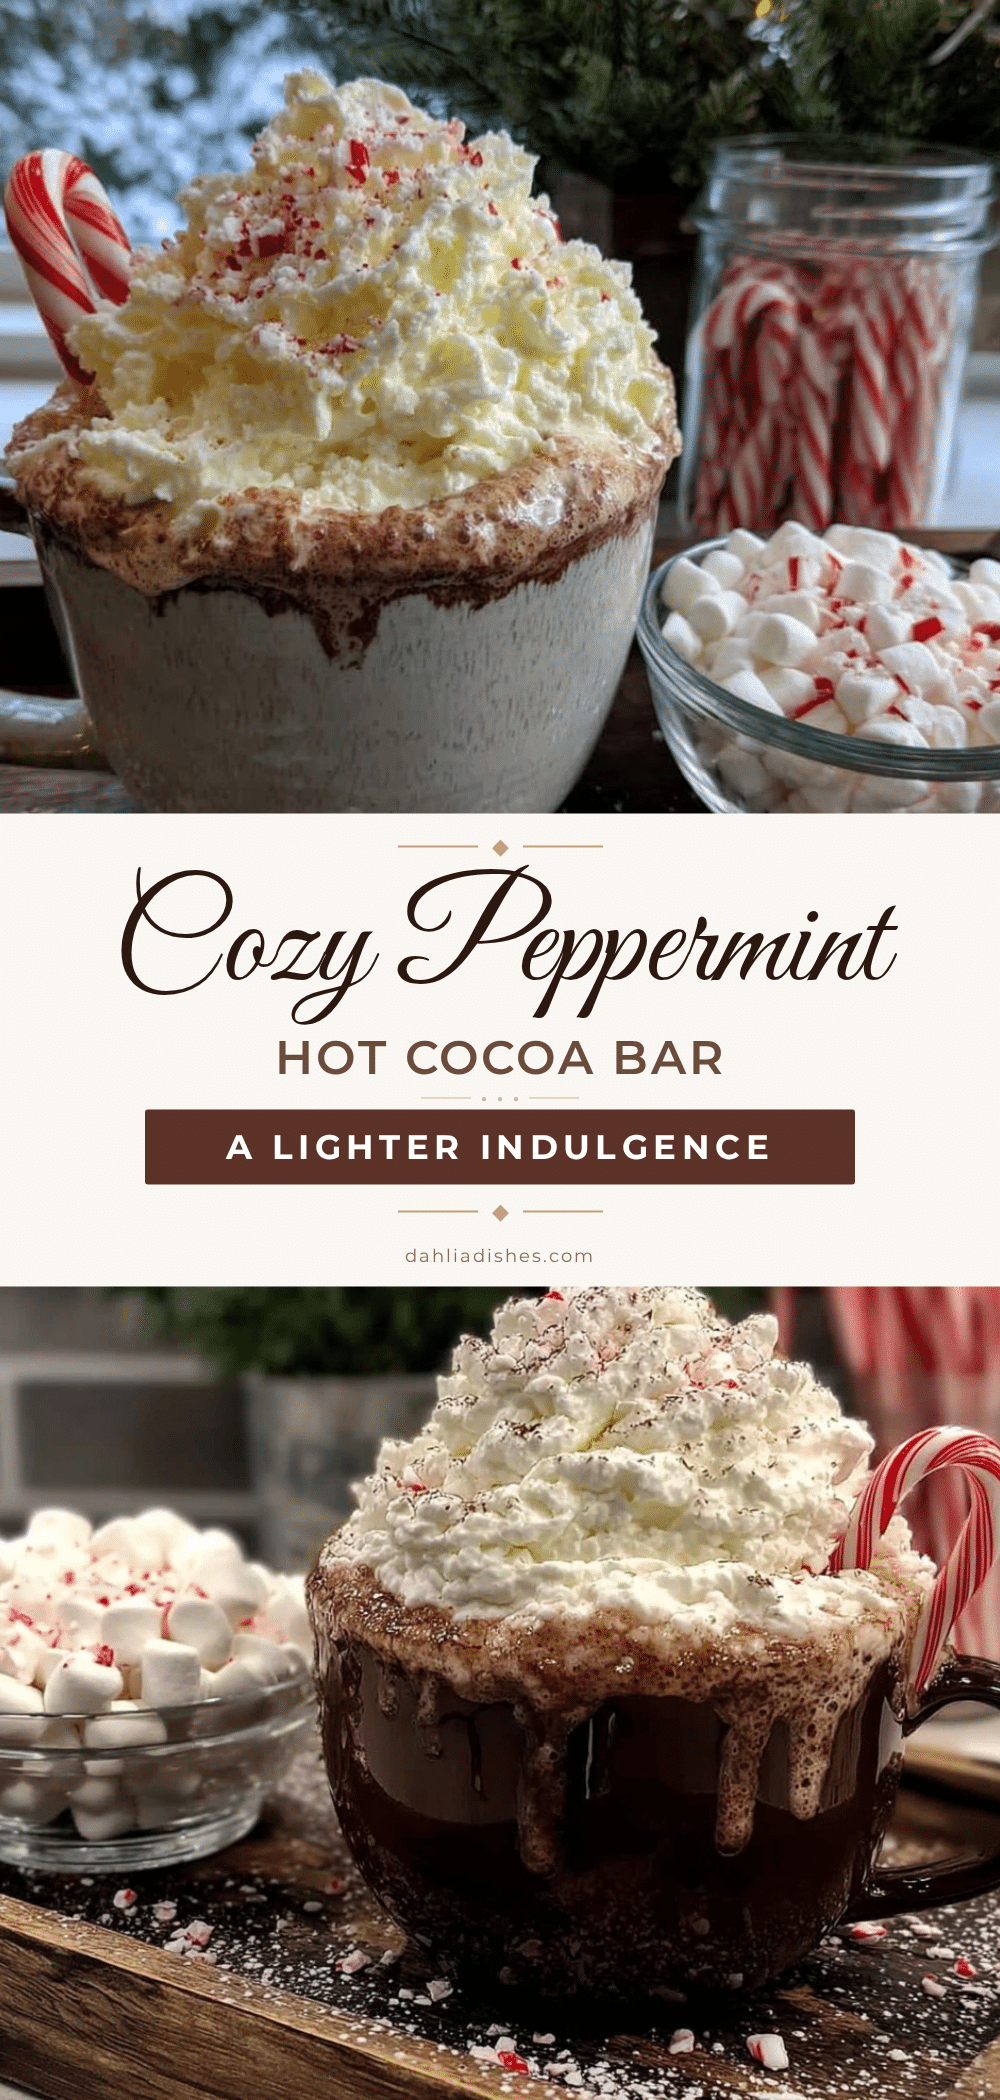
Cozy Peppermint Hot Cocoa Bar – A Lighter Indulgence

A lighter, more mindful version of the classic winter drink that delivers rich chocolate and refreshing peppermint without the guilt. Perfect for cozy nights, this quick and easy recipe uses simple ingredients and comes together in about 10 minutes.
- Prep Time: 5 minutes
- Cook Time: 5 minutes
- Total Time: 10 minutes
- Yield: 1 serving 1x
- Category: Beverage
- Cuisine: American
Ingredients
- 2 tablespoons unsweetened cocoa powder (preferably Ghirardelli or Hershey’s Special Dark)
- 1 ½ cups milk of your choice (unsweetened almond milk, oat milk, or whole milk)
- 1 to 2 tablespoons maple syrup or honey
- ½ teaspoon vanilla extract (pure vanilla extract recommended)
- Pinch of sea salt
- ¼ teaspoon peppermint extract (start with less and add more to taste)
- 2 tablespoons crushed peppermint candies or candy canes (for garnish, optional)
- Optional toppings: light whipped cream, mini marshmallows, dark chocolate shavings, or a sprinkle of cinnamon
Instructions
- Make the cocoa paste: In a small bowl, combine 2 tablespoons unsweetened cocoa powder with 2 tablespoons hot water. Whisk until smooth. The paste should be thick and dark; if too thick, add another teaspoon of water.
- Heat the milk: Pour 1 ½ cups milk into a small saucepan. Heat over medium-low heat, stirring occasionally, until steaming but not boiling (about 3 to 4 minutes). Bubbles around the edges indicate the right temperature.
- Combine paste and milk: Add the cocoa paste to the warm milk. Whisk continuously until fully incorporated and smooth, about 30 seconds.
- Add sweetener and flavorings: Stir in 1 to 2 tablespoons maple syrup or honey, ½ teaspoon vanilla extract, and a tiny pinch of sea salt. Whisk to combine. Taste and adjust sweetness or chocolate flavor as desired.
- Add peppermint: Remove saucepan from heat. Stir in ¼ teaspoon peppermint extract. Start with less and add more to taste. Whisk gently.
- Prepare garnish: Place 2 tablespoons peppermint candies in a ziplock bag. Seal and crush with a rolling pin or heavy pan to a mix of fine dust and small chunks.
- Serve immediately: Pour hot cocoa into a mug. Top with whipped cream (if using) and a generous sprinkle of crushed peppermint. Add dark chocolate shavings or a mini candy cane stirrer if desired. Serve warm.
Notes
Don’t skip the cocoa paste step—it prevents clumps and ensures a silky texture. Watch the heat to avoid scorching the milk. Taste as you go to adjust sweetness and peppermint intensity. Crush candies just before serving to prevent stickiness. Use room temperature milk for even heating. For a crowd, double or triple the recipe; cocoa paste can be made ahead and stored in the fridge for up to 3 days.
Nutrition
- Serving Size: 1 cup (about 8 oz)
- Calories: 120
- Sugar: 14
- Sodium: 150
- Fat: 3
- Saturated Fat: 1
- Carbohydrates: 22
- Fiber: 3
- Protein: 4
Keywords: peppermint hot cocoa, light hot chocolate, healthy hot cocoa, peppermint cocoa bar, winter drink, cozy drink, dairy-free hot cocoa, vegan hot cocoa


