Love this? Save it for later!
Share the inspiration with your friends
Introduction
“You know that moment when you open a bakery box, and the smell of fresh cookies hits you like a warm hug? Well, I wasn’t expecting to find that exact feeling in my own kitchen one rainy Thursday afternoon. I was halfway through fixing a leaky faucet (don’t ask how that happened), and my neighbor, Ben, popped over with a plate of these crispy and chewy bakery-style brown butter chocolate chip cookies. Honestly, I was skeptical—Ben’s known more for his barbecue skills than baking finesse. But as soon as I bit into one, I was hooked. The way the brown butter gave a nutty, almost caramelized depth to the cookie was something I hadn’t tasted before. Plus, the perfect balance between that irresistible crispy edge and the chewy center? Game changer. I remember juggling the dripping sink and sneaking cookie crumbs, already planning how to make these my go-to treat. Maybe you’ve had your share of cookie fails or recipes that just don’t quite hit the mark—let me tell you, this one stayed with me because it’s not just a cookie; it’s a little moment of joy in every bite.”
Why You’ll Love This Recipe
After countless trials and a few burnt batches (hey, practice makes perfect!), I can confidently say this recipe nails what you want in a chocolate chip cookie. It’s tested, family-approved, and honestly, it’s the kind of cookie that disappears faster than you expect.
- Quick & Easy: Ready to bake in under 20 minutes, making it perfect for busy weeknights or last-minute cravings.
- Simple Ingredients: No fancy or hard-to-find items here—mostly pantry staples you probably already have.
- Perfect for Sharing: Great for potlucks, cozy coffee breaks, or just treating yourself without any guilt.
- Crowd-Pleaser: Kids, adults, neighbors—everyone asks for seconds once they taste these.
- Unbelievably Delicious: The magic of brown butter creates a rich, nutty undertone that makes these cookies stand out from the crowd.
What sets this recipe apart? It’s the browning of the butter. That step might feel intimidating, but it’s honestly the secret behind the deep flavor and slightly caramelized edges. Plus, I’ve perfected the balance so you get that coveted crispy edge with a satisfyingly chewy center every single time. This isn’t your everyday cookie; it’s the bakery-style treat you’ll want to keep hidden away (though good luck with that!).
What Ingredients You Will Need
This recipe uses straightforward ingredients to deliver bold flavor and satisfying texture without a fuss. Most are pantry staples, and if you’re missing something, I’ve got substitutions to keep you covered.
- Unsalted Butter (1 cup / 227g, browned) – The star of the show, creating that toasty, nutty flavor. I use Land O’Lakes for consistency.
- Granulated Sugar (¾ cup / 150g) – Adds sweetness and crunch to the edges.
- Brown Sugar (1 cup / 220g, packed) – Keeps the cookie chewy and adds a rich molasses note.
- Large Eggs (2, room temperature) – Binds everything together and adds moisture.
- Pure Vanilla Extract (2 teaspoons) – For that classic warm aroma.
- All-Purpose Flour (2 ¼ cups / 280g) – The base structure; I recommend King Arthur for the best texture.
- Baking Soda (1 teaspoon) – Helps the cookies spread just right.
- Salt (½ teaspoon) – Balances sweetness and enhances flavor.
- Chocolate Chips (1 ½ cups / 270g, semi-sweet) – The chocolatey pockets that melt in your mouth. I swear by Ghirardelli for rich flavor.
Substitution tips: For a gluten-free option, swap all-purpose flour with a 1:1 gluten-free baking blend. Need dairy-free? Use a vegan butter alternative that browns well, like Earth Balance, and swap chocolate chips for dairy-free versions. In summer, try stirring in fresh blueberries instead of chocolate chips for a fruity twist!
Equipment Needed
- Heavy-bottomed skillet or saucepan: For browning the butter evenly without burning.
- Mixing bowls: At least two—one for wet ingredients and one for dry.
- Electric mixer or sturdy whisk: To cream sugars and eggs smoothly.
- Measuring cups and spoons: Precision is key here, especially for flour and baking soda.
- Baking sheets: Preferably rimmed to catch any spreading dough.
- Parchment paper or silicone baking mats: Prevent sticking and promote even baking.
- Cooling rack: Essential for crisping up the cookies after baking.
If you don’t have an electric mixer, no worries—a sturdy whisk and some elbow grease will do just fine. For browning the butter, I found that a light-colored pan helps you watch the color change better, preventing the “oops, I burnt it” moment. Budget-friendly silicone mats last forever and are worth the small investment for consistent results.
Preparation Method
- Browning the Butter (about 8-10 minutes): Place 1 cup (227g) unsalted butter in a heavy-bottomed skillet over medium heat. Stir frequently with a wooden spoon. The butter will melt, foam, then start turning golden with brown specks. When it smells nutty and the color is a deep amber, remove from heat immediately to avoid burning. Transfer to a heatproof bowl and let cool for 10 minutes.
- Mixing Sugars and Eggs (5 minutes): In a large bowl, combine ¾ cup (150g) granulated sugar and 1 cup (220g) packed brown sugar. Pour in the cooled brown butter, then add 2 large eggs (room temperature) and 2 teaspoons vanilla extract. Beat with an electric mixer or whisk until smooth and creamy.
- Combining Dry Ingredients (2 minutes): In a separate bowl, whisk together 2 ¼ cups (280g) all-purpose flour, 1 teaspoon baking soda, and ½ teaspoon salt.
- Bringing It All Together (3 minutes): Gradually add the dry mixture to the wet, stirring until just combined. Overmixing can lead to tough cookies—stop when no flour streaks remain.
- Adding Chocolate Chips (1 minute): Fold in 1 ½ cups (270g) semi-sweet chocolate chips evenly throughout the dough.
- Chilling the Dough (optional but recommended, 30 minutes to 1 hour): Cover the dough and refrigerate. Chilling helps control spreading and enhances flavor. I sometimes skip this step when I’m impatient, but the cookies spread a bit more.
- Preheat Oven and Prepare Baking Sheets (10 minutes): Set oven to 350°F (175°C). Line baking sheets with parchment paper or silicone mats.
- Scooping and Baking (10-12 minutes per batch): Use a cookie scoop or spoon to drop dough balls about 2 tablespoons each, spaced 2 inches apart. Bake for 10-12 minutes until edges are golden and centers look slightly underbaked. This is key for that chewy texture.
- Cooling (15 minutes): Let cookies cool on the baking sheet for 5 minutes before transferring to a wire rack to cool completely. This helps the edges crisp up while keeping centers chewy.
If you notice your cookies spreading too thin, try chilling the dough longer or reducing oven temperature by 10°F. And if they’re underdone in the center, a minute or two extra in the oven usually does the trick. Trust your senses—cookies should smell rich and look golden without turning too dark.
Cooking Tips & Techniques
Browning butter is honestly the trickiest part, but also the most rewarding. Keep stirring and watch the color carefully—once it hits that golden-brown hue, remove it right away to avoid bitterness. I learned this the hard way after burning a batch and having to start over (messy but worth it!).
When mixing dough, be gentle. Overworking the flour activates gluten, leading to tougher cookies. I always stop mixing once the flour disappears, even if the dough looks a bit shaggy.
Timing your bake is crucial for that crisp-chewy combo. Pull cookies out when edges are set but centers still look soft—they’ll firm up as they cool. If you like extra crispy edges, rotate your baking sheet halfway through the bake for even heat.
Multitasking tip: While the butter cools or the dough chills, clean your workspace or prep complimentary snacks. It helps keep the process smooth and less chaotic (especially when you’re chasing toddlers or distracted by a phone call like I was last time!).
Finally, store baked cookies in an airtight container with a slice of bread inside to keep them chewy longer—trust me, it works wonders.
Variations & Adaptations
- Nutty Version: Add ½ cup chopped toasted pecans or walnuts for crunch and a lovely contrast to the chewy cookie.
- Spiced Twist: Stir in 1 teaspoon cinnamon and a pinch of nutmeg for a cozy, warm flavor—perfect for fall evenings.
- Vegan Adaptation: Use vegan butter and flax eggs (1 tablespoon ground flaxseed + 3 tablespoons water per egg) plus dairy-free chocolate chips. The texture changes slightly but stays delicious.
- Double Chocolate: Replace half the flour with unsweetened cocoa powder for a rich chocolate cookie base.
- Sea Salt Finish: Sprinkle flaky sea salt over the dough balls right before baking for a salty-sweet explosion.
One time, I swapped out chocolate chips for chopped dried cherries and white chocolate chunks—unexpected but surprisingly delightful. Feel free to tweak to your taste buds!
Serving & Storage Suggestions
Serve these cookies slightly warm for gooey chocolate pockets, ideally with a cold glass of milk or a hot cup of coffee. They make a fantastic afternoon pick-me-up or a sweet end to any meal.
Store cookies at room temperature in an airtight container for up to 5 days. For longer storage, freeze baked cookies in a single layer on a tray, then transfer to a freezer bag for up to 3 months. Thaw at room temperature or warm briefly in a low oven.
Reheating tips: Pop cookies in the microwave for 10-15 seconds or in a 300°F (150°C) oven for 5 minutes to refresh that just-baked softness.
Over time, flavors deepen, especially if you chill the dough overnight before baking. It’s a subtle difference but one I notice every time!
Nutritional Information & Benefits
Each cookie (based on 24 cookies per batch) contains approximately:
| Calories | 190 |
|---|---|
| Fat | 10g |
| Carbohydrates | 25g |
| Protein | 2g |
| Sugar | 15g |
Brown butter adds a rich source of antioxidants compared to regular butter, and the nuts in some variations provide healthy fats and a bit of protein. While these cookies are an indulgence, using quality ingredients and enjoying them mindfully fits well into a balanced diet. For gluten-free or vegan diets, the suggested swaps make these treats accessible without sacrificing taste.
Conclusion
If you’re after a cookie that hits that perfect crispy edge with a chewy, buttery center, this brown butter chocolate chip cookie recipe might just become your new favorite. It’s simple enough for everyday baking but special enough to impress guests or satisfy serious cookie cravings. Personally, I keep coming back because it’s comfort food with a little twist—soul-soothing, nostalgic, and just a touch grown-up thanks to the brown butter.
Feel free to make it your own by adding nuts, spices, or a sprinkle of sea salt. I’d love to hear how you customize it or if you have any tips from your own baking adventures—drop a comment below or share your photos. Happy baking, and may your kitchen always smell like fresh cookies!
FAQs
- Can I use regular butter instead of browning it?
Yes, but browning the butter adds a deeper, nuttier flavor that makes these cookies special. - Why are my cookies spreading too much?
Try chilling the dough longer before baking or reduce oven temperature slightly to control spreading. - Can I freeze the cookie dough?
Absolutely! Scoop dough balls onto a tray, freeze until solid, then transfer to a freezer bag. Bake from frozen, adding a couple of extra minutes to baking time. - How do I make these cookies vegan?
Use vegan butter, replace eggs with flax eggs, and choose dairy-free chocolate chips. - What’s the best way to store baked cookies?
Use an airtight container at room temperature for up to 5 days, or freeze for longer storage. Adding a slice of bread helps keep them soft.
Pin This Recipe!
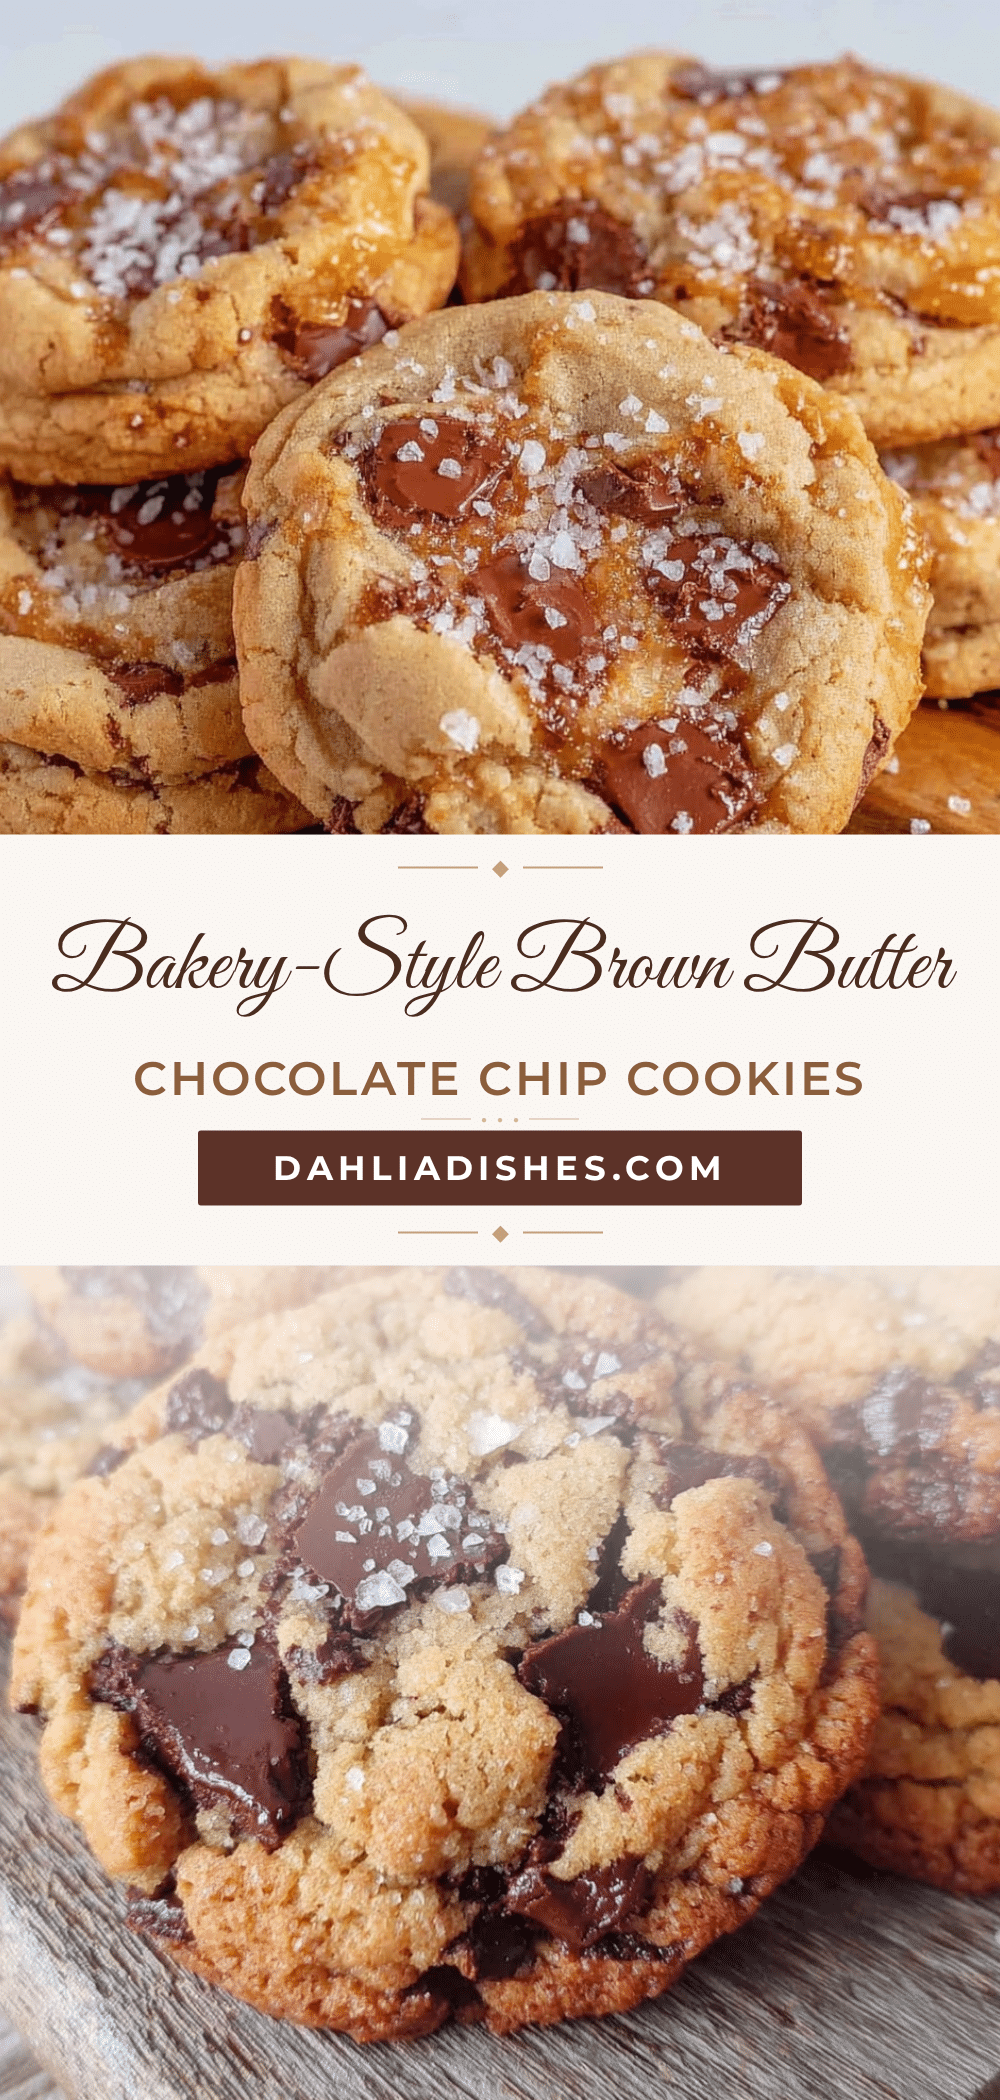
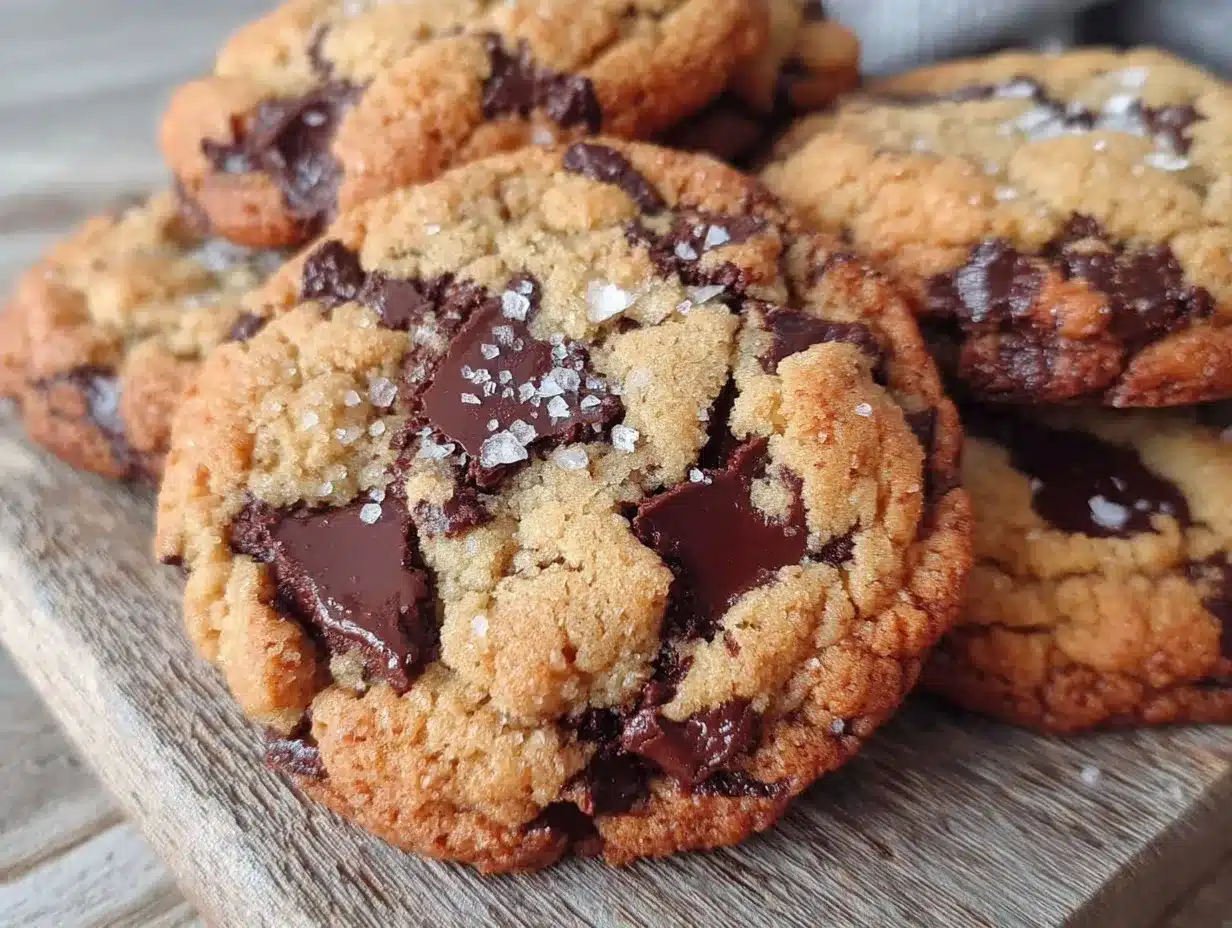
Crispy and Chewy Brown Butter Chocolate Chip Cookies

These bakery-style cookies feature a perfect balance of crispy edges and a chewy center, enhanced by the rich, nutty flavor of brown butter. Easy to make with simple pantry ingredients, they are a crowd-pleasing treat perfect for any occasion.
- Prep Time: 20 minutes
- Cook Time: 12 minutes
- Total Time: 42 minutes to 1 hour 32 minutes (including optional chilling)
- Yield: 24 cookies 1x
- Category: Dessert
- Cuisine: American
Ingredients
- 1 cup (227g) unsalted butter, browned
- ¾ cup (150g) granulated sugar
- 1 cup (220g) packed brown sugar
- 2 large eggs, room temperature
- 2 teaspoons pure vanilla extract
- 2 ¼ cups (280g) all-purpose flour
- 1 teaspoon baking soda
- ½ teaspoon salt
- 1 ½ cups (270g) semi-sweet chocolate chips
Instructions
- Brown the butter: Place 1 cup unsalted butter in a heavy-bottomed skillet over medium heat. Stir frequently until melted, foamy, and turning golden with brown specks. When it smells nutty and is a deep amber color, remove from heat and transfer to a heatproof bowl. Let cool for 10 minutes.
- Mix sugars and eggs: In a large bowl, combine granulated sugar and brown sugar. Pour in cooled brown butter, add eggs and vanilla extract. Beat until smooth and creamy.
- Combine dry ingredients: In a separate bowl, whisk together flour, baking soda, and salt.
- Combine wet and dry: Gradually add dry ingredients to wet mixture, stirring until just combined. Avoid overmixing.
- Fold in chocolate chips evenly throughout the dough.
- Optional: Chill dough for 30 minutes to 1 hour to control spreading and enhance flavor.
- Preheat oven to 350°F (175°C). Line baking sheets with parchment paper or silicone mats.
- Scoop dough balls about 2 tablespoons each, spaced 2 inches apart on baking sheets.
- Bake for 10-12 minutes until edges are golden and centers look slightly underbaked.
- Cool cookies on baking sheet for 5 minutes, then transfer to a wire rack to cool completely.
Notes
Watch the butter carefully when browning to avoid burning. Chill dough to control spreading and enhance flavor. Pull cookies out when edges are set but centers are still soft for the perfect chewy texture. Store baked cookies in an airtight container with a slice of bread to keep them chewy longer.
Nutrition
- Serving Size: 1 cookie
- Calories: 190
- Sugar: 15
- Fat: 10
- Carbohydrates: 25
- Protein: 2
Keywords: brown butter cookies, chocolate chip cookies, chewy cookies, crispy cookies, bakery-style cookies, easy cookie recipe, homemade cookies