Love this? Save it for later!
Share the inspiration with your friends
I was standing in my neighbor Maria’s kitchen last October, helping her clean out a massive jack-o’-lantern she’d grown in her backyard. The thing was the size of a small dog, honestly, and we were elbow-deep in slippery orange guts when she pulled out a handful of seeds and said, “You’re not throwing these away, are you?” I laughed and told her I usually just tossed them. She looked at me like I’d just insulted her grandmother.
That moment stuck with me. I mean, here was this woman who had grown a pumpkin from a single seed she’d saved three years prior, and she was about to show me something I’d been missing my whole life. She rinsed those seeds, spread them on a towel, and started talking about her mother’s recipe from the old country. I grabbed a notebook from my bag—yes, I’m that person—and scribbled down everything she said. The power flickered twice that afternoon. Her ancient cat kept trying to steal seeds off the counter. It was chaos, the best kind.
She roasted those seeds with cinnamon and sugar, and let me tell you, the smell that filled her little kitchen was something else. Warm, sweet, slightly nutty—it was like autumn had been bottled and set loose. I burned my tongue on the first batch because I couldn’t wait. Worth it. I’ve been making these crispy cinnamon sugar pumpkin seeds ever since, tweaking the method until I got it just right. Maybe you’ve had bland, chewy pumpkin seeds before and wondered what the fuss was about. I get it. These are nothing like those. These are the ones that make you close your eyes and forget you’re standing at the counter in your sweatpants.
Why You’ll Love This Recipe
I’ve tested this recipe at least a dozen times across three different ovens, and I can tell you with confidence—this is the version you’ll come back to year after year. It hits that perfect sweet-salty-crunchy spot that store-bought seeds just can’t touch.
- Quick & Easy: From start to finish, you’re looking at about 25 minutes of active time. The oven does most of the work while you clean up the pumpkin carving mess.
- Simple Ingredients: You probably have everything in your pantry right now. No weird specialty items, no trips to three different stores.
- Perfect for Fall Gatherings: These disappear fast at Halloween parties, Thanksgiving dinners, or cozy movie nights. I brought a bag to my book club last month and got asked for the recipe four times.
- Crowd-Pleaser: Kids love the sweetness, adults appreciate the subtle spice. Even my friend who “doesn’t like pumpkin seeds” ate half the bowl.
- Unbelievably Delicious: The secret is in the double-coating method—a light egg white wash that helps the cinnamon sugar stick and creates that shatteringly crisp texture. It’s not just another roasted seed recipe. It’s the one where you’ll catch yourself grabbing “just one more” until the bowl is empty.
This recipe is the kind that makes you feel like you’ve discovered something special. It’s comfort food in miniature form—warm, sweet, and deeply satisfying. Plus, it uses up what would otherwise go in the trash. That feels good, you know?
What Ingredients You Will Need
This recipe keeps things simple, using basic pantry staples to create something unexpectedly special. The ingredients work together to build layers of flavor and that signature crunch.
- Fresh pumpkin seeds: About 1 cup, straight from the pumpkin. Rinse them well in a colander and pick off the biggest strings of pulp. You don’t need to get every single strand off—a little bit adds character. I prefer seeds from sugar pumpkins or pie pumpkins for their thinner shells, but standard carving pumpkins work fine too.
- Egg white: 1 large egg white, room temperature. This is the glue that holds the coating and creates the crispy texture. Don’t skip it or substitute with oil—the texture won’t be the same. I’ve tried both ways, trust me.
- Granulated sugar: 2 tablespoons. Regular white sugar works best here. It melts slightly during roasting and creates that candied coating. Brown sugar is too moist and can make the seeds chewy instead of crispy.
- Ground cinnamon: 1 teaspoon. Use a fresh jar if yours has been sitting in the cabinet for two years. Old cinnamon loses its punch, and this recipe needs that warm, bold flavor. I like the brand Simply Organic for their consistent quality.
- Salt: ½ teaspoon fine sea salt. Don’t use coarse salt—it won’t distribute evenly. The salt balances the sweetness and brings out the nutty flavor of the seeds. I use Morton’s fine sea salt and it works beautifully.
- Butter (optional): 1 tablespoon melted unsalted butter, for drizzling after roasting. This isn’t mandatory, but it adds a richness that takes these seeds from good to “I can’t stop eating these.” If you’re dairy-free, skip it or use a vegan butter alternative.
- Vanilla extract (optional): ¼ teaspoon, added to the egg white mixture. This is my personal touch—it rounds out the cinnamon flavor and adds a subtle warmth that makes the seeds taste almost like snickerdoodle cookies.
For the best results, use seeds that are completely dry before coating them. Wet seeds won’t crisp up properly, and the coating will slide right off. I’ll show you how to dry them quickly in the next section.
Equipment Needed
You don’t need fancy tools for this recipe, which is part of why I love it. Here’s what you’ll need:
- Colander: For rinsing the seeds and removing the big chunks of pumpkin pulp.
- Clean kitchen towel or paper towels: For drying the seeds thoroughly. A salad spinner works too if you have one—I use mine and it cuts drying time in half.
- Medium mixing bowl: For whisking the egg white and coating mixture. Glass or stainless steel works best—plastic can retain odors.
- Whisk or fork: For beating the egg white until frothy. A fork works in a pinch, but a whisk gives you better results.
- Baking sheet: A rimmed baking sheet is ideal so seeds don’t roll off. I use a half-sheet pan and it works perfectly.
- Parchment paper or silicone baking mat: Highly recommended. The sugar can stick to bare metal pans, and parchment makes cleanup effortless. Silpat mats are great too if you have one.
- Small spatula: For spreading the seeds in an even layer. Offset spatulas are nice but not necessary.
- Cooling rack: Optional, but helps the seeds cool evenly and stay crispy. If you don’t have one, spread them on a large plate or cutting board.
My favorite budget-friendly tip: reuse the parchment paper from another baking project if it’s still clean. I do this all the time and it saves money and waste.
Preparation Method
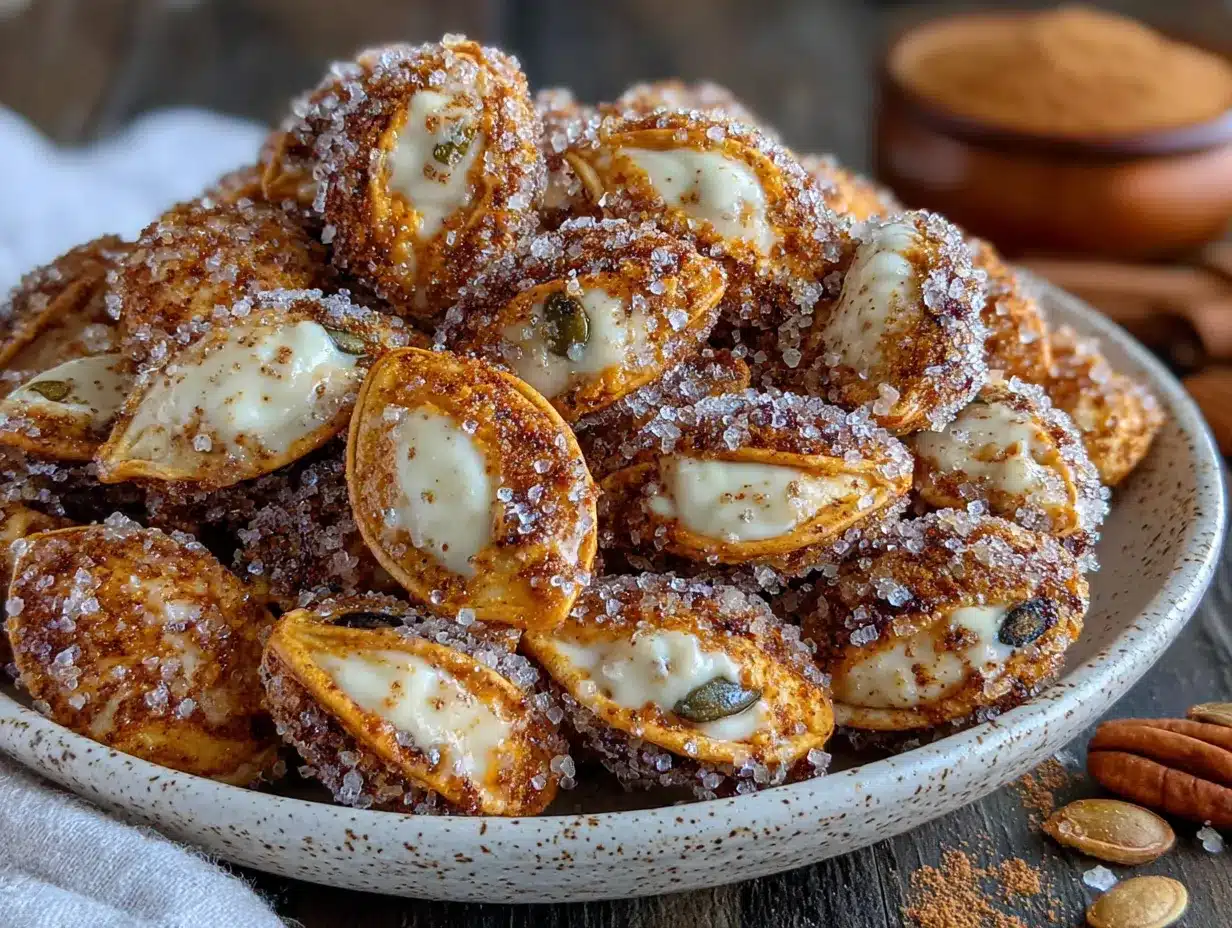
Let’s get these seeds from slimy to sublime. Follow these steps and you’ll have the crispiest, most addictive pumpkin seeds of your life.
- Preheat your oven to 300°F (150°C). Line a rimmed baking sheet with parchment paper or a silicone mat. The low temperature is intentional—it dries the seeds slowly without burning the sugar.
- Clean the seeds. Place your pumpkin seeds in a colander and rinse them under cool running water. Use your fingers to gently rub off the biggest pieces of pumpkin pulp. Don’t stress about getting every last string off—a little bit adds flavor and fiber. I usually spend about 2-3 minutes on this step.
- Dry the seeds thoroughly. This is the most important step, no joke. Spread the rinsed seeds on a clean kitchen towel or several layers of paper towels. Pat them dry with another towel on top. Let them sit for 5-10 minutes while you prepare the coating. If they’re still damp, the coating won’t stick and they’ll steam instead of crisp. I learned this the hard way after a batch of sad, chewy seeds.
- Prepare the coating mixture. In a small bowl, combine the granulated sugar, ground cinnamon, and salt. Stir with a fork until evenly mixed. Set aside.
- Whisk the egg white. In a medium mixing bowl, add the egg white and vanilla extract if using. Whisk vigorously for about 30 seconds until the egg white is frothy and slightly opaque. You’re not making meringue here—just looking for bubbles and a slightly thickened texture. It should look like soapy water, not stiff peaks.
- Coat the seeds. Add the dried pumpkin seeds to the frothy egg white. Stir with a spatula until every seed is coated. The mixture will look wet and slightly gluey—that’s exactly what you want.
- Add the cinnamon sugar. Sprinkle the cinnamon sugar mixture over the wet seeds. Stir gently but thoroughly until all the seeds are evenly coated. You should see the sugar mixture clinging to each seed. Don’t worry if some clumps form—those little clusters are the best part after roasting.
- Spread on the baking sheet. Pour the coated seeds onto your prepared baking sheet. Use a spatula to spread them into a single, even layer. Try to break up any large clumps, but leave some small clusters for texture variety. They should not be piled on top of each other.
- Bake for 25-30 minutes. Place the baking sheet on the center rack of your preheated oven. Bake for 15 minutes, then remove the pan and stir the seeds with a spatula. This ensures even toasting. Return to the oven for another 10-15 minutes. The seeds are done when they’re golden brown, fragrant, and feel dry to the touch. They will crisp up more as they cool, so don’t overbake them.
- Cool completely. Remove the baking sheet from the oven. If using the optional butter, drizzle the melted butter over the hot seeds and toss gently. Transfer the seeds to a cooling rack or a large plate in a single layer. Let them cool for at least 15-20 minutes without touching them. This is the hardest part—I know you want to eat them immediately. Resist the urge. They need this time to reach maximum crispiness.
- Break apart any clumps. Once completely cool, use your fingers to gently break apart any clusters that formed during baking. Don’t worry if some stay together—those are the best bits.
One thing I always do: I set a timer for 20 minutes of cooling and walk away from the kitchen. If I stand there staring at them, I’ll eat them all before they’re ready. Save yourself the burnt tongue.
Cooking Tips & Techniques
After making these crispy cinnamon sugar pumpkin seeds more times than I can count, I’ve picked up a few tricks that make a real difference. Here’s what I wish someone had told me from the start.
Dry your seeds like your life depends on it. I cannot overstate this. The first time I made these, I was impatient and left the seeds slightly damp. They came out of the oven chewy and sad, with the coating sliding off in weird patches. Now I pat them dry, let them sit on a towel for 10 minutes, then pat them again. It takes an extra few minutes, but the difference is night and day.
Watch your oven like a hawk. Every oven runs a little differently. My old apartment oven ran hot and would burn the sugar on the edges while the center was still underdone. I learned to rotate the pan halfway through and check at the 20-minute mark. If your seeds are browning too quickly on the edges, stir them and lower the temperature by 25 degrees. Better to go slow than to burn a batch.
Don’t skip the stirring. That mid-bake stir isn’t just for show. It redistributes the seeds so they toast evenly and prevents the sugar from burning in one spot. I forgot to do it once and ended up with half a tray of burnt seeds and half that were still pale. Not my finest moment.
Let them cool completely. I know, I keep saying this. But here’s the thing: hot seeds are soft seeds. If you eat them straight out of the oven, you’ll think they’re underdone and disappointing. Give them that 20-minute cool-down, and suddenly they transform into these shatteringly crisp little morsels. Patience pays off.
Make a double batch. These disappear fast. I always make at least twice what I think I need. They store well, and having a jar of them in the pantry means you’re always ready for unexpected guests or a late-night snack attack.
Variations & Adaptations
This recipe is surprisingly flexible. Here are some variations I’ve tried and loved.
Spicy-Sweet Version: Add ¼ teaspoon of cayenne pepper and ⅛ teaspoon of smoked paprika to the cinnamon sugar mixture. The heat sneaks up on you and plays beautifully with the sweet coating. I made this version for a football party and watched a grown man eat an entire bowl by himself.
Pumpkin Pie Spice Version: Replace the cinnamon with 1½ teaspoons of pumpkin pie spice blend. Add an extra tablespoon of sugar to balance the additional spices. This version tastes exactly like fall in a bowl. I’ve also used chai spice blend here with great results.
Maple-Cinnamon Version: Replace the granulated sugar with 2 tablespoons of maple sugar or use 1 tablespoon of maple syrup mixed with 1 tablespoon of granulated sugar. If using maple syrup, reduce the egg white to just 1 tablespoon to keep the coating from getting too wet. The maple flavor pairs beautifully with the cinnamon.
Dairy-Free Version: Skip the optional butter drizzle entirely, or use a plant-based butter alternative. The seeds are still incredibly flavorful without it. I’ve made them both ways and honestly can’t tell much difference once they’re fully cooled.
Chocolate-Dipped Version: Once the seeds are completely cool, melt ½ cup of dark chocolate chips and drizzle it over the seeds, or dip clusters of seeds into the chocolate and let them set on parchment paper. This turns them into a dessert that feels way fancier than it actually is. I did this for a holiday cookie exchange and people lost their minds.
Serving & Storage Suggestions
These crispy cinnamon sugar pumpkin seeds are incredibly versatile. Here’s how to serve and store them for maximum enjoyment.
Serving Temperature: They’re best at room temperature, straight from the cooling rack. The texture is at its peak within the first 24 hours. If you want to serve them warm, pop them in a 250°F oven for 3-4 minutes—but honestly, they’re just as good at room temperature.
Presentation Ideas: Serve them in a wooden bowl for a rustic fall vibe, or in a clear glass jar so the cinnamon coating is visible. For parties, I put them in small paper cones or mini mason jars for individual servings. They make great edible gifts too—just tie a ribbon around a cellophane bag and attach a handwritten tag.
What to Serve With Them: These seeds are perfect on their own as a snack, but they also pair beautifully with hot apple cider, pumpkin spice lattes, or even a glass of cold milk. I’ve also used them as a topping for pumpkin soup, sprinkled over vanilla ice cream, or mixed into a fall-themed trail mix with dried cranberries and white chocolate chips.
Storage Instructions: Store completely cooled seeds in an airtight container at room temperature. They’ll stay crispy for up to 2 weeks, though they rarely last that long in my house. Do not refrigerate them—the moisture in the fridge will make them soft. If they do lose their crunch, spread them on a baking sheet and re-crisp them in a 250°F oven for 5 minutes. Let them cool completely before returning to the container.
Freezer Instructions: You can freeze these seeds for up to 3 months. Place them in a freezer-safe bag or container, pressing out as much air as possible. Thaw at room temperature for about 15 minutes, then re-crisp in the oven as described above. I’ve done this multiple times and they come out just as good as fresh.
Nutritional Information & Benefits
Pumpkin seeds are a nutritional powerhouse, and this recipe keeps them relatively light despite the sweet coating. Here’s what you’re getting in a standard serving (about ¼ cup or 30 grams).
| Nutrient | Amount Per Serving |
|---|---|
| Calories | 180 |
| Total Fat | 12g |
| Saturated Fat | 2g |
| Carbohydrates | 12g |
| Fiber | 2g |
| Sugar | 8g |
| Protein | 7g |
| Iron | 15% DV |
| Magnesium | 20% DV |
| Zinc | 15% DV |
Pumpkin seeds are rich in magnesium, which supports muscle function and sleep quality. They also contain zinc, which is great for immune health—perfect for the cold and flu season when these seeds are most popular. The fiber and protein content make them a satisfying snack that won’t spike your blood sugar. And honestly, having a healthy-ish snack that tastes like dessert? That’s a win in my book.
If you’re watching your sugar intake, you can reduce the sugar to 1 tablespoon and add an extra ½ teaspoon of cinnamon for flavor. The seeds won’t be quite as candied, but they’ll still be delicious and crispy.
Conclusion
These crispy cinnamon sugar pumpkin seeds have become a non-negotiable part of my fall routine. Every time I carve a pumpkin, I think of Maria standing in her kitchen, teaching me something I should have known all along. It’s funny how the simplest recipes often become the ones you make the most.
I hope you give these a try and make them your own. Maybe you’ll add extra cinnamon, or skip the butter, or dip them in chocolate like I mentioned earlier. The beauty of this recipe is that it’s forgiving—it wants to be customized. That’s the whole point of cooking, isn’t it? Taking something basic and turning it into something that feels like yours.
If you make these, I’d love to hear about it. Drop a comment below and tell me what twist you tried, or tag me in your photos if you share them online. There’s something special about knowing these little seeds are making people happy in kitchens everywhere. Happy snacking, friends.
Frequently Asked Questions
Can I use store-bought pumpkin seeds instead of fresh?
Yes, you can use raw, unsalted pumpkin seeds from the store. Skip the cleaning and drying steps, and go straight to coating them. The texture will be slightly different since store-bought seeds are often from a different variety of pumpkin, but they’ll still be delicious. Just make sure they’re raw, not roasted.
Why did my seeds turn out chewy instead of crispy?
This usually happens for one of three reasons: the seeds weren’t dried thoroughly before coating, the oven temperature was too low, or they weren’t baked long enough. Make sure your seeds are bone-dry before you start, and don’t be afraid to give them an extra 5 minutes in the oven if needed. Also, let them cool completely—they crisp up as they cool.
Can I make these in an air fryer?
Absolutely! Preheat your air fryer to 280°F (140°C). Spread the coated seeds in a single layer in the basket. Cook for 10-12 minutes, shaking the basket halfway through. Check for doneness at the 10-minute mark since air fryers run hot. The cooking time may vary depending on your model.
How do I get the cinnamon sugar to stick better?
The egg white is the key here. Make sure you whisk it until it’s frothy and slightly thickened before adding the seeds. Also, don’t rush the coating process—stir gently but thoroughly until every seed is evenly coated. If the mixture seems too dry, add a tiny splash of water to the egg white before whisking.
Can I reduce the sugar for a less sweet version?
Yes! You can cut the sugar down to 1 tablespoon without affecting the texture much. The seeds will be less candied but still have a nice hint of sweetness. If you go lower than that, you might need to add a pinch more salt to balance the flavors. I’ve made them with just ½ tablespoon of sugar and they were still delicious.
Pin This Recipe!
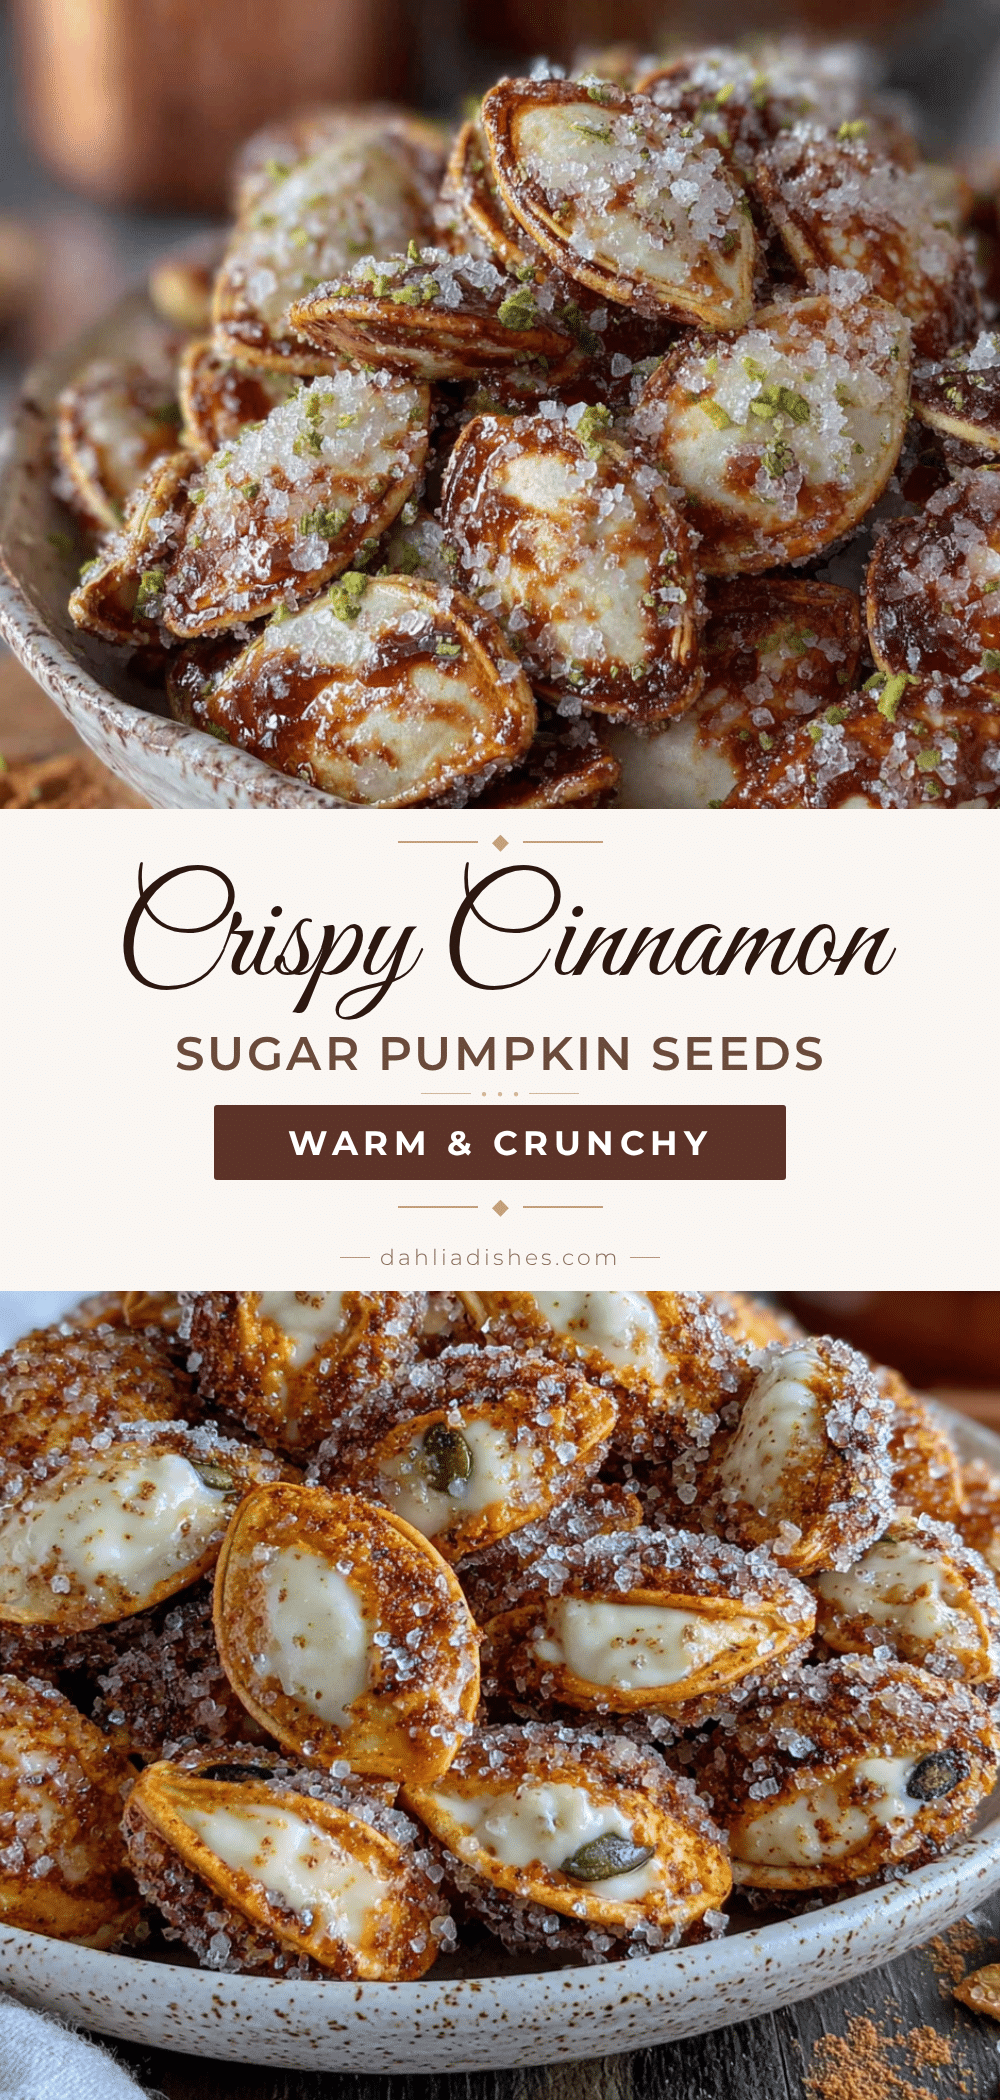
Best Easy Homemade Crispy Cinnamon Sugar Pumpkin Seeds

These crispy cinnamon sugar pumpkin seeds are the perfect fall snack—sweet, salty, and shatteringly crunchy. Made with a simple double-coating method, they’re quick to prepare and use up fresh pumpkin seeds.
- Prep Time: 15 minutes
- Cook Time: 30 minutes
- Total Time: 45 minutes
- Yield: 4 servings 1x
- Category: Snack
- Cuisine: American
Ingredients
- 1 cup fresh pumpkin seeds
- 1 large egg white, room temperature
- 2 tablespoons granulated sugar
- 1 teaspoon ground cinnamon
- ½ teaspoon fine sea salt
- 1 tablespoon unsalted butter, melted (optional)
- ¼ teaspoon vanilla extract (optional)
Instructions
- Preheat your oven to 300°F (150°C). Line a rimmed baking sheet with parchment paper or a silicone mat.
- Clean the seeds: Place pumpkin seeds in a colander and rinse under cool water, gently rubbing off the biggest pieces of pulp. Don’t stress about getting every last string off.
- Dry the seeds thoroughly: Spread the rinsed seeds on a clean kitchen towel or paper towels. Pat dry with another towel on top. Let them sit for 5-10 minutes while you prepare the coating.
- Prepare the coating mixture: In a small bowl, combine the granulated sugar, ground cinnamon, and salt. Stir with a fork until evenly mixed. Set aside.
- Whisk the egg white: In a medium mixing bowl, add the egg white and vanilla extract if using. Whisk vigorously for about 30 seconds until the egg white is frothy and slightly opaque.
- Coat the seeds: Add the dried pumpkin seeds to the frothy egg white. Stir with a spatula until every seed is coated.
- Add the cinnamon sugar: Sprinkle the cinnamon sugar mixture over the wet seeds. Stir gently but thoroughly until all the seeds are evenly coated.
- Spread on the baking sheet: Pour the coated seeds onto your prepared baking sheet. Use a spatula to spread them into a single, even layer. Try to break up any large clumps, but leave some small clusters.
- Bake for 25-30 minutes: Place the baking sheet on the center rack. Bake for 15 minutes, then remove the pan and stir the seeds with a spatula. Return to the oven for another 10-15 minutes. The seeds are done when they’re golden brown, fragrant, and feel dry to the touch.
- Cool completely: Remove the baking sheet from the oven. If using the optional butter, drizzle the melted butter over the hot seeds and toss gently. Transfer the seeds to a cooling rack or a large plate in a single layer. Let them cool for at least 15-20 minutes without touching them.
- Break apart any clumps: Once completely cool, use your fingers to gently break apart any clusters that formed during baking.
Notes
Dry the seeds thoroughly before coating to ensure crispiness. Let them cool completely before eating to achieve maximum crunch. For a spicy-sweet version, add ¼ teaspoon cayenne pepper and ⅛ teaspoon smoked paprika to the cinnamon sugar mixture.
Nutrition
- Serving Size: ¼ cup (30g)
- Calories: 180
- Sugar: 8
- Sodium: 150
- Fat: 12
- Saturated Fat: 2
- Carbohydrates: 12
- Fiber: 2
- Protein: 7
Keywords: pumpkin seeds, cinnamon sugar, crispy, fall snack, Halloween, Thanksgiving, easy, homemade