Love this? Save it for later!
Share the inspiration with your friends
My neighbor, Sarah, wasn’t trying to impress anyone. I’d stopped by to borrow a cup of sugar—a cliché, I know—and the scent of cinnamon and cooked apples hit me before I even knocked on her screen door. It was a Thursday afternoon, not a holiday, not a party. She just had a pan of these gorgeous, creamy bars sitting on her counter, cut into perfect little squares.
“Oh, those?” she said when I asked, practically waving her hand at them. “They’re just a no-bake thing I threw together. Takes about fifteen minutes.” Fifteen minutes. I looked at the elegant layers—the buttery crust, the smooth cheesecake filling, the tender spiced apples on top—and I honestly didn’t believe her. But she was already handing me a piece on a napkin, still totally nonchalant about the whole thing.
That first bite was a revelation. The crunch of the crust, the velvety tang of the cream cheese, the sweet, soft apples. It was everything you want from a fall dessert, but without turning on the oven. I stood there in her doorway, probably looking a little ridiculous, and asked for the recipe right then and there. Maybe you’ve had that moment where something so simple just stops you in your tracks. That’s what these Easy No-Bake Apple Cheesecake Bars did to me. I’ve been making them ever since, and they’ve never failed to get the same stunned reaction.
Why You’ll Love This Recipe
Let’s be real for a second. I’ve tested a lot of “easy” dessert recipes in my time, and a lot of them are a lie. They promise simplicity and then demand a double boiler or a trip to a specialty store. These Easy No-Bake Apple Cheesecake Bars are the real deal. They came from a place of pure, honest convenience, and I’ve refined them over dozens of batches to make sure they work perfectly every single time.
- Quick & Easy: You can have these in the fridge in 15 minutes of active work. No baking, no fussing, no complicated techniques. Perfect for when you need a dessert fast.
- Simple Ingredients: You probably have most of these in your pantry and fridge right now. Cream cheese, butter, graham crackers, apples, and a few spices. That’s it.
- Perfect for Fall Gatherings: Whether it’s a Thanksgiving potluck, a casual Friendsgiving, or just a cozy Sunday, these bars fit right in. They look impressive but require zero oven space.
- Crowd-Pleaser: I’ve brought these to parties where people were skeptical of a “no-bake” dessert, and they vanished in minutes. Kids and adults alike go crazy for the creamy, crunchy, fruity combo.
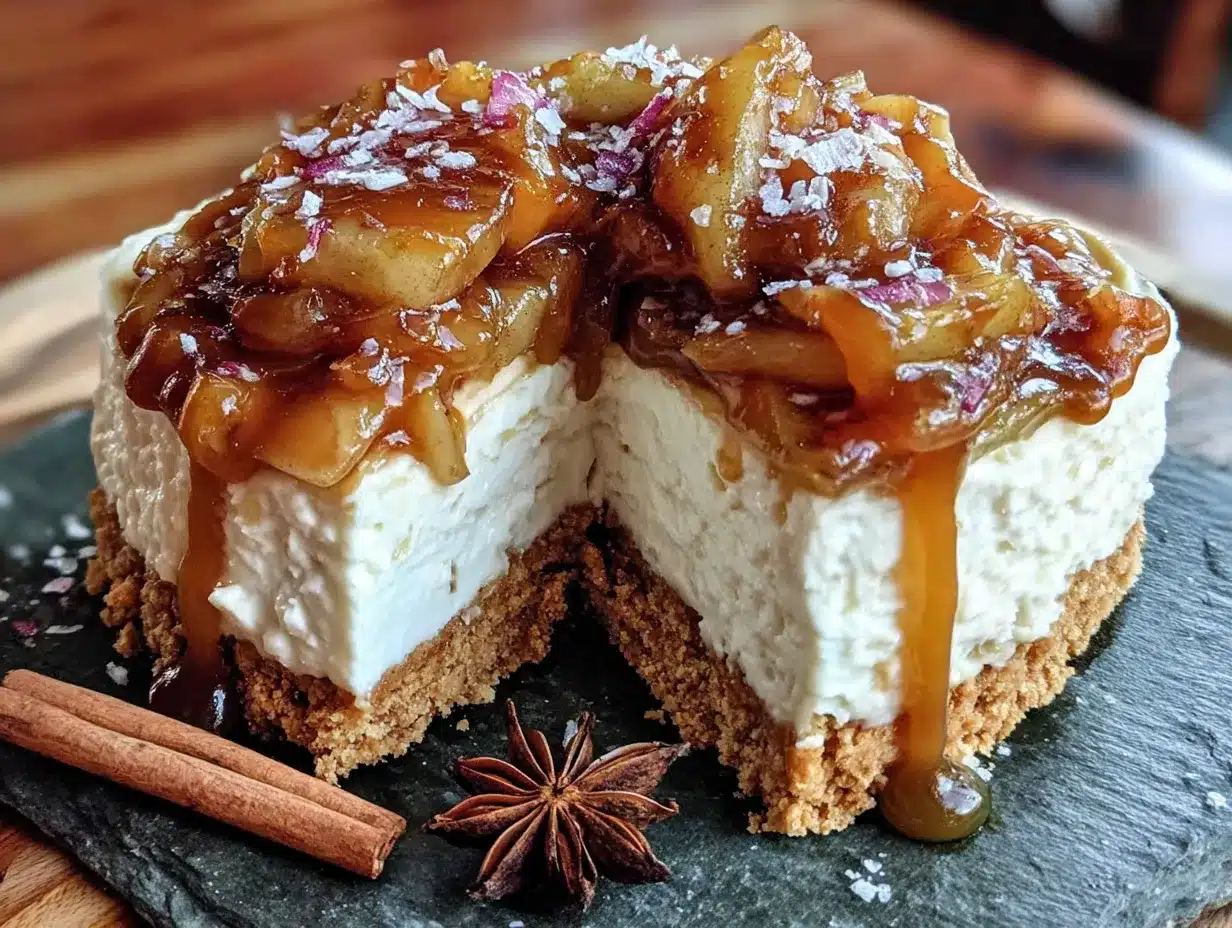
- Unbelievably Delicious: The texture is the star here. A crisp, buttery crust, a lusciously smooth cheesecake layer, and a tender, spiced apple topping. It feels decadent, but it’s surprisingly light.
What makes this version different from the rest? It’s the balance. I wasn’t happy with the first few tries—the filling was too soft, or the apple layer was watery. This recipe uses a trick with the cream cheese (letting it come to room temp for real) and a quick stovetop cook for the apples that concentrates their flavor without making the bars soggy. It’s not just another cheesecake bar; it’s the best version I’ve ever made, and I’m pretty proud of that.
What Ingredients You Will Need
This recipe keeps things wonderfully simple. You don’t need a laundry list of exotic items. Just good, honest ingredients that work together to create something special. Here’s what you’ll need to grab:
For the Crust
- 2 cups graham cracker crumbs (about 16 full sheets, crushed finely)
- 1/2 cup unsalted butter, melted (adds richness and helps the crust hold together)
- 1/4 cup granulated sugar (for a touch of sweetness in the base)
- 1/4 teaspoon ground cinnamon (a little warmth that pairs perfectly with the apples)
For the Cheesecake Filling
- 16 oz (two blocks) cream cheese, softened to room temperature (this is crucial for a smooth, lump-free filling)
- 1/2 cup powdered sugar (dissolves easily for a silky texture)
- 1 teaspoon vanilla extract (use pure, not imitation, for the best flavor)
- 1 cup heavy whipping cream (cold, for whipping into stiff peaks)
For the Apple Topping
- 3 medium apples, peeled, cored, and diced small (I prefer Granny Smith for tartness, but Honeycrisp works beautifully too)
- 3 tablespoons unsalted butter
- 1/4 cup brown sugar, packed (light or dark, both work)
- 1 teaspoon ground cinnamon
- 1/4 teaspoon ground nutmeg
- 1 tablespoon lemon juice (prevents browning and brightens the flavor)
- 1 tablespoon cornstarch mixed with 2 tablespoons water (a slurry to thicken the apple mixture)
Equipment Needed
You won’t need a stand mixer or a food processor for this one, which is part of the beauty. Here’s what you’ll want on hand:
- 9×9 inch square baking pan (an 8×8 works too, but your bars will be slightly thicker)
- Parchment paper (for easy lifting and clean cutting)
- Mixing bowls (one large, one medium)
- Electric hand mixer or stand mixer (for whipping the cream and beating the cream cheese)
- Medium saucepan (for the apple topping)
- Spatula (a rubber one is best for scraping every bit of filling)
- Measuring cups and spoons
- Sharp knife and cutting board (for dicing the apples)
If you don’t have a hand mixer, you can whip the cream by hand with a whisk and some elbow grease. It’s a good arm workout! For the pan, I like to line mine with two long strips of parchment paper that hang over the edges—this makes lifting the whole block of bars out so much easier for clean slicing.
Preparation Method
Alright, let’s get to it. The whole process is broken down into three simple parts. Take your time with each step, and you’ll be rewarded with perfect bars.
Step 1: Make the Crust
- In a medium bowl, combine the graham cracker crumbs, 1/4 cup sugar, and 1/4 teaspoon cinnamon. Stir them together with a fork.
- Pour the melted butter over the crumb mixture. Stir until every crumb is moistened and the mixture looks like wet sand.
- Transfer the mixture to your parchment-lined 9×9 pan. Press it down firmly and evenly into the bottom. I use the bottom of a flat measuring cup to really pack it in. A loose crust will crumble when you cut the bars.
- Pop the pan into the refrigerator to chill while you make the filling.
Step 2: Make the Cheesecake Filling
- In a large mixing bowl, beat the softened cream cheese with an electric mixer on medium speed until it’s completely smooth and fluffy. This takes about 2 minutes. Scrape down the sides of the bowl with your spatula.
- Add the powdered sugar and vanilla extract. Beat again on low speed until combined, then increase to medium and beat for another minute until it’s light and airy. Stop and scrape the bowl again.
- In a separate, clean bowl, pour the cold heavy whipping cream. Using clean beaters, whip the cream on high speed until stiff peaks form. You know it’s ready when you lift the beaters and the cream holds its shape without drooping.
- Gently fold the whipped cream into the cream cheese mixture. Use your spatula to cut through the center and fold over the sides. Do this slowly until no white streaks remain. Be gentle—you don’t want to deflate all that air.
- Spoon the filling over the chilled crust. Spread it into an even layer. Return the pan to the fridge to set while you make the apples.
Step 3: Make the Apple Topping
- In a medium saucepan, melt the 3 tablespoons of butter over medium heat. Add the diced apples, brown sugar, cinnamon, nutmeg, and lemon juice. Stir to coat the apples.
- Cook the apples for 5-7 minutes, stirring occasionally, until they begin to soften and release their juices.
- Give your cornstarch slurry a quick stir (it will have settled) and pour it into the pan with the apples. Stir constantly for about 1 minute, until the juices thicken into a glossy syrup that coats the apples.
- Remove the pan from the heat and let the apple mixture cool for 10-15 minutes. It shouldn’t be hot when you put it on the cheesecake, or it will start to melt the filling.
- Spoon the cooled apples evenly over the cheesecake layer. Spread them out gently.
- Cover the pan with plastic wrap and refrigerate for at least 4 hours, but overnight is best. This gives the filling time to fully set so you get clean, sharp slices.
Cooking Tips & Techniques
I’ve made this recipe about a dozen times now, and I’ve learned a few things the hard way so you don’t have to.
- Room temperature cream cheese is non-negotiable. I once tried to rush this with cold cream cheese, and I ended up with little white lumps in my filling. It still tasted good, but the texture was off. Let your cream cheese sit on the counter for at least 30 minutes before you start.
- Don’t over-whip the cream. You want stiff peaks, but if you go too far, you’ll end up with butter. Stop as soon as the cream holds its shape. If it starts to look grainy, you’ve gone too far.
- Use a sharp knife for cutting. When you’re ready to serve, run a large, sharp knife under hot water, wipe it dry, and make your cuts. Wipe the blade clean between each cut. This gives you those beautiful, Instagram-worthy edges.
- Patience is a virtue. I know it’s hard to wait, but cutting these bars too early is a recipe for a mess. The filling needs those hours in the fridge to firm up. I usually make them the night before I plan to serve them.
Variations & Adaptations
One of the best things about this recipe is how easily it bends to your mood or what you have on hand.
- Gluten-Free Option: Swap the graham crackers for gluten-free graham crackers or even crushed gluten-free shortbread cookies. The rest of the recipe is naturally gluten-free.
- Different Fruit: Not an apple person? No problem. Use the same method with pears, peaches, or even a bag of frozen mixed berries. Just adjust the sugar to taste—tart berries might need a little more.
- Caramel Drizzle: For an extra indulgent touch, drizzle some store-bought or homemade caramel sauce over the top before serving. A sprinkle of flaky sea salt takes it over the edge.
- Spiced Crust: Add a pinch of ginger and cloves to the crust crumbs for a more autumnal, gingerbread-like base. It’s a subtle change that makes a big difference.
I once tried a version with a thin layer of salted caramel spread on the crust before the filling. It was dangerously good, but I’ll let you be the judge of that adventure.
Serving & Storage Suggestions
These bars are best served cold, straight from the fridge. The filling is firm and creamy, and the apple topping is perfectly set. I like to cut them into 9 big squares or 16 smaller ones, depending on the crowd.
For a pretty presentation, serve them on a white platter with a few fresh apple slices and a dusting of cinnamon. A dollop of fresh whipped cream on the side never hurts, either. They pair beautifully with a hot cup of coffee or a glass of cold milk.
Storage: Keep any leftovers in an airtight container in the refrigerator. They will stay fresh for up to 5 days, though the crust might lose a tiny bit of its snap after day three. They also freeze beautifully! Wrap the entire pan (or individual bars) tightly in plastic wrap and then foil. Freeze for up to 3 months. Thaw overnight in the fridge before serving.
Nutritional Information & Benefits
Let’s be honest—this is a treat, not a health food. But knowing what’s in it helps you enjoy it mindfully. Here’s an approximate breakdown per bar (based on 9 servings):
- Calories: 420
- Fat: 28g
- Carbohydrates: 38g
- Protein: 5g
- Sugar: 25g
The apples do bring some fiber and vitamin C to the party, and the cream cheese offers a bit of calcium and protein. If you’re looking for a lighter version, you can use reduced-fat cream cheese and skip the whipped cream topping (though it’s a key part of the texture). For those with dietary restrictions, the gluten-free swap is easy, and you can use a dairy-free cream cheese and coconut cream for a vegan version.
Conclusion
These Easy No-Bake Apple Cheesecake Bars are the kind of recipe that makes you look like a rockstar with almost zero effort. They capture the warm, cozy flavors of fall without heating up your kitchen or eating up your whole afternoon. Every time I make them, I think back to that afternoon at Sarah’s house, and I smile.
I really hope you give these a try. Don’t be afraid to make them your own—add a little extra cinnamon, throw on some pecans, or drizzle that caramel. The best recipes are the ones that become yours. When you do make them, I’d love to hear about it. Drop a comment below and tell me how they turned out, or share your own twist on the recipe. Happy no-baking!
Frequently Asked Questions
Can I use a different type of apple?
Absolutely! Granny Smith is my go-to for its tartness, but Honeycrisp, Fuji, or Gala all work well. Just note that sweeter apples will make the topping a bit sweeter overall. You can adjust the brown sugar down slightly if using a very sweet apple.
Do I have to use heavy whipping cream?
For the best texture, yes. Heavy cream whips up into stiff peaks that give the cheesecake filling its light, mousse-like structure. You could try using a can of cold, full-fat coconut cream for a dairy-free version, but the texture will be slightly different.
How do I know when the apple topping is thick enough?
You’re looking for the juices to go from watery to a syrupy consistency that coats the back of a spoon. After you add the cornstarch slurry, you’ll see it visibly thicken in about 30-60 seconds. It should look like a thin pie filling.
Can I make this recipe in a different sized pan?
You can use an 8×8 pan, but your layers will be thicker and you may need to increase the chilling time. A 9×13 pan will give you much thinner bars, and you might want to double the crust recipe to keep a good ratio. The 9×9 is the sweet spot.
Why did my cheesecake filling turn out runny?
This usually happens for one of two reasons. Either your cream cheese wasn’t softened enough and didn’t incorporate properly, or you over-mixed the cream cheese and whipped cream, deflating the air. Make sure your cream cheese is truly at room temp, and fold the cream in gently until just combined.
Pin This Recipe!
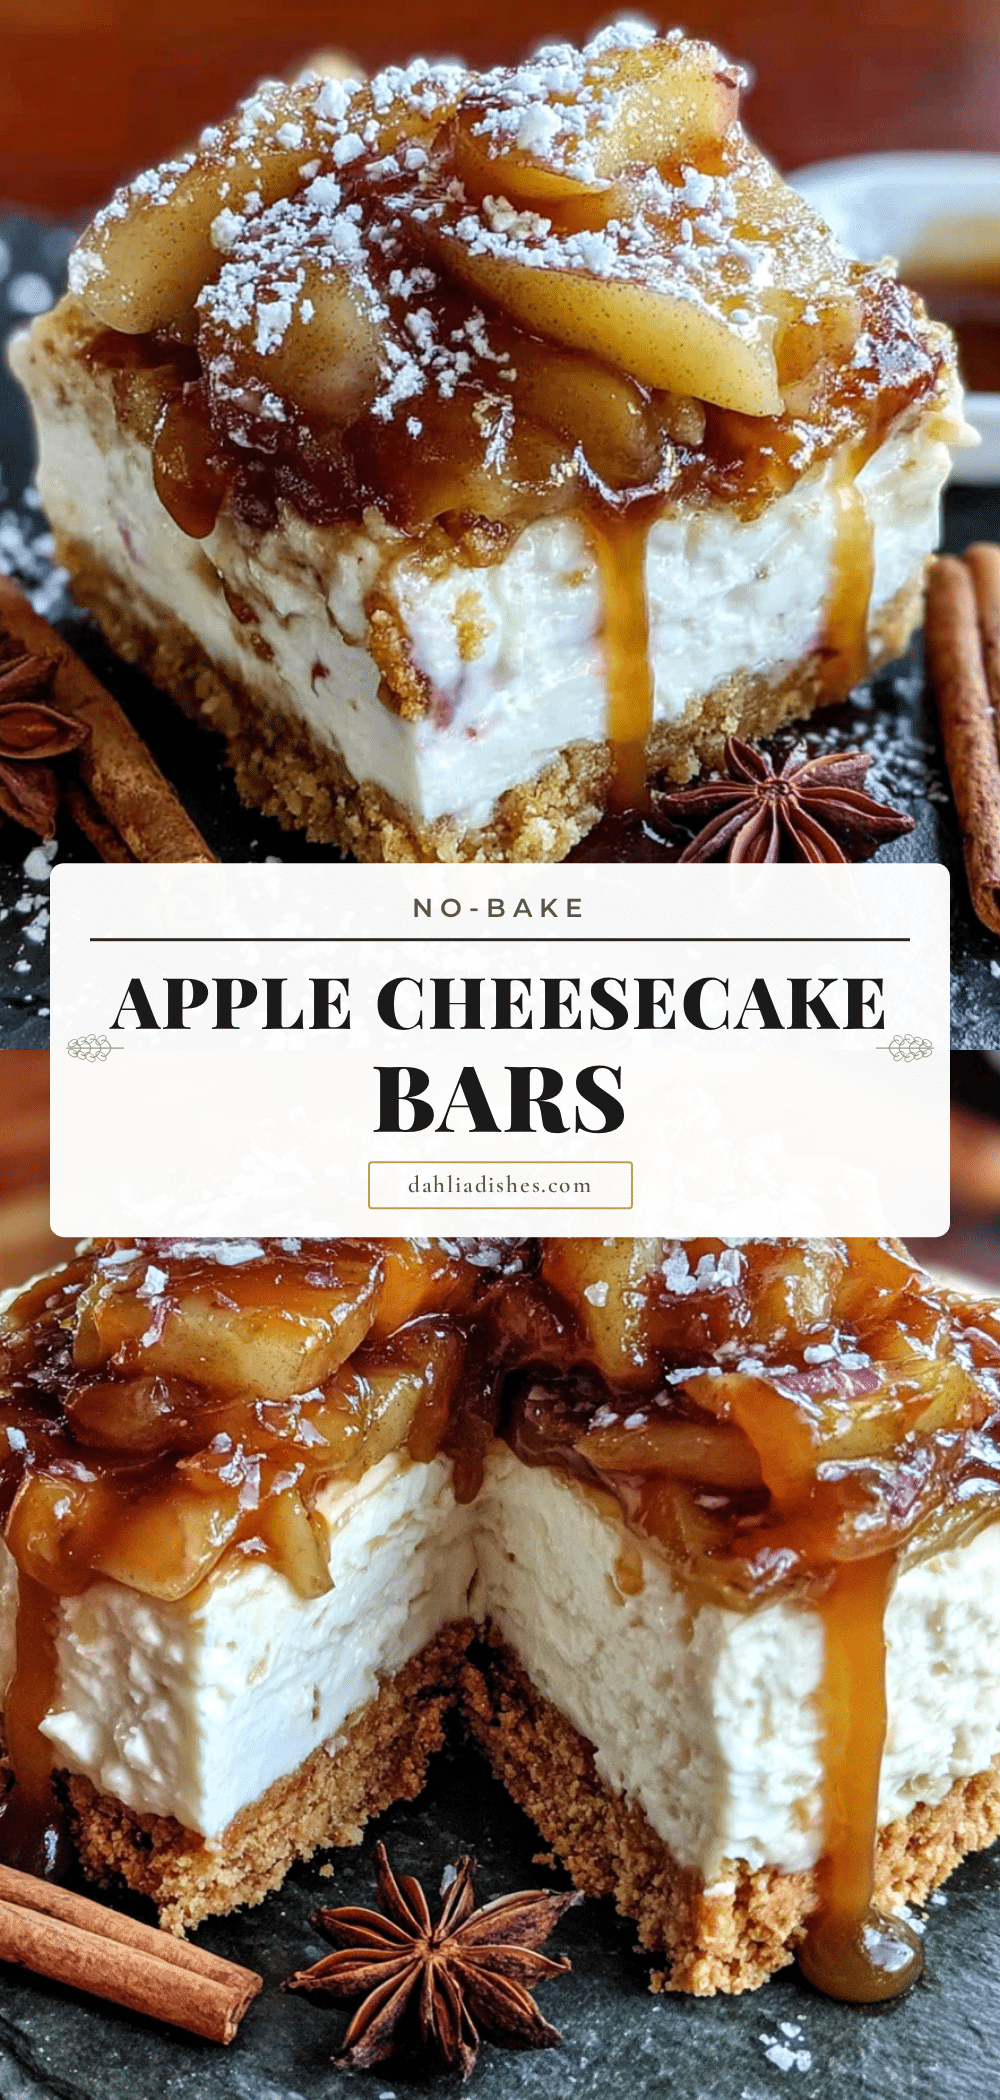
Easy No-Bake Apple Cheesecake Bars: Best 15-Minute Dessert
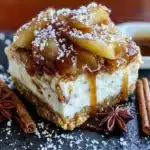
These no-bake apple cheesecake bars feature a buttery graham cracker crust, a creamy cheesecake filling, and a tender spiced apple topping. Ready in just 15 minutes of active prep, they’re the perfect easy fall dessert.
- Prep Time: 15 minutes
- Cook Time: 15 minutes
- Total Time: 4 hours 30 minutes (includes chilling)
- Yield: 9 servings 1x
- Category: Dessert
- Cuisine: American
Ingredients
- 2 cups graham cracker crumbs (about 16 full sheets, crushed finely)
- 1/2 cup unsalted butter, melted
- 1/4 cup granulated sugar
- 1/4 teaspoon ground cinnamon
- 16 oz (two blocks) cream cheese, softened to room temperature
- 1/2 cup powdered sugar
- 1 teaspoon vanilla extract
- 1 cup heavy whipping cream, cold
- 3 medium apples, peeled, cored, and diced small (Granny Smith or Honeycrisp)
- 3 tablespoons unsalted butter
- 1/4 cup brown sugar, packed
- 1 teaspoon ground cinnamon
- 1/4 teaspoon ground nutmeg
- 1 tablespoon lemon juice
- 1 tablespoon cornstarch mixed with 2 tablespoons water
Instructions
- In a medium bowl, combine graham cracker crumbs, 1/4 cup sugar, and 1/4 teaspoon cinnamon. Stir with a fork.
- Pour melted butter over crumb mixture and stir until every crumb is moistened and looks like wet sand.
- Transfer mixture to a parchment-lined 9×9 inch pan. Press down firmly and evenly using the bottom of a flat measuring cup. Refrigerate while making the filling.
- In a large mixing bowl, beat softened cream cheese with an electric mixer on medium speed until smooth and fluffy, about 2 minutes. Scrape down sides.
- Add powdered sugar and vanilla extract. Beat on low until combined, then increase to medium and beat for another minute until light and airy. Scrape bowl again.
- In a separate clean bowl, pour cold heavy whipping cream. Using clean beaters, whip on high speed until stiff peaks form.
- Gently fold whipped cream into cream cheese mixture using a spatula until no white streaks remain. Be gentle to avoid deflating.
- Spoon filling over chilled crust and spread into an even layer. Return pan to fridge to set while making apples.
- In a medium saucepan, melt 3 tablespoons butter over medium heat. Add diced apples, brown sugar, cinnamon, nutmeg, and lemon juice. Stir to coat.
- Cook apples for 5-7 minutes, stirring occasionally, until they begin to soften and release juices.
- Stir cornstarch slurry and pour into pan. Stir constantly for about 1 minute until juices thicken into a glossy syrup coating the apples.
- Remove from heat and let apple mixture cool for 10-15 minutes.
- Spoon cooled apples evenly over cheesecake layer and spread gently.
- Cover pan with plastic wrap and refrigerate for at least 4 hours, preferably overnight.
- When ready to serve, run a large sharp knife under hot water, wipe dry, and cut into squares. Wipe blade clean between cuts.
Notes
Room temperature cream cheese is crucial for a smooth filling. Don’t over-whip the cream; stop as soon as stiff peaks form. For clean cuts, use a hot knife and wipe between slices. Bars can be stored in the refrigerator for up to 5 days or frozen for up to 3 months.
Nutrition
- Serving Size: 1 bar (based on 9 se
- Calories: 420
- Sugar: 25
- Fat: 28
- Carbohydrates: 38
- Protein: 5
Keywords: no-bake apple cheesecake bars, easy apple dessert, no-bake cheesecake, fall dessert, apple cheesecake bars, 15-minute dessert