Love this? Save it for later!
Share the inspiration with your friends
I was packing up my apartment for a move when my elderly neighbor, Mrs. Gable, knocked on my door holding a single overripe banana and a crumpled index card. “You’re not going to believe this,” she said, “but this is the only banana bread recipe you’ll ever need, and it makes just enough for two people.” I had never actually talked to her before, not really—just the usual hallway nods and quick hellos. But there she was, standing in my doorway with this sad-looking banana and a recipe written in handwriting so tiny I had to squint to read it. She told me she’d gotten it from her mother-in-law in 1962, and they’d been making it together every time they had one lonely banana left on the counter. I honestly thought she was a little eccentric, but I took the card anyway, mostly to be polite.
That night, surrounded by half-packed boxes, I decided to make it. I mean, I had the single banana, and I was stressed about the move, and banana bread sounded like the perfect comfort food. Let me tell you—I was not prepared for how good it turned out. The texture was incredibly moist, the banana flavor was concentrated and sweet, and it filled my tiny kitchen with this warm, nostalgic smell that made me forget all about the packing tape and bubble wrap. I ate two slices standing over the counter, and I remember thinking, “This is exactly what I needed right now.”
Mrs. Gable moved to a retirement community a few weeks later, but I still make her banana bread whenever I have a single spotty banana sitting on my counter. It’s become my go-to for quiet Sunday mornings, late-night cravings, or those days when I just need something homemade without committing to a full loaf. Maybe you’ve been there—you want banana bread, but you don’t want a whole loaf sitting around tempting you for days. This recipe is the answer you didn’t know you were looking for. It’s personal, it’s perfectly portioned, and honestly, it might just become your new favorite thing to bake.
Why You’ll Love This Recipe
This isn’t just another banana bread recipe—it’s the one I’ve tested more times than I can count, tweaking and perfecting until it was absolutely foolproof. As someone who has baked professionally and taught cooking classes, I can tell you that scaling down a classic recipe is trickier than it sounds. But this one? It works every single time.
- Perfectly Portioned : Made for two people, this recipe uses just one banana and bakes in a small loaf pan. No waste, no leftovers that go bad before you finish them.
- Incredibly Moist : The secret is using a very ripe banana and a touch of yogurt, which keeps the crumb tender and soft for days.
- Simple Ingredients : You probably already have everything in your pantry. No fancy extracts, no specialty flours—just real, basic baking staples.
- Quick to Make : From start to finish, you’re looking at about 45 minutes. Mix the batter in one bowl, bake, and you’re done.
- Customizable : Throw in chocolate chips, nuts, or a swirl of peanut butter. This recipe handles additions beautifully.
- Stress-Free Baking : No complicated techniques, no stand mixer needed. Just a bowl, a whisk, and a little love.
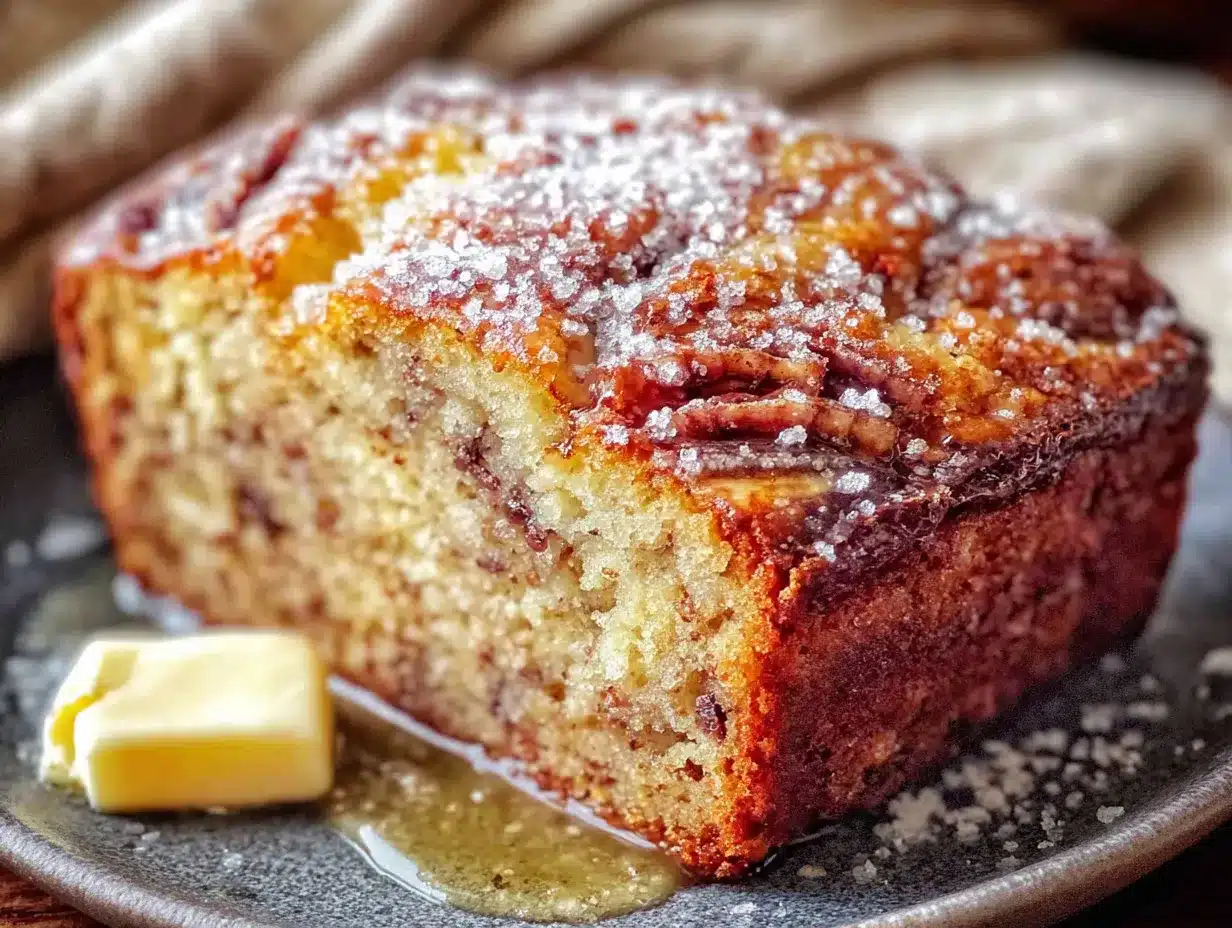
What makes this recipe different from every other banana bread out there is the ratio. Most small-batch recipes are just big recipes cut in half, but they don’t account for the way a single banana behaves in the oven. I spent weeks adjusting the flour, the fat, and the leavening to get that perfect dome and tender crumb. This isn’t a compromise—it’s a better version of the original. It’s the kind of bread that makes you close your eyes after the first bite, because it tastes like something your grandmother would have made, just for you.
What Ingredients You Will Need
This recipe uses simple, everyday ingredients that come together to create something truly special. The magic is in the proportions and the quality of what you use, not in complicated components.
- 1 very ripe banana (medium-sized, about 120g with peel on, or 100g peeled and mashed). The riper the better—look for brown spots all over the skin. This is non-negotiable for maximum sweetness and moisture.
- ¼ cup unsalted butter (57g), melted and slightly cooled. I prefer using European-style butter like Kerrygold for a richer flavor, but any unsalted butter works perfectly.
- ¼ cup granulated sugar (50g). Regular white sugar gives the best texture. You can substitute coconut sugar for a deeper flavor, but the crumb will be slightly denser.
- 1 large egg yolk (save the white for an omelet!). Using just the yolk adds richness without making the batter too thin. If you’re doubling the recipe, use one whole egg instead.
- 2 tablespoons plain yogurt (30g), full-fat or low-fat. Greek yogurt works too, but thin it with a teaspoon of milk first. The yogurt adds moisture and a subtle tang that balances the sweetness.
- ½ teaspoon vanilla extract. Pure vanilla is best, but imitation works fine in a pinch.
- ½ cup all-purpose flour (65g). Spoon and level your flour—don’t scoop directly from the bag, or you’ll end up with dry bread.
- ¼ teaspoon baking soda. This is the only leavening agent you need. Make sure it’s fresh—test it by dropping a pinch into vinegar; it should fizz immediately.
- ¼ teaspoon salt. I use fine sea salt. It enhances the banana flavor and balances the sweetness.
Optional Add-Ins
- ¼ cup chocolate chips (45g) or chopped walnuts (30g). Fold them in gently at the end.
- 1 tablespoon brown sugar for the top, sprinkled before baking for a crunchy crust.
- ½ teaspoon cinnamon or pumpkin pie spice, whisked into the flour for a warm spice note.
Equipment Needed
You don’t need a fully stocked bakery to make this bread. Here’s what you’ll actually use:
- Small loaf pan (about 5.75 x 3.25 inches or 14 x 8 cm). This is the key to the whole recipe. I use a 1-pound loaf pan from USA Pan, and it works beautifully. If you don’t have one, you can bake the batter in a 6-inch cast iron skillet or even in four standard muffin cups (bake for 18-20 minutes).
- Mixing bowls (one medium, one small). Nothing fancy—I use the same nesting bowls I’ve had for years.
- Whisk and rubber spatula. A fork works for mashing the banana, but a spatula is essential for scraping every bit of batter into the pan.
- Parchment paper. Cut a strip to fit the length of your pan, leaving overhang on two sides. This makes lifting the bread out effortless.
- Cooling rack. If you don’t have one, you can use the oven rack (turned off, of course) or even a cutting board propped up on two cans.
- Kitchen scale (optional but recommended). Measuring flour by weight is more accurate and ensures consistent results every time.
I learned the hard way that using a regular 9×5 loaf pan with this recipe results in a sad, flat pancake of bread. The batter needs to fill the pan at least two-thirds full to get that beautiful domed top. If you’re just starting out, a small loaf pan is a worthy investment—you’ll use it for meatloaf, small cakes, and gift loaves too.
Preparation Method
- Preheat your oven to 350°F (175°C) and position a rack in the center. Line your small loaf pan with a strip of parchment paper, leaving an overhang on the two long sides. Lightly grease any exposed parts of the pan with butter or nonstick spray.
- Mash the banana in a medium mixing bowl until it’s completely smooth with no lumps. I use a fork and go at it for about 30 seconds. You want a puree-like consistency—if there are chunks, they’ll create pockets of gooey banana in the bread (which some people love, but for a uniform texture, mash thoroughly).
- Add the melted butter to the mashed banana and whisk until combined. The mixture might look a little separated at first—that’s totally normal. Keep whisking until it comes together into a smooth, glossy mixture.
- Whisk in the sugar until fully dissolved, about 30 seconds. Then add the egg yolk, yogurt, and vanilla extract. Whisk vigorously until the batter is smooth and slightly thickened. It should look like a thin cake batter at this point.
- In a separate small bowl, whisk together the flour, baking soda, and salt. Make sure there are no lumps in the baking soda—I always press it through a fine-mesh sieve if I’m unsure.
- Add the dry ingredients to the wet ingredients all at once. Use a rubber spatula to fold everything together gently. Stop as soon as you see no more streaks of flour. Overmixing at this stage will develop gluten and make your bread tough and dense. A few small lumps are perfectly fine.
- If using add-ins, fold them in now with just a few strokes. Don’t overmix—you want the chocolate chips or nuts distributed evenly, not ground into the batter.
- Scrape the batter into the prepared loaf pan and spread it into an even layer. The batter will be thick and slightly sticky—that’s exactly what you want. If desired, sprinkle the top with a teaspoon of brown sugar or a few extra chocolate chips for a pretty finish.
- Bake for 28-32 minutes, or until a toothpick inserted into the center comes out with just a few moist crumbs attached. The top should be golden brown and spring back lightly when touched. Start checking at 28 minutes—ovens vary, and overbaking is the most common mistake.
- Let the bread cool in the pan on a wire rack for 10 minutes. Then use the parchment overhang to lift it out and transfer it to the rack to cool completely. If you slice it while it’s still warm, it will crumble—I know it’s tempting, but waiting those extra 20 minutes makes a huge difference.
One thing I learned from a particularly disastrous first attempt: don’t open the oven door for the first 25 minutes. The sudden rush of cool air can cause the bread to sink in the middle. Just trust the process and peek when it’s almost done.
Cooking Tips & Techniques
After making this recipe dozens of times—including a few spectacular failures—I’ve gathered some tips that will save you from my early mistakes.
Don’t skip the yogurt. I once substituted it with milk because I thought it wouldn’t matter. The bread was drier and less tender. The yogurt’s acidity reacts with the baking soda to create lift, and its fat content keeps the crumb soft. It’s doing more work than you think.
Use a kitchen scale for the flour. I cannot stress this enough. Scooping flour from the bag can give you anywhere from 60g to 80g per half cup, and that 20g difference will absolutely ruin your bread. If you don’t have a scale, spoon the flour into your measuring cup and level it off with a knife.
Room temperature ingredients matter. Cold egg yolk and cold yogurt will seize the melted butter, creating a lumpy batter that bakes unevenly. Let everything sit out for 15 minutes before you start. I usually take the egg and yogurt out while I preheat the oven.
The banana must be spotty. A yellow banana with no brown spots will not give you enough sweetness or moisture. I’ve made this mistake when I was impatient, and the result was a bland, dry bread that nobody wanted to eat. If your banana isn’t ripe enough, you can roast it in a 300°F oven for 15 minutes to concentrate the sugars, but honestly, it’s better to just wait a day or two.
Check for doneness with a thermometer. If you have an instant-read thermometer, the internal temperature should be 200-205°F (93-96°C) when the bread is done. This is more reliable than the toothpick test, especially if you’ve added chocolate chips that might give a false reading.
Variations & Adaptations
One of the best things about this recipe is how easily it adapts to different tastes and dietary needs. Here are some variations I’ve tried and loved:
Chocolate Chip Banana Bread : Fold in ¼ cup of semi-sweet or dark chocolate chips. I prefer Ghirardelli 60% cacao chips because they don’t melt completely and leave pockets of gooey chocolate throughout the bread. Sprinkle a few extra on top before baking for a bakery-style look.
Gluten-Free Version : Substitute the all-purpose flour with a 1:1 gluten-free baking flour blend that contains xanthan gum. I’ve tested this with Bob’s Red Mill 1-to-1 Baking Flour, and the texture is surprisingly close to the original. Add an extra tablespoon of yogurt to compensate for the drier gluten-free flour.
Vegan Adaptation : Replace the butter with coconut oil or vegan butter, use a flax egg (1 tablespoon ground flaxseed mixed with 3 tablespoons water, let sit for 5 minutes), and substitute the yogurt with unsweetened applesauce. The texture will be slightly denser, but the flavor is still fantastic.
Spiced Banana Bread : Add ½ teaspoon of cinnamon, ¼ teaspoon of nutmeg, and a pinch of ground ginger to the flour mixture. This version is perfect for fall and pairs beautifully with a cup of chai tea. I once added too much nutmeg and it tasted like pumpkin pie—still delicious, but not what I was going for.
Nutty Banana Bread : Toast ¼ cup of chopped walnuts or pecans in a dry skillet over medium heat for 3-4 minutes until fragrant. Let them cool completely, then fold them into the batter. Toasting brings out their oils and adds a depth of flavor that raw nuts just can’t match.
Serving & Storage Suggestions
This banana bread is best served slightly warm, when the butter is still melting into the crumb and the aroma is intoxicating. I like to slice it about ½ inch thick and spread a thin layer of salted butter on each piece. For a more indulgent treat, try it with a drizzle of honey or a dollop of mascarpone cheese.
What to serve with it:
- A hot cup of coffee or black tea—the bitterness balances the sweetness perfectly.
- A glass of cold milk, especially if you’ve added chocolate chips.
- Fresh berries on the side for a pop of acidity and color.
- A scoop of vanilla ice cream for an impromptu dessert.
Storage: Wrap the cooled bread tightly in plastic wrap or aluminum foil and store at room temperature for up to 3 days. Do not refrigerate—the cold air will dry out the bread and make it stale faster. If your kitchen is very warm, you can store it in an airtight container instead.
Freezing: This bread freezes beautifully. Wrap the whole loaf or individual slices in plastic wrap, then place them in a freezer-safe bag. They’ll keep for up to 3 months. To thaw, leave the wrapped bread on the counter for about an hour, or pop a frozen slice in the toaster for a quick, warm breakfast.
Reheating: For that just-baked texture, warm slices in a 300°F oven for 5-7 minutes, or microwave for 10-15 seconds. The microwave is faster, but the oven gives you a slightly crisper exterior.
One thing I’ve noticed: the flavor actually improves on the second day. The banana flavor becomes more pronounced and the crumb settles into a perfect, tender texture. So if you can resist eating it all in one sitting, you’re in for a treat.
Nutritional Information & Benefits
This recipe makes one small loaf, which yields about 4 generous slices. Here’s the approximate nutritional breakdown per slice (without add-ins):
| Nutrient | Amount per slice |
|---|---|
| Calories | 245 |
| Total Fat | 13g |
| Saturated Fat | 8g |
| Cholesterol | 75mg |
| Sodium | 220mg |
| Total Carbohydrates | 30g |
| Dietary Fiber | 1g |
| Sugars | 16g |
| Protein | 3g |
Bananas are an excellent source of potassium, which supports heart health and muscle function. They also contain vitamin B6, vitamin C, and fiber. Using yogurt adds a dose of calcium and probiotics, which are great for digestive health.
This recipe is relatively low in added sugar compared to traditional banana bread recipes, thanks to the natural sweetness of a very ripe banana. If you’re watching your sugar intake, you can reduce the granulated sugar to 3 tablespoons without significantly affecting the texture.
For those with dietary restrictions, this recipe can be made gluten-free (as mentioned above) and can be adapted to be dairy-free by using coconut oil and a dairy-free yogurt alternative. It is not suitable for a vegan diet without modifications, as the egg yolk is essential for structure.
Conclusion
This small-batch banana bread has become a staple in my kitchen, and I hope it becomes one in yours too. It’s the kind of recipe that proves you don’t need a crowd or a complicated ingredient list to create something truly satisfying. Whether you’re baking for yourself, for a partner, or just to use up that lonely banana on your counter, this bread delivers every single time.
I love that this recipe gives me permission to bake without pressure. There’s no huge loaf to finish, no guilt about wasting food, and no stress about it turning out perfectly. It’s just a simple, honest piece of homemade goodness that makes any day feel a little bit special.
So go ahead—grab that spotty banana, preheat your oven, and give this recipe a try. And when you do, I’d love to hear about it. Leave a comment below and tell me how it turned out, what add-ins you used, or if you came up with your own twist. Share a photo on Pinterest and tag me so I can see your beautiful loaf. Happy baking, friend—you’ve got this.
Frequently Asked Questions
Can I use a regular-sized loaf pan instead of a small one?
You can, but the bread will be very flat and thin because the batter won’t fill the pan enough. It will also bake much faster, so start checking at 20 minutes. For best results, use a small 1-pound loaf pan or divide the batter into a muffin tin.
Can I double this recipe?
Absolutely! Double all the ingredients and use two small loaf pans or one standard 9×5-inch loaf pan. If using a standard pan, bake for 45-50 minutes. Use one whole egg instead of two yolks for a better texture in the larger batch.
Why did my banana bread sink in the middle?
This usually happens for one of three reasons: the batter was overmixed, the oven door was opened too early, or the banana wasn’t ripe enough. Make sure your baking soda is fresh and your oven temperature is accurate. A slight dip is normal, but a deep crater means something went wrong.
Can I make this without a mixer?
Yes, and I actually prefer it that way. This recipe is designed to be mixed by hand with a whisk and a rubber spatula. No stand mixer or hand mixer needed—just a little elbow grease and a gentle touch when folding in the flour.
How do I know when the banana is ripe enough?
Look for a banana with brown spots covering at least half the peel. It should feel soft when gently squeezed, but not mushy or leaking. The peel might look unappealing, but that’s exactly what you want. If your banana is still yellow, let it sit on the counter for a few more days.
Pin This Recipe!
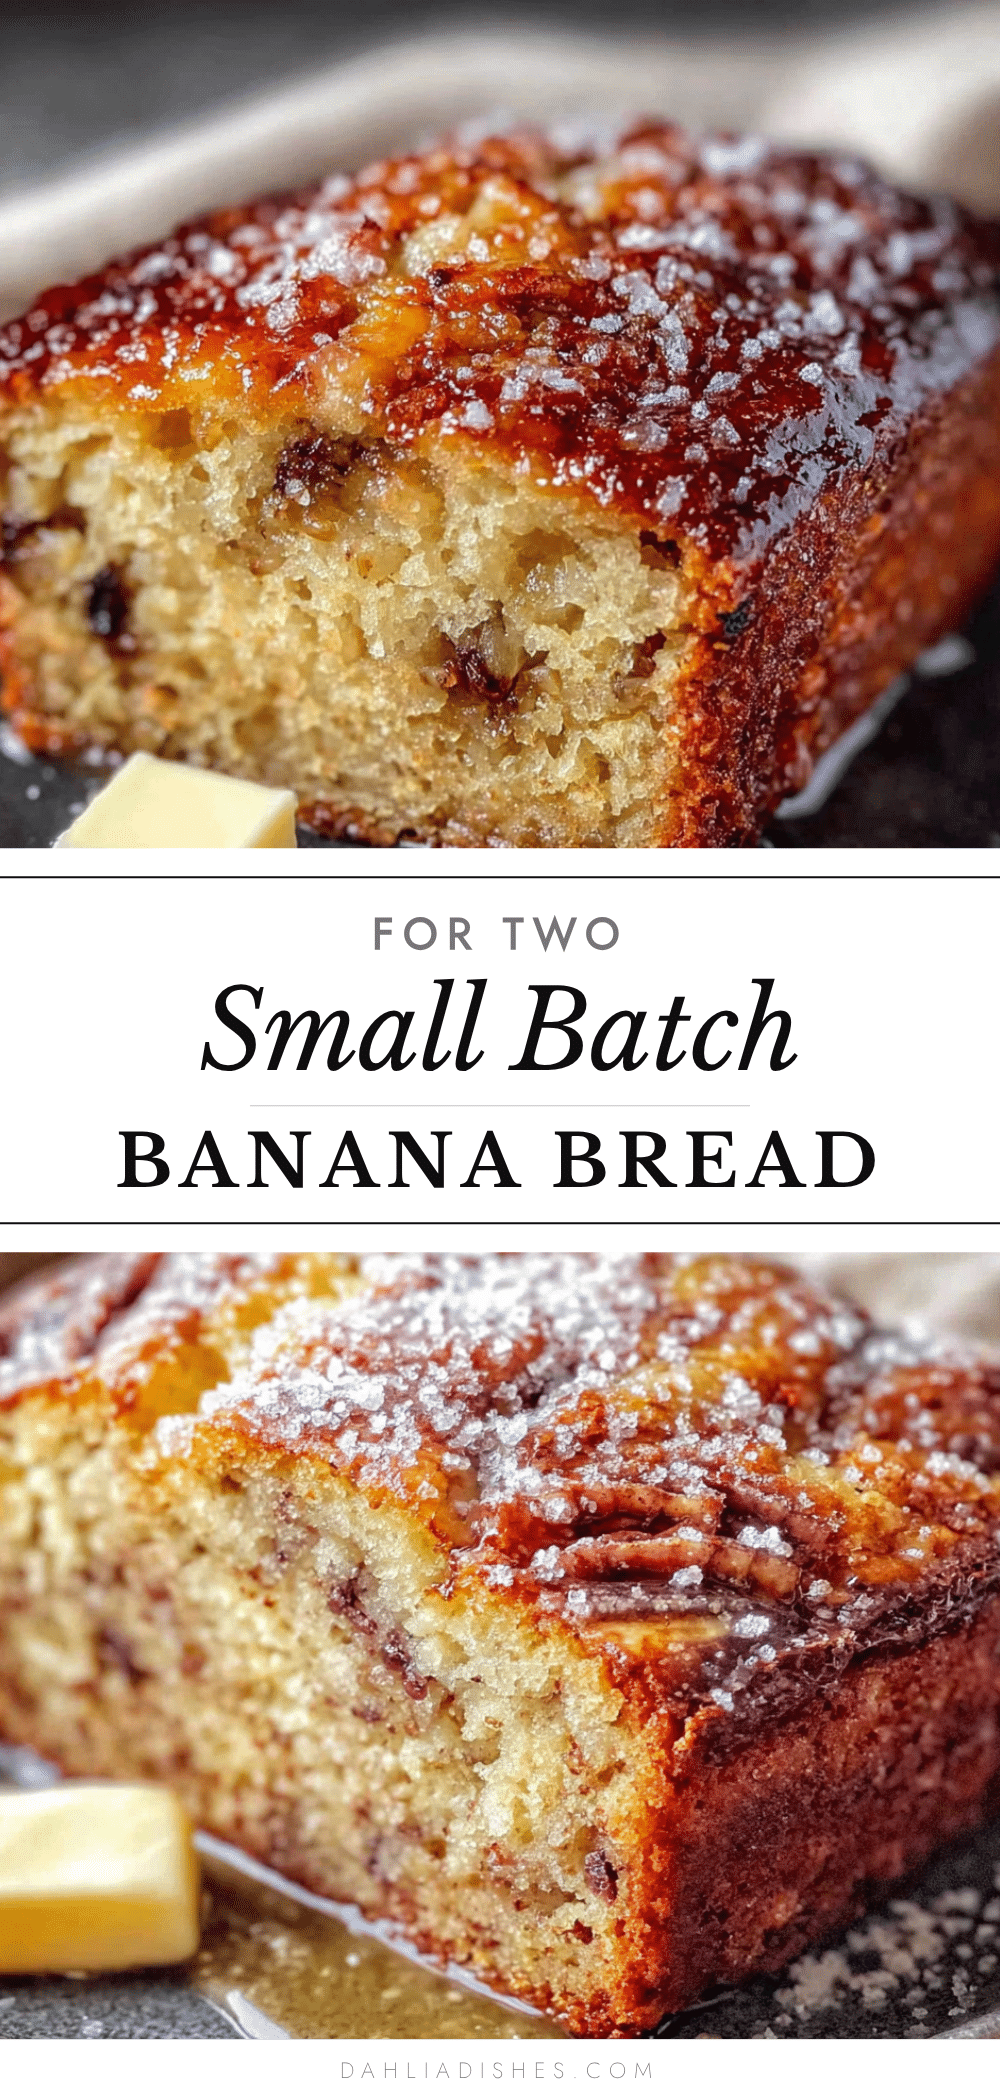
Perfect Small-Batch Banana Bread for Two
This small-batch banana bread is perfectly portioned for two people, incredibly moist, and made with simple pantry ingredients. It’s the ideal recipe for using up a single overripe banana without committing to a full loaf.
- Prep Time: 15 minutes
- Cook Time: 30 minutes
- Total Time: 45 minutes
- Yield: 4 servings 1x
- Category: Dessert
- Cuisine: American
Ingredients
- 1 very ripe banana (medium-sized, about 120g with peel on, or 100g peeled and mashed)
- ¼ cup unsalted butter (57g), melted and slightly cooled
- ¼ cup granulated sugar (50g)
- 1 large egg yolk
- 2 tablespoons plain yogurt (30g), full-fat or low-fat
- ½ teaspoon vanilla extract
- ½ cup all-purpose flour (65g), spooned and leveled
- ¼ teaspoon baking soda
- ¼ teaspoon fine sea salt
- Optional add-ins: ¼ cup chocolate chips (45g) or chopped walnuts (30g), 1 tablespoon brown sugar for topping, ½ teaspoon cinnamon or pumpkin pie spice
Instructions
- Preheat your oven to 350°F (175°C) and position a rack in the center. Line a small loaf pan (about 5.75 x 3.25 inches) with a strip of parchment paper, leaving an overhang on the two long sides. Lightly grease any exposed parts of the pan with butter or nonstick spray.
- Mash the banana in a medium mixing bowl until completely smooth with no lumps, using a fork for about 30 seconds.
- Add the melted butter to the mashed banana and whisk until combined. The mixture might look separated at first; keep whisking until smooth and glossy.
- Whisk in the sugar until fully dissolved, about 30 seconds. Then add the egg yolk, yogurt, and vanilla extract. Whisk vigorously until the batter is smooth and slightly thickened.
- In a separate small bowl, whisk together the flour, baking soda, and salt. Make sure there are no lumps in the baking soda.
- Add the dry ingredients to the wet ingredients all at once. Use a rubber spatula to fold everything together gently, stopping as soon as no streaks of flour remain. Do not overmix.
- If using add-ins, fold them in now with just a few strokes.
- Scrape the batter into the prepared loaf pan and spread it into an even layer. If desired, sprinkle the top with a teaspoon of brown sugar or a few extra chocolate chips.
- Bake for 28-32 minutes, or until a toothpick inserted into the center comes out with just a few moist crumbs attached. The top should be golden brown and spring back lightly when touched.
- Let the bread cool in the pan on a wire rack for 10 minutes. Then use the parchment overhang to lift it out and transfer it to the rack to cool completely before slicing.
Notes
Use a very ripe banana with brown spots for maximum sweetness and moisture. Do not open the oven door for the first 25 minutes of baking to prevent the bread from sinking. The flavor improves on the second day. For best results, use a kitchen scale to measure flour accurately.
Nutrition
- Serving Size: 1 slice (1/4 of loaf
- Calories: 245
- Sugar: 16
- Sodium: 220
- Fat: 13
- Saturated Fat: 8
- Carbohydrates: 30
- Fiber: 1
- Protein: 3
Keywords: small-batch banana bread, banana bread for two, single banana recipe, easy banana bread, moist banana bread, small loaf banana bread


