Love this? Save it for later!
Share the inspiration with your friends
My neighbor, a retired nurse named Carol, watched me sneeze three times in a row from across the fence last January. She didn’t say anything at first. She just turned around, went inside her house, and came back with a small glass jar filled with deep purple gummies that looked like fancy candy. “You need these,” she said, handing them over. “They taste better than the syrup, and the kids actually ask for them.” I was a bit skeptical, honestly. I had tried elderberry syrup before, and while it worked, the taste was something you had to brace yourself for. But these gummies? They were a game-changer.
I spent the next week pestering Carol for the recipe, and she finally wrote it down on a sticky note with measurements that said things like “a splash” and “until it feels right.” It took me three attempts to get it right. The first batch turned into a sticky mess that glued my measuring cup to the counter. The second batch was too firm—like chewing on rubber bands. But the third batch? That was the sweet spot. I tweaked her recipe just a little, adding a bit of lemon juice to cut the sweetness and using a mold that makes little bear shapes. Now, I make a batch every month, and honestly, it has become a little ritual.
Maybe you have been there—standing in the pharmacy aisle, staring at shelves of neon-colored gummy vitamins, wondering if they actually do anything. These homemade elderberry immune-boost gummies are different. They are made with real food, real berries, and a whole lot of love. They are the kind of thing that makes you feel like you are actually taking care of yourself, not just swallowing a pill. Let me tell you, once you make these, you will never go back to store-bought.
Why You’ll Love This Recipe
I have tested this recipe more times than I care to count, and I can tell you with confidence that it works. It is not just another internet recipe that looks good in photos but fails in real life. This one has been through the wringer—sticky counters, stubborn molds, and a few batches that ended up in the trash. Here is why you will love it:
- Quick & Easy: Comes together in under 30 minutes of active time. Most of the time is just waiting for the gummies to set in the fridge.
- Simple Ingredients: You probably have most of these in your pantry already. No weird chemicals or gelatin packets with instructions in three languages.
- Perfect for Cold Season: Great for when you feel that tickle in your throat or when the kids come home with runny noses from school.
- Crowd-Pleaser: Even picky eaters love these. My nephew, who refuses to take any medicine, asks for “purple bears” every time he visits.
- Unbelievably Delicious: The tartness of the elderberry mixed with the sweetness of honey creates a flavor that is actually enjoyable. You will want to eat them—just stick to the recommended dose!
What makes this recipe different from all the other gummy recipes out there? It is the texture. I spent weeks figuring out how to get that perfect chewy-but-not-rubbery consistency. The secret is in the blooming process—letting the gelatin sit in cold liquid before heating it. It sounds fussy, but it makes all the difference. This is not just another version of a gummy recipe. It is the one I trust for my own family, and that means something.
What Ingredients You Will Need
This recipe uses simple, wholesome ingredients to deliver a powerful immune boost without the artificial junk. Most of these are pantry staples or easy to find at your local grocery store. Here is what you need:
- 1 cup (240 ml) unsweetened elderberry juice or concentrate: This is the star of the show. You can find it in health food stores or online. I prefer the concentrate because it has a richer flavor. (Look for a brand that lists elderberries as the only ingredient.)
- 1/2 cup (120 ml) water: Just regular tap water is fine. I use filtered water because our tap water has a funny taste.
- 1/4 cup (60 ml) raw honey: Adds sweetness and has its own immune-boosting properties. Do not use honey that is too thick or crystallized—it will be hard to mix. (Local honey is best if you can get it.)
- 1 tablespoon (15 ml) fresh lemon juice: Helps balance the sweetness and adds a bit of vitamin C. Use fresh lemons, not the bottled stuff.
- 3 tablespoons (about 25 g) unflavored gelatin powder: This is what gives the gummies their chewy texture. I use the Knox brand because it is reliable and widely available. (Do not use flavored gelatin—it will change the taste completely.)
- Optional: 1/2 teaspoon vitamin C powder or crushed vitamin C tablet: For an extra immune boost. I add this when I feel a cold coming on.
- Optional: Silicone gummy bear molds: These make the gummies fun and easy to portion. You can also use a small baking dish and cut them into squares.
A quick note on the elderberry juice: If you cannot find it pre-made, you can make your own by simmering dried elderberries with water for 20 minutes and straining out the solids. It takes a bit more time, but the flavor is even better. I have done it both ways, and honestly, the homemade juice gives a deeper, more earthy taste.
Equipment Needed
You do not need a professional kitchen to make these gummies. Here is what you will need:
- Silicone gummy bear molds: These are worth the investment. They make the gummies easy to pop out and come in fun shapes. I got mine on Amazon for about eight dollars.
- Small saucepan: For heating the liquid mixture. A non-stick pan works best to avoid sticking.
- Whisk: A small whisk is perfect for incorporating the gelatin without lumps.
- Fine-mesh strainer: Optional but helpful if your juice has any pulp or if you want to remove foam from the surface.
- Liquid measuring cup with a spout: This makes pouring the mixture into the molds much easier. A spouted cup is a game-changer.
- Dropper or small pipette: For filling the tiny mold cavities without making a mess. I use a turkey baster in a pinch.
- Refrigerator space: You need a flat spot in your fridge where the molds can sit undisturbed for at least 2 hours.
If you do not have silicone molds, do not worry. You can pour the mixture into a small glass baking dish (about 8×8 inches), let it set, and then cut it into small squares with a sharp knife. It is not as cute, but it works just as well. I have done this when my molds were in the dishwasher, and nobody complained.
Preparation Method
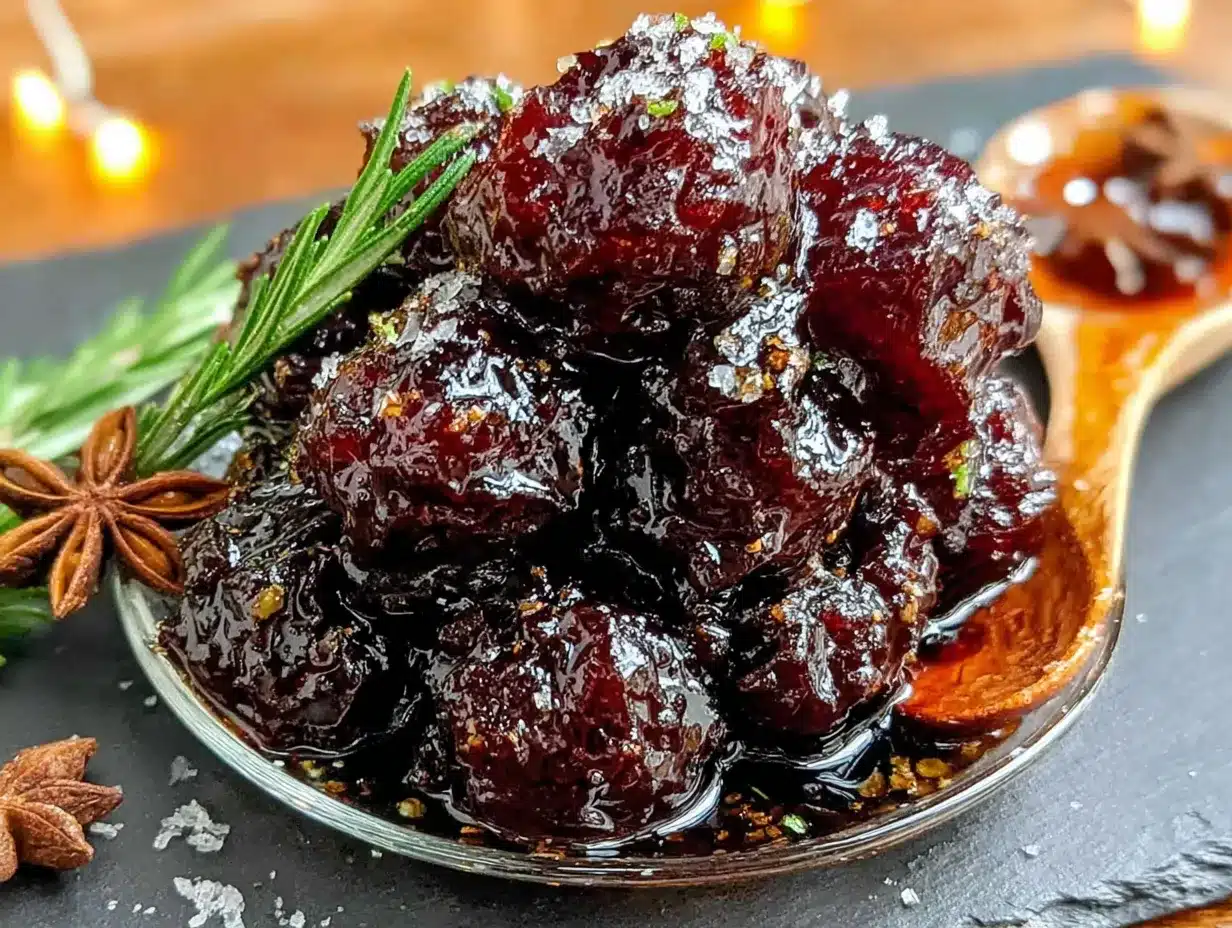
Making these gummies is straightforward, but there are a few tricks to get the texture just right. Follow these steps carefully, and you will have perfect gummies every time.
- Bloom the gelatin: Pour the 1/2 cup of cold water into a small bowl. Sprinkle the 3 tablespoons of gelatin powder evenly over the surface. Do not stir. Let it sit for 5-10 minutes until it becomes thick and spongy. This step is crucial—if you skip it, your gummies will be grainy and weird. I learned this the hard way.
- Heat the elderberry juice: While the gelatin is blooming, pour the elderberry juice into a small saucepan. Warm it over medium-low heat for 2-3 minutes. Do not let it boil. You just want it warm enough to dissolve the honey. (If it gets too hot, it can weaken the gelatin.)
- Combine the honey and lemon: Add the honey and lemon juice to the warm elderberry juice. Whisk gently until the honey is fully dissolved. The mixture should smell sweet and slightly tart at this point.
- Melt the gelatin: Once the gelatin has bloomed, add it to the saucepan with the elderberry mixture. Whisk continuously over low heat for 3-4 minutes until the gelatin is completely dissolved. You should not see any lumps or stringy bits. The mixture will look smooth and slightly thick.
- Strain (optional): If you see any foam or undissolved bits on the surface, pour the mixture through a fine-mesh strainer into a liquid measuring cup. This gives you a cleaner, more professional-looking gummy.
- Fill the molds: Place your silicone molds on a flat baking sheet (this makes them easier to move). Using a dropper or the spout of the measuring cup, carefully fill each cavity. Do not overfill—leave a tiny gap at the top. If you spill, just wipe it off with a paper towel.
- Refrigerate: Place the baking sheet with the filled molds in the refrigerator. Let them set for at least 2 hours, but overnight is better if you have the time. Patience is key here. I once tried to rush this step and ended up with gummy soup.
- Unmold and store: Once the gummies are firm, pop them out of the molds. They should release easily. If they stick, try leaving them at room temperature for 5 minutes first. Store them in an airtight container in the refrigerator.
Cooking Tips & Techniques
I have made this recipe at least twenty times, and I have made every mistake in the book. Here are the lessons I learned so you do not have to repeat them:
- Do not overheat the gelatin: Gelatin is a protein, and if you get it too hot (above 180°F or 82°C), it will lose its setting power. You want the mixture to be warm, not hot. I use my finger to test it—if it feels hot but not burning, it is ready.
- Work quickly when filling molds: The gelatin mixture will start to set as it cools. If it gets too thick, you can gently reheat it over low heat for a few seconds. Do not microwave it—I tried that once, and it created a rubbery mess.
- Use a non-stick spray for stubborn molds: If your gummies are sticking, lightly spray the molds with a neutral oil like coconut or avocado oil before filling. I do not usually need this, but it helps with intricate molds.
- Keep the molds level: Uneven molds lead to lopsided gummies. Place the molds on a flat baking sheet before filling, and do not move them until they are set.
- Double the batch: These gummies disappear fast in my house. I always make a double batch and freeze half. They thaw perfectly in the fridge overnight.
One thing I wish someone had told me: the mixture will look very liquidy when you pour it into the molds. Do not panic. It will set. The first time I made these, I thought I had messed up because the liquid was so thin. I almost added more gelatin. Trust the process.
Variations & Adaptations
This recipe is forgiving and easy to adapt. Here are some variations I have tried and loved:
- Vegan version: Substitute the gelatin with agar-agar powder. Use 2 tablespoons of agar-agar and follow the package instructions. The texture will be firmer and less chewy, but it still works. I have made this for a vegan friend, and she was thrilled.
- Extra immune boost: Add 1/2 teaspoon of turmeric powder and a pinch of black pepper to the mixture. The turmeric gives a beautiful golden color and an anti-inflammatory kick. Just be aware that it will stain your molds slightly.
- Fruitier flavor: Replace half of the water with unsweetened cranberry or pomegranate juice. This adds a different antioxidant profile and a tangy twist. I like using pomegranate juice in the winter.
- Less sweet: Reduce the honey to 2 tablespoons or substitute with stevia drops to taste. The gummies will be more tart, which some people prefer. My husband actually likes them better this way.
- Adult version: Add 1-2 tablespoons of elderberry liqueur or a splash of brandy to the mixture before pouring. This is not for kids, obviously, but it makes a fun cocktail snack for parties.
I personally love the turmeric variation. It turns the gummies a vibrant orange color, and I feel like a wellness guru when I eat them. Just be careful with the turmeric—it can stain your countertops if you spill it.
Serving & Storage Suggestions
These gummies are best served cold, straight from the fridge. The texture is perfect when they are chilled—firm but with a satisfying chew. I like to take a few out and let them sit on the counter for 5 minutes before eating. It softens them just a little.
For storage, keep the gummies in an airtight container in the refrigerator. They will last for up to 2 weeks, but honestly, they never last that long in my house. If you want to keep them longer, you can freeze them. Place them in a single layer on a baking sheet, freeze for an hour, then transfer to a freezer bag. They will keep for up to 3 months. To thaw, just move them to the fridge overnight.
I have noticed that the flavors actually deepen after a day or two in the fridge. The first day, they taste mostly sweet and tart. By day three, the elderberry flavor becomes more pronounced and earthy. It is a subtle change, but it makes them even better.
These gummies pair well with a warm cup of herbal tea, especially chamomile or ginger. I also like to pack a few in a small container for road trips or long days at the office. They are a much healthier alternative to candy when you need a little pick-me-up.
Nutritional Information & Benefits
Here is the approximate nutritional breakdown per serving (about 8 gummies, depending on your mold size):
- Calories: 45-60
- Carbohydrates: 10-12g
- Sugar: 8-10g (from honey and natural fruit sugars)
- Protein: 2-3g (from the gelatin)
- Vitamin C: 15-20% of the Daily Value (from elderberry and lemon juice)
The real benefit here is not just the numbers. Elderberries are packed with antioxidants called anthocyanins, which help support your immune system. The honey adds antibacterial properties, and the gelatin provides collagen for healthy skin and joints. These are not just gummies—they are a little dose of wellness in a fun package.
If you are diabetic or watching your sugar intake, you can use a sugar-free sweetener like monk fruit or stevia. Just adjust the amount to taste. Also, note that this recipe is not suitable for vegetarians or vegans unless you use agar-agar.
Conclusion
These homemade elderberry immune-boost gummies are worth every bit of effort. They are fun to make, delicious to eat, and actually good for you. I love that I can control exactly what goes into them—no artificial colors, no high-fructose corn syrup, no mystery ingredients. Just real food that tastes like a treat.
I encourage you to make this recipe your own. Play with the flavors, try different molds, and adjust the sweetness to your liking. The beauty of homemade food is that it bends to your preferences, not the other way around. If you end up with a batch that is too soft or too firm, do not give up. Adjust the gelatin next time and try again. That is how you learn.
I would love to hear how your gummies turn out. Drop a comment below with your favorite variation or any tips you discovered along the way. Share this recipe with a friend who could use a little immune boost. And remember, the best medicine is the one you actually enjoy taking. Happy cooking!
Frequently Asked Questions
Can I use fresh elderberries instead of juice?
Yes, you can. Simmer 1/2 cup of fresh or dried elderberries with 1 cup of water for 20 minutes, then strain through a fine-mesh strainer. Use the resulting liquid as your juice. Just note that fresh elderberries are very tart, so you may need to add a bit more honey.
Why did my gummies turn out too hard?
This usually happens if you used too much gelatin or if you boiled the mixture. Gelatin loses its elasticity when overheated. Next time, use a thermometer and keep the mixture below 180°F (82°C). Also, make sure you are measuring the gelatin correctly—level tablespoons, not heaping.
Can I use flavored gelatin instead of unflavored?
I do not recommend it. Flavored gelatin contains added sugar, artificial flavors, and colors that will overpower the elderberry taste. The whole point of this recipe is to use real ingredients. Stick with unflavored gelatin for the best results.
How many gummies should I eat per day?
For adults, 6-8 gummies per day is a good maintenance dose. For children aged 4 and up, 3-4 gummies per day is plenty. Always consult with a healthcare provider before starting any new supplement, especially for children or if you are pregnant or nursing.
Can I make these without a stove?
Yes, you can use a microwave, but you have to be careful. Heat the elderberry juice in a microwave-safe bowl for 30 seconds at a time, stirring between each interval. Add the bloomed gelatin and microwave for another 15-20 seconds, then stir until smooth. Watch it closely—microwaves can overheat liquid very quickly.
Pin This Recipe!
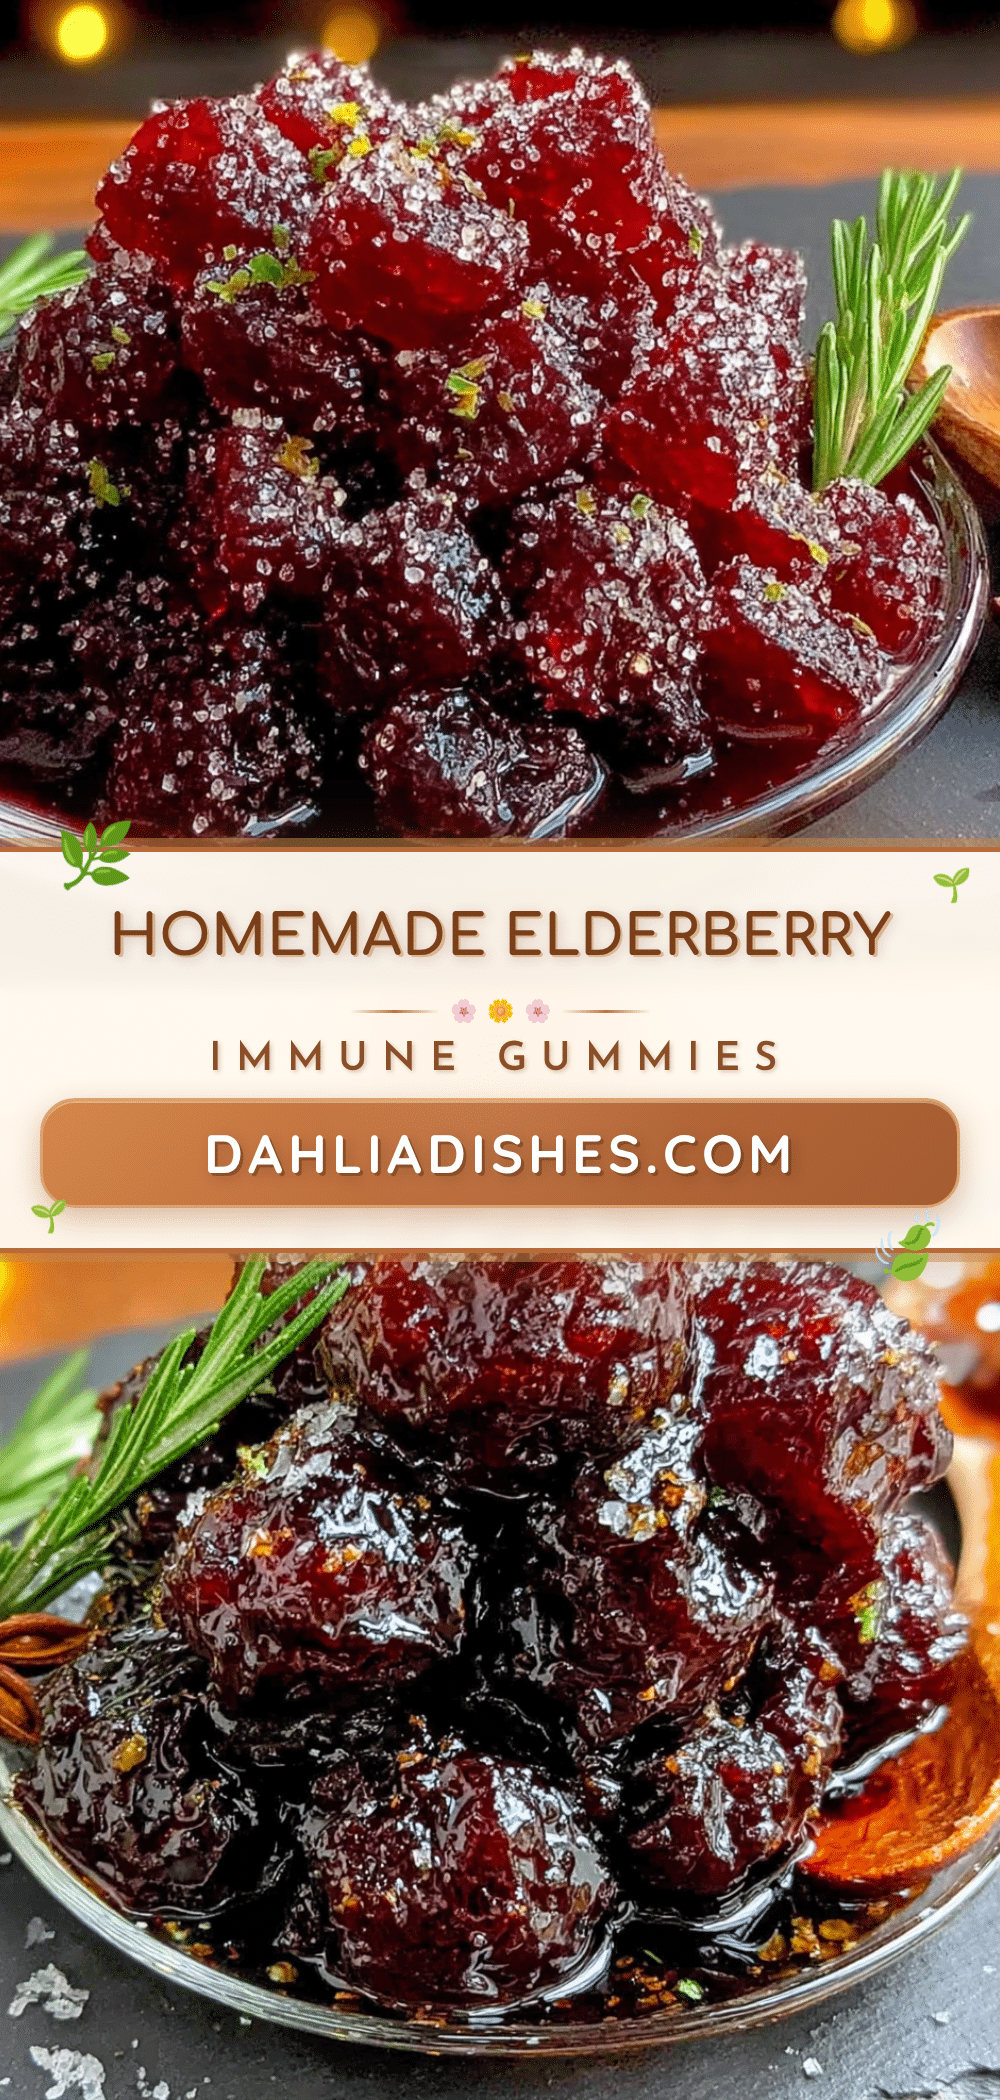
Homemade Elderberry Gummies: Easy Immune-Boost Recipe
These homemade elderberry immune-boost gummies are made with real food, real berries, and a whole lot of love. They are fun to make, delicious to eat, and actually good for you, with a perfect chewy texture that even picky eaters love.
- Prep Time: 15 minutes
- Cook Time: 10 minutes
- Total Time: 2 hours 25 minutes (includes setting time)
- Yield: 8 servings 1x
- Category: Snack
- Cuisine: American
Ingredients
- 1 cup (240 ml) unsweetened elderberry juice or concentrate
- 1/2 cup (120 ml) water
- 1/4 cup (60 ml) raw honey
- 1 tablespoon (15 ml) fresh lemon juice
- 3 tablespoons (about 25 g) unflavored gelatin powder
- Optional: 1/2 teaspoon vitamin C powder or crushed vitamin C tablet
Instructions
- Bloom the gelatin: Pour the 1/2 cup of cold water into a small bowl. Sprinkle the 3 tablespoons of gelatin powder evenly over the surface. Do not stir. Let it sit for 5-10 minutes until it becomes thick and spongy.
- Heat the elderberry juice: While the gelatin is blooming, pour the elderberry juice into a small saucepan. Warm it over medium-low heat for 2-3 minutes. Do not let it boil.
- Combine the honey and lemon: Add the honey and lemon juice to the warm elderberry juice. Whisk gently until the honey is fully dissolved.
- Melt the gelatin: Once the gelatin has bloomed, add it to the saucepan with the elderberry mixture. Whisk continuously over low heat for 3-4 minutes until the gelatin is completely dissolved. The mixture will look smooth and slightly thick.
- Strain (optional): If you see any foam or undissolved bits on the surface, pour the mixture through a fine-mesh strainer into a liquid measuring cup.
- Fill the molds: Place your silicone molds on a flat baking sheet. Using a dropper or the spout of the measuring cup, carefully fill each cavity. Do not overfill—leave a tiny gap at the top.
- Refrigerate: Place the baking sheet with the filled molds in the refrigerator. Let them set for at least 2 hours, but overnight is better.
- Unmold and store: Once the gummies are firm, pop them out of the molds. Store them in an airtight container in the refrigerator.
Notes
Do not overheat the gelatin (keep below 180°F/82°C) or it will lose its setting power. Work quickly when filling molds as the mixture will start to set as it cools. If gummies stick to molds, leave them at room temperature for 5 minutes before unmolding. The flavors deepen after a day or two in the fridge.
Nutrition
- Serving Size: 8 gummies
- Calories: 4560
- Sugar: 810
- Sodium: 5
- Carbohydrates: 1012
- Protein: 23
Keywords: elderberry gummies, immune boost, homemade gummies, elderberry recipe, healthy snacks, gelatin gummies, natural remedy


