Love this? Save it for later!
Share the inspiration with your friends
I was standing in the grocery store parking lot last Tuesday when the heat hit me — that thick, Southern July kind that makes the air feel like soup. And right then, carried on a breeze from somewhere, I caught the faintest whiff of something sweet and cold. Vanilla, maybe. Something creamy. And just like that, I was eight years old again, sitting at my Aunt Margie’s kitchen table in Tuscaloosa, watching her pull a glass dish from the fridge. The top was covered in what looked like fresh snow, dotted with bright red cherries. I honestly hadn’t thought about that dessert in twenty years. But there it was, clear as day — the way the dish would sweat little beads of condensation, the way she’d cut it into wobbly squares that held their shape just barely.
I grabbed my groceries and drove home fast, trying to hold onto the memory before it slipped away. You know that feeling when you can almost taste something but not quite? That’s where I was. So I did what any reasonable person would do — I called my cousin Becky, who still lives down there, and asked if she remembered the recipe. She laughed and said, “You mean the cherries in the snow? Margie made that for every church potluck from 1987 until she moved to Florida.” She texted me the ingredients within an hour, and let me tell you, I made a batch that very night. I may have forgotten to chill it long enough and ended up with more of a cherry soup situation, but the flavor was spot on.
This is that recipe. Easy Cherries in the Snow Cream Cheese Dessert Squares — no baking, no fuss, and exactly the kind of thing you throw together when you need something impressive but have zero energy left. It’s the dessert that makes people close their eyes and get quiet for a second. I keep making it because it tastes like summer and because somewhere between the cream cheese and the cherry pie filling, I can still hear Aunt Margie’s ice maker clunking in the background.
Why You’ll Love This Recipe
Let me be real with you — I’ve tested a lot of no-bake desserts over the years, and most of them fall into one of two categories. Either they’re too finicky with gelatin and exact temperatures, or they taste like someone forgot the sugar. These Easy Cherries in the Snow Cream Cheese Dessert Squares hit that sweet spot where simple actually means delicious. Here’s why this one works so well for busy weeknights:
- Quick & Easy: You need about 20 minutes of active time. That’s it. The rest is just fridge time while you deal with everything else on your plate. Literally.
- Simple Ingredients: No weird extracts, no obscure specialty items. Cream cheese, whipped topping, powdered sugar, vanilla, graham crackers, butter, and a can of cherry pie filling. You probably have most of these right now.
- Perfect for Weeknights: This is the kind of dessert you make after a long Tuesday when you still want something special but can’t face turning on the oven. It feels like a treat without feeling like a project.
- Crowd-Pleaser: I brought these to a neighborhood cookout last month, and three different people asked for the recipe before they’d even finished their first square. Kids love the sweetness. Adults love the creaminess. Everyone loves that it’s cold and refreshing.
- Unbelievably Delicious: The texture is what gets you — that cool, silky cream cheese layer against the buttery graham cracker crust, topped with that glossy, fruity cherry layer. It’s simple comfort food that somehow feels fancy.
What makes this version different from the other cherry desserts floating around? It’s the ratio. I spent three batches getting the cream cheese layer just right — not too dense, not too airy, but that perfect in-between that holds its shape when you cut it but melts on your tongue. Plus, I skip the extra sugar in the crust. The graham crackers and butter do their job without making the whole thing cloying. This isn’t just another version of the recipe. It’s the one I’d make for someone I wanted to impress without breaking a sweat.
What Ingredients You Will Need
This recipe uses simple, everyday ingredients that come together to create something genuinely special. No hunting down specialty stores, no expensive imports. Just good, honest ingredients that work.
For the Crust
- 2 cups graham cracker crumbs (about 16 full sheets, crushed fine — I use a food processor, but a zip-top bag and rolling pin works too)
- 1/2 cup unsalted butter, melted (salted butter works in a pinch, just skip the added salt in the recipe)
- 2 tablespoons granulated sugar (optional, but I find it helps the crust hold together better)
For the Cream Cheese Layer
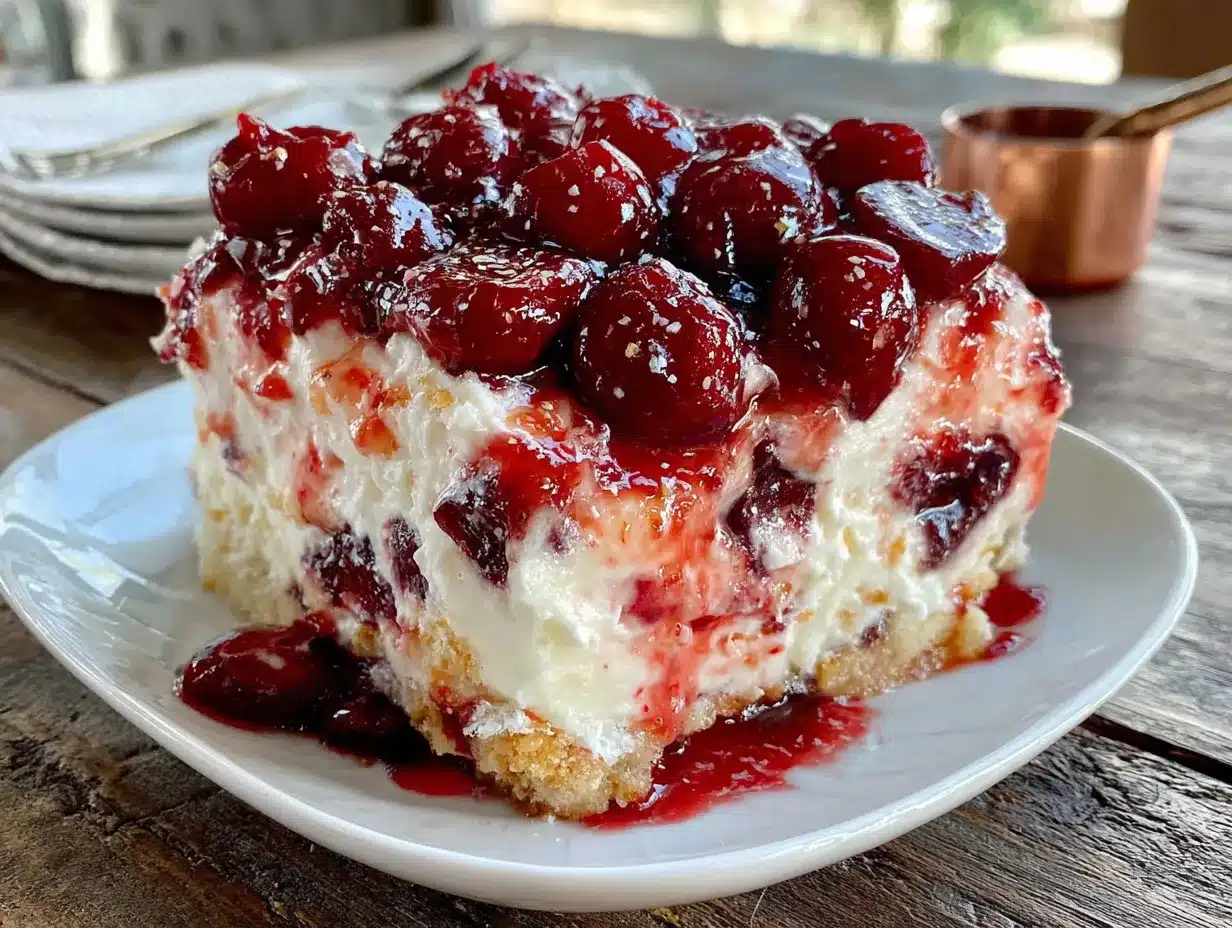
- 16 ounces cream cheese, softened (two 8-ounce blocks — full fat is best here, low-fat gets a bit grainy)
- 1 cup powdered sugar (sifted if you’re feeling fancy, but I’ve skipped sifting plenty of times with no disaster)
- 1 teaspoon vanilla extract (pure vanilla makes a difference, but imitation works fine)
- 8 ounces frozen whipped topping, thawed (like Cool Whip — I’ve tried making this with homemade whipped cream and it’s lovely but doesn’t set up as firmly for slicing)
For the Topping
- 1 can (21 ounces) cherry pie filling (I prefer the brand with the most visible whole cherries — some brands chop them too small)
- Optional: 1/2 teaspoon almond extract stirred into the pie filling (this is my secret trick, it makes the cherries taste brighter somehow)
A few notes on ingredients from someone who’s made this more times than I can count. First, the cream cheese absolutely needs to be at room temperature. I know, I know — you’re busy and you forgot to take it out. But cold cream cheese will give you lumpy spots that no amount of mixing will fix. Set it on the counter while you make the crust, and you’ll be fine. Second, I’ve tried this with reduced-fat cream cheese exactly once, and the texture was off — kind of dense and almost rubbery. Full fat is worth it here. Third, if you’re not a cherry person (are you okay?), you can swap in strawberry or blueberry pie filling. But honestly, cherries in the snow is a classic for a reason, and the tart-sweet balance of the cherries against the creamy layer is what makes this special.
Equipment Needed
You don’t need a professional kitchen for this one. Here’s what you’ll need:
- 9×13-inch baking dish (glass is ideal so you can see the layers, but metal works too)
- Electric hand mixer or stand mixer (you can do this by hand with a wooden spoon, but your arm will hate you — the cream cheese needs to be really smooth)
- Food processor or zip-top bag and rolling pin (for crushing graham crackers)
- Medium mixing bowl (for the crust)
- Large mixing bowl (for the cream cheese layer)
- Rubber spatula (for scraping every last bit of that cream cheese goodness)
- Measuring cups and spoons
- Plastic wrap or aluminum foil (for covering while it chills)
If you don’t have a food processor, honestly don’t worry about it. I’ve crushed graham crackers in a bag with a wine bottle more times than I’d like to admit. It’s not elegant, but it works. And if you don’t have a 9×13 dish, you can use a 9×9 square pan — just know your layers will be thicker and you might need a few extra minutes of chilling time.
Preparation Method
- Make the crust. In a medium bowl, combine the graham cracker crumbs, melted butter, and sugar (if using). Stir with a fork until every crumb is moistened and the mixture looks like wet sand. Press this firmly into the bottom of your 9×13-inch dish. I use the bottom of a measuring cup to really pack it down — loose crust means crumbly squares later. Pop this in the fridge while you make the filling.
- Beat the cream cheese. In a large bowl, beat the softened cream cheese with an electric mixer on medium speed until it’s completely smooth — about 2 minutes. Scrape down the sides and bottom of the bowl at least once. You’re looking for that silky, no-lumps texture. If you see little white lumps, keep beating.
- Add the sugar and vanilla. Reduce the mixer speed to low and gradually add the powdered sugar, about 1/4 cup at a time. I learned this the hard way — dump it all in at once and you’ll be wearing a cloud of powdered sugar. Add the vanilla extract, then increase speed to medium and beat for another minute until everything is light and fluffy.
- Fold in the whipped topping. Remove the bowl from the mixer and gently fold in the thawed whipped topping with a rubber spatula. Don’t stir like you’re trying to win a race — fold gently, scraping from the bottom up. You want to keep the air in the mixture so your cream cheese layer stays light. Stop when you don’t see any white streaks anymore.
- Spread the cream cheese layer. Take the crust out of the fridge. Spoon the cream cheese mixture over the crust and spread it evenly. I use an offset spatula for this, but the back of a spoon works too. Try to get it level — thick spots and thin spots will make cutting uneven squares later.
- Add the cherry topping. If you’re using the almond extract, stir it into the cherry pie filling now. Then gently spoon the cherry filling over the cream cheese layer. Spread it carefully — you don’t want to mix the cherries into the cream cheese layer. Let some of that red juice run over the edges a little. It’s supposed to look a bit rustic.
- Chill. Cover the dish with plastic wrap and refrigerate for at least 4 hours, but overnight is better. I know, I know — waiting is the worst part. But here’s the thing: if you cut into this too early, you’ll get a mess. The cream cheese layer needs time to firm up so you get clean squares. Trust me on this one.
- Cut and serve. When you’re ready to serve, use a sharp knife to cut into squares. Wipe the knife clean between cuts for the neatest edges. I usually get 12 to 16 squares, depending on how generous I’m feeling. Serve cold, straight from the fridge.
Cooking Tips & Techniques
I’ve made this dessert probably twenty times now, and I’ve made every mistake in the book so you don’t have to. Here’s what I’ve learned:
Room temperature cream cheese is non-negotiable. I know I said this already, but I’m saying it again because it matters that much. Cold cream cheese doesn’t blend smoothly, and you’ll end up with little white lumps in your otherwise perfect dessert. If you forget to take it out (which I do, constantly), here’s a trick: unwrap the cream cheese, cut it into cubes, and microwave it on 50% power for 15-second intervals until it’s soft but not warm. It’s not perfect, but it works in a pinch.
Press that crust down hard. Your crust is the foundation of everything. If it’s loose and crumbly, your squares will fall apart when you try to serve them. I press mine down with the bottom of a glass, really leaning into it. The crust should feel firm and compact when you’re done.
Let it chill overnight if you can. Four hours is the minimum. But overnight? That’s where the magic happens. The flavors meld together, the cream cheese layer sets up perfectly, and the graham cracker crust softens just enough to cut cleanly. I’ve made this the morning of a dinner party and it was fine. But the batch I made the night before? That was the one people raved about.
Watch out for the weeping. Sometimes cherry pie filling can release a little liquid as it sits, especially if your dish gets bumped around in the fridge. If you notice a watery layer forming on top, just blot it gently with a paper towel before serving. It happens, it’s fine, nobody will know.
Use a sharp knife and wipe between cuts. This is the difference between beautiful squares and a tragic, smeared mess. Run your knife under hot water, dry it, make one cut, wipe it clean, repeat. It takes an extra minute and makes your dessert look like it came from a bakery.
Variations & Adaptations
One of the best things about this recipe is how flexible it is. I’ve messed around with it more times than I can count, and here are my favorite variations:
Berry Bliss Version. Swap the cherry pie filling for blueberry or strawberry. Both work beautifully. The blueberry version tastes like a fancy cheesecake bar, and the strawberry one reminds me of those old-fashioned strawberry pretzel salads but way easier. Just be aware that strawberry pie filling sometimes has bigger fruit chunks, so you might need to spread it more carefully.
Chocolate Cherry Dream. Add 2 tablespoons of cocoa powder to the graham cracker crust mixture. It sounds weird, but chocolate and cherry are a classic combination for a reason. The chocolate adds a subtle richness that makes the whole thing taste more decadent without any extra effort.
Lemon Lovers Version. Add the zest of one lemon to the cream cheese mixture and use lemon-flavored pie filling instead of cherry. This version is brighter and tangier — perfect for spring or summer gatherings. I made this for a bridal shower last year and it disappeared in about fifteen minutes.
Make It Gluten-Free. Use gluten-free graham crackers for the crust. Most brands work fine, though I’ve found that gluten-free graham crumbs can be a bit more delicate, so press them firmly. Everything else in the recipe is naturally gluten-free, so this is an easy swap.
Lighter Version. Use reduced-fat cream cheese and light whipped topping. The texture won’t be quite as luxurious, but it’s still good. I’ve made this for a friend who was watching her calories, and honestly? It satisfied the craving without feeling like a compromise.
Serving & Storage Suggestions
These squares are best served cold, straight from the fridge. I like to let them sit at room temperature for about 5 minutes before serving — just enough to take the chill off without losing the structure. If you serve them too cold, the cream cheese layer can feel a bit firm. Too warm, and they’ll start to slump.
For presentation, I like to cut the squares and arrange them on a white platter. A little sprig of mint on top of each square looks gorgeous and adds a fresh pop of color. If I’m feeling extra fancy, I’ll drizzle a tiny bit of chocolate sauce over the top — but honestly, they’re beautiful on their own.
These pair beautifully with coffee or iced tea. The creaminess of the dessert balances the bitterness of coffee perfectly. I’ve also served them after a heavy pasta dinner, and the cool, light texture is exactly what you want after something rich and savory.
Storage: Cover the dish tightly with plastic wrap or transfer individual squares to an airtight container. They’ll keep in the refrigerator for up to 5 days. The crust will soften over time, but honestly, I think they’re even better on day two when everything has had time to meld together.
Freezing: You can freeze these! Cut them into squares, place them on a baking sheet in a single layer, and freeze until solid (about 2 hours). Then wrap each square individually in plastic wrap and store in a freezer bag. They’ll keep for up to 3 months. Thaw in the refrigerator overnight before serving. The texture might be slightly softer after freezing, but it’s still delicious.
Nutritional Information & Benefits
Let’s be honest — this is a treat, not a health food. But here’s the approximate nutritional breakdown for one square (based on 16 servings):
- Calories: Approximately 280-320
- Fat: 18-20g
- Carbohydrates: 30-35g
- Protein: 4-5g
- Sugar: 22-25g
While this isn’t exactly a low-calorie dessert, there are a few bright spots. The cream cheese provides some calcium and protein, and the cherries offer a small amount of vitamin C and antioxidants. If you use the lighter version with reduced-fat cream cheese and light whipped topping, you can knock off about 60-80 calories per square.
For dietary considerations: this recipe contains dairy and gluten. It can be made gluten-free with GF graham crackers, and there are dairy-free cream cheese alternatives that work in a pinch (though the texture will be different). It’s not suitable for vegans as written, but I’ve seen versions using vegan cream cheese and coconut whipped topping that look promising.
My personal take? Dessert should taste like dessert. I’d rather have one really satisfying square of the real thing than two of something that’s trying to be healthy and failing. But that’s just me — you do what works for you.
Conclusion
Look, I know there are a million no-bake dessert recipes out there. But these Easy Cherries in the Snow Cream Cheese Dessert Squares are the ones I keep coming back to, and I think you will too. They’re simple enough for a Tuesday night, pretty enough for a holiday table, and delicious enough that people will assume you spent hours on them. (You don’t have to tell them otherwise.)
What I love most about this recipe is how forgiving it is. You can use a different pie filling, forget to sift your powdered sugar, press the crust too hard or too soft — and it still turns out great. It’s the kind of recipe that builds confidence in the kitchen, even if you’re just starting out.
So give it a try this week. Make it for your family, your neighbors, or just for yourself. And when you do, I’d love to hear how it went. Drop a comment below and tell me what variation you tried, or tag me in your photos if you share them online. Happy cooking, friends — and don’t forget to save yourself the corner piece. You’ve earned it.
Frequently Asked Questions
Can I use homemade whipped cream instead of Cool Whip?
You can, but the texture will be different. Homemade whipped cream is less stable and doesn’t contain the stabilizers that keep frozen whipped topping firm. Your squares might be a bit softer and harder to cut cleanly. If you want to try it, whip 1 1/2 cups of heavy cream with 3 tablespoons of powdered sugar until stiff peaks form, then fold it in gently.
How far in advance can I make this dessert?
You can make it up to 2 days ahead of time. In fact, I prefer making it the day before serving because the flavors have more time to meld. After about 3 days, the crust starts to get quite soft, so I wouldn’t push it much past that.
Can I use fresh cherries instead of canned pie filling?
Yes, but it requires extra work. You’ll need about 3 cups of pitted fresh cherries, 1/2 cup of sugar, 2 tablespoons of cornstarch, and a splash of lemon juice. Cook them on the stovetop until thickened, then cool completely before using. It’s delicious but definitely more effort than opening a can.
Why did my cream cheese layer turn out lumpy?
Almost certainly because the cream cheese wasn’t soft enough. Cold cream cheese doesn’t blend smoothly, and those little lumps won’t go away no matter how long you beat them. Next time, let your cream cheese sit at room temperature for at least 30 minutes before starting. If you’re in a hurry, cube it and microwave on low power in short bursts.
Can I double this recipe for a larger crowd?
Absolutely. Double all the ingredients and use a larger dish — a 10×15-inch jelly roll pan works well, or you can use two 9×13 dishes. The chilling time stays the same. Just make sure your mixer bowl is big enough to handle the doubled cream cheese mixture, or mix it in batches.
Pin This Recipe!
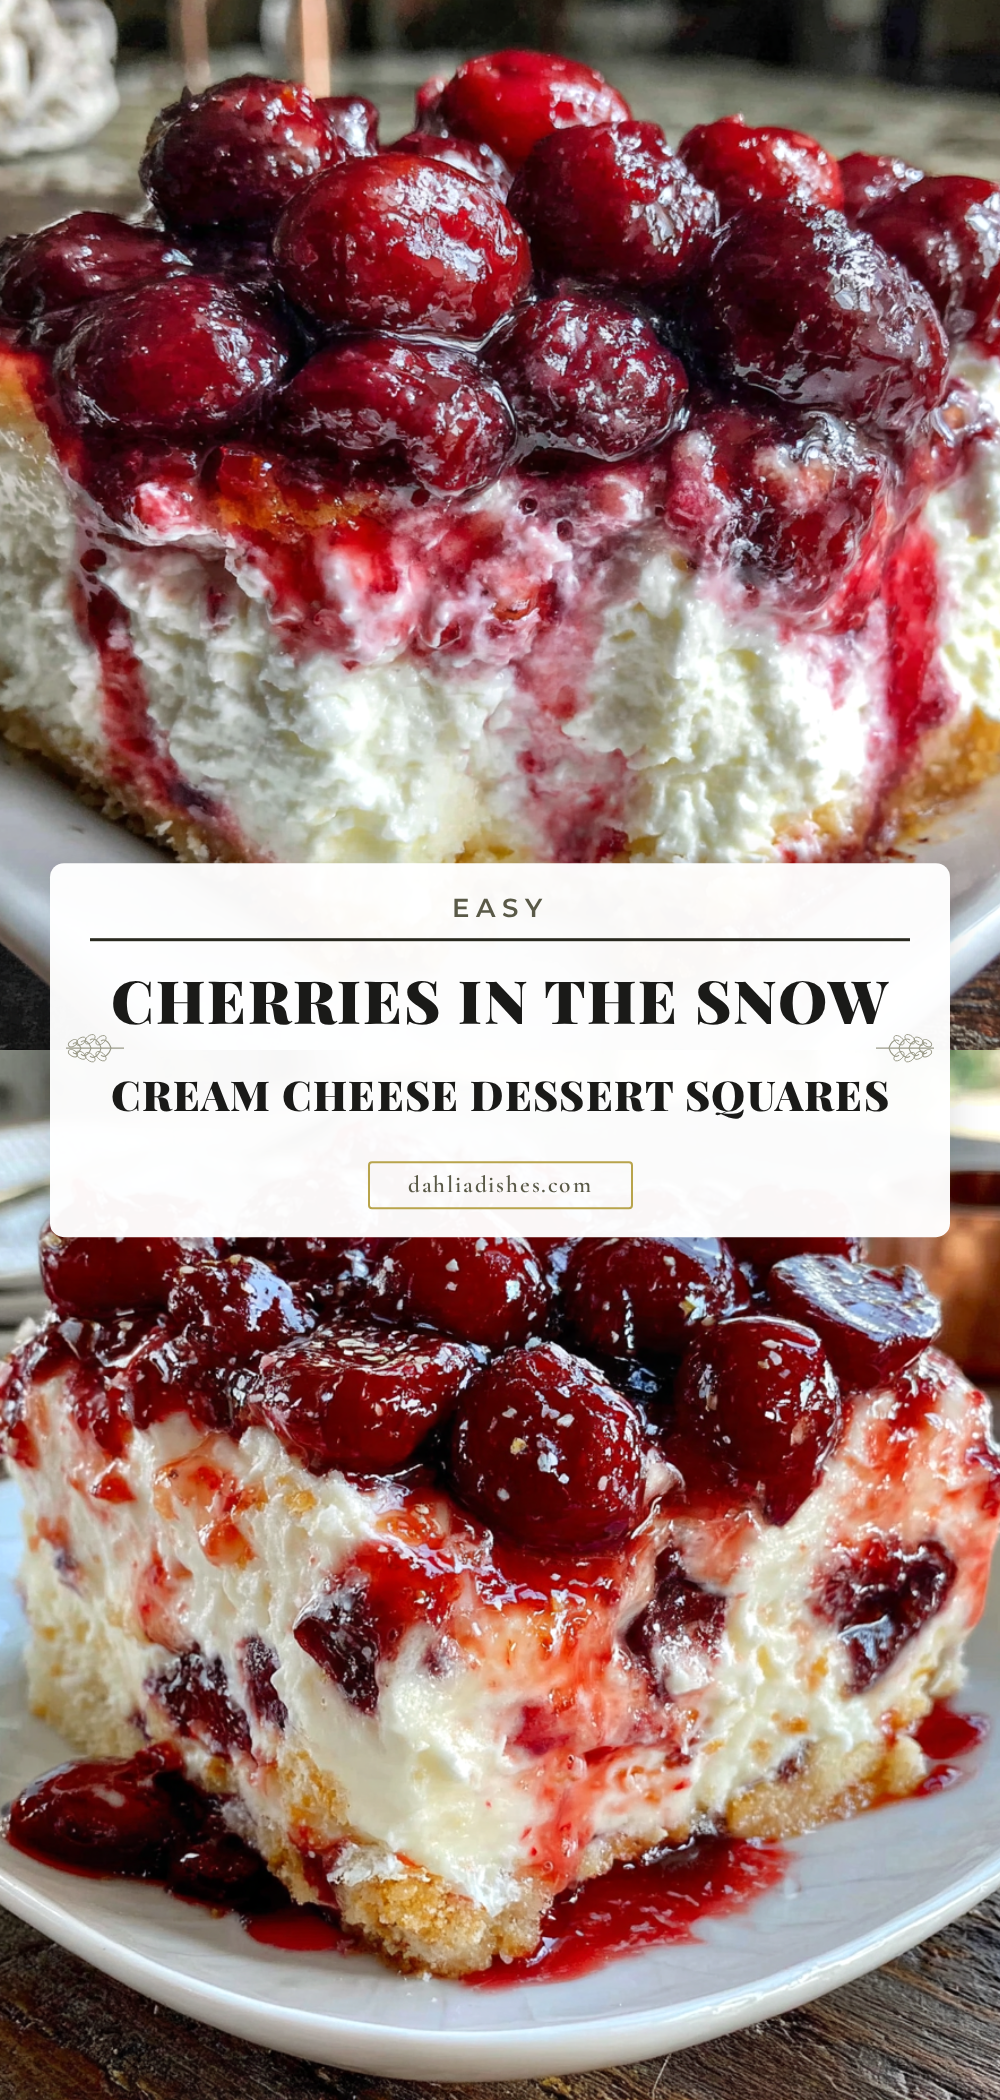
Easy Cherries in the Snow Cream Cheese Dessert Squares

A no-bake dessert featuring a buttery graham cracker crust, a creamy cream cheese layer, and a glossy cherry pie filling topping. Perfect for busy weeknights or potlucks, this refreshing treat is simple to make and always a crowd-pleaser.
- Prep Time: 20 minutes
- Cook Time: 0 minutes
- Total Time: 4 hours 20 minutes (includes chilling)
- Yield: 12-16 servings 1x
- Category: Dessert
- Cuisine: American
Ingredients
- 2 cups graham cracker crumbs (about 16 full sheets, crushed fine)
- 1/2 cup unsalted butter, melted
- 2 tablespoons granulated sugar (optional)
- 16 ounces cream cheese, softened (two 8-ounce blocks, full fat)
- 1 cup powdered sugar (sifted if desired)
- 1 teaspoon vanilla extract (pure or imitation)
- 8 ounces frozen whipped topping, thawed (like Cool Whip)
- 1 can (21 ounces) cherry pie filling
- 1/2 teaspoon almond extract (optional, stirred into pie filling)
Instructions
- Make the crust: In a medium bowl, combine graham cracker crumbs, melted butter, and sugar (if using). Stir with a fork until every crumb is moistened and the mixture looks like wet sand. Press firmly into the bottom of a 9×13-inch dish using the bottom of a measuring cup. Refrigerate while making the filling.
- Beat the cream cheese: In a large bowl, beat the softened cream cheese with an electric mixer on medium speed until completely smooth, about 2 minutes. Scrape down the sides and bottom of the bowl at least once.
- Add the sugar and vanilla: Reduce mixer speed to low and gradually add the powdered sugar, about 1/4 cup at a time. Add the vanilla extract, then increase speed to medium and beat for another minute until light and fluffy.
- Fold in the whipped topping: Remove the bowl from the mixer and gently fold in the thawed whipped topping with a rubber spatula. Fold gently, scraping from the bottom up, until no white streaks remain.
- Spread the cream cheese layer: Take the crust out of the fridge. Spoon the cream cheese mixture over the crust and spread evenly with an offset spatula or the back of a spoon.
- Add the cherry topping: If using almond extract, stir it into the cherry pie filling. Gently spoon the cherry filling over the cream cheese layer, spreading carefully to avoid mixing the cherries into the cream cheese.
- Chill: Cover the dish with plastic wrap and refrigerate for at least 4 hours, preferably overnight.
- Cut and serve: Use a sharp knife to cut into squares, wiping the knife clean between cuts. Serve cold, straight from the fridge.
Notes
Cream cheese must be at room temperature to avoid lumps. Press the crust firmly for clean squares. Chill overnight for best texture and flavor. If cherry pie filling weeps, blot with a paper towel before serving. Use a sharp knife and wipe between cuts for neat squares.
Nutrition
- Serving Size: 1 square (based on 1
- Calories: 300
- Sugar: 24
- Sodium: 220
- Fat: 19
- Saturated Fat: 11
- Carbohydrates: 33
- Fiber: 1
- Protein: 4
Keywords: no-bake dessert, cherry dessert, cream cheese squares, cherries in the snow, easy dessert, potluck dessert, graham cracker crust


