Love this? Save it for later!
Share the inspiration with your friends
I was standing in the frozen food aisle at the grocery store last Tuesday, staring at a box of pie crusts like they held the secrets to the universe. And then it hit me—that warm, cinnamon-heavy scent of my Aunt Rita’s kitchen, the one that always meant she was making something special for the church potluck. I was maybe seven years old, standing on a wobbly step stool in her tiny yellow kitchen, watching her hands work dough like she was born with flour in her veins. She passed a few years back, and I swear I can still hear the soft clink of her rolling pin against the counter whenever I think about that smell.
Honestly, I’ve been chasing that exact feeling ever since. Not just the taste of the apples or the buttery crumble, but that whole moment—the warmth, the laughter, the way she’d sneak me a warm corner piece before anyone else arrived. This recipe for Dutch Apple Pie Bars with Oat Crumble is my best attempt at bottling that memory. And let me tell you, it works. These bars have that same soul-soothing quality, but they’re way easier to pull off than a full pie. No rolling out a fussy crust. No worrying about a soggy bottom. Just a buttery shortbread base, a thick layer of spiced apples, and a crunchy oat topping that feels like a hug in every bite.
Maybe you’ve been there—standing in your own kitchen, trying to recreate a taste from your past that you can almost, but not quite, hold onto. That’s exactly what these bars are for. They’re the kind of dessert that makes people close their eyes after the first bite, and honestly, that never gets old.
Why You’ll Love This Recipe
I’ve tested this recipe more times than I care to admit—through burnt crumbles, watery apple fillings, and one particularly tragic batch where I forgot the sugar entirely. But after all that trial and error, I can say with confidence: these are the best Dutch Apple Pie Bars you’ll ever make. Here’s why they work so well for hosting:
- Perfect for a Crowd: One pan serves 16 generous bars, which means you’re not stuck making multiple pies for a party. They’re the ultimate potluck or dinner party dessert.
- Prep-Ahead Friendly: You can make the crust and filling a day before your gathering. Just assemble and bake when guests arrive—your kitchen will smell amazing, and you’ll look like a rockstar.
- No Fancy Equipment: A 9×13 baking pan, a mixing bowl, and a pastry cutter are all you need. No pie weights, no lattice crusts, no stress.
- That Oat Crumble: The topping is the real showstopper here. It’s buttery, crunchy, and just sweet enough to complement the tart apples without overwhelming them.
- Always a Hit: I’ve brought these to holiday dinners, backyard barbecues, and casual get-togethers, and every single time, someone asks for the recipe. They’re that good.
What makes these bars different from every other apple dessert out there? It’s the balance. The shortbread crust is sturdy enough to hold up to the juicy apple filling, but it’s still tender and buttery. The oat crumble adds texture without being too heavy. And the apples—I use a mix of Granny Smith and Honeycrisp—give you that perfect sweet-tart contrast that keeps people coming back for “just one more bite.”
These bars aren’t just good. They’re the kind of dessert that makes you forget about the main course entirely. And when you’re hosting, isn’t that exactly what you want?
What Ingredients You Will Need
This recipe uses simple, wholesome ingredients that you probably already have in your pantry. The magic is in how they come together—each component plays a specific role in creating that perfect texture and flavor.
For the Shortbread Crust
- 2 cups (250g) all-purpose flour – Spoon and level it for the best results. Too much flour makes the crust dense.
- 1/2 cup (100g) granulated sugar – Adds just enough sweetness to balance the tart apples.
- 3/4 cup (170g) unsalted butter, cold and cubed – This is non-negotiable for a flaky crust. I prefer Kerrygold for its rich flavor.
- 1/4 teaspoon salt – Enhances the buttery flavor. Use fine sea salt if you have it.
For the Apple Filling
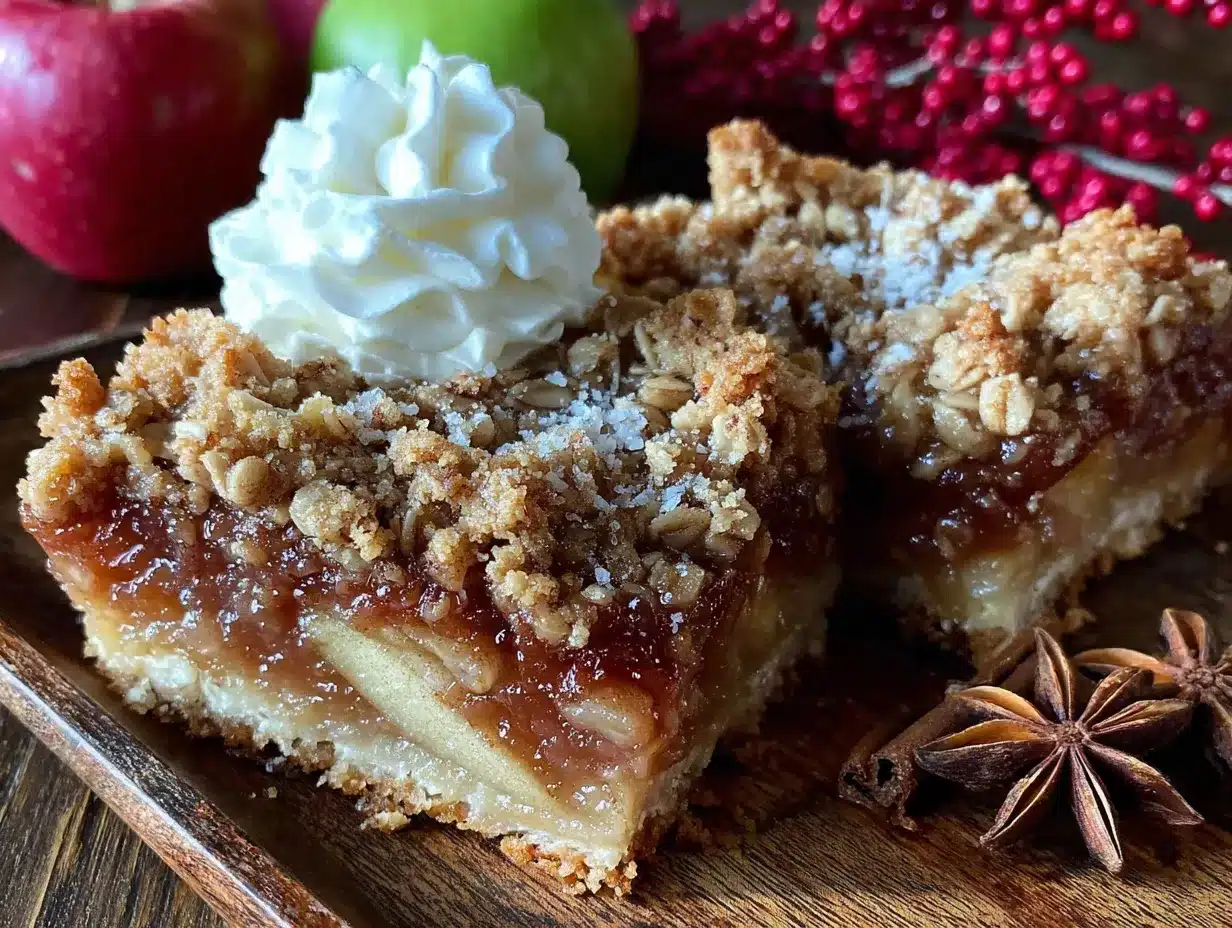
- 6 cups (about 6 medium apples) peeled, cored, and thinly sliced – I use 3 Granny Smith and 3 Honeycrisp. The Granny Smith holds its shape, and the Honeycrisp adds natural sweetness.
- 1/3 cup (65g) granulated sugar – Adjust based on how sweet your apples are. If they’re very tart, add an extra tablespoon.
- 1/4 cup (50g) brown sugar, packed – Light or dark works, but dark gives a deeper molasses flavor.
- 2 tablespoons all-purpose flour – Helps thicken the juices so the filling isn’t runny.
- 1 tablespoon lemon juice – Fresh is best. It prevents the apples from browning and brightens the flavor.
- 1 teaspoon ground cinnamon – I use Vietnamese cinnamon for its bold, spicy kick.
- 1/4 teaspoon ground nutmeg – Freshly grated if you can. It makes a difference.
- 1/4 teaspoon salt – Balances the sweetness.
For the Oat Crumble Topping
- 1 cup (85g) old-fashioned rolled oats – Not quick oats. The texture is key here—you want those hearty flakes.
- 1/2 cup (60g) all-purpose flour – Gives the crumble structure.
- 1/2 cup (100g) brown sugar, packed – For that caramel-like sweetness.
- 1/2 cup (113g) unsalted butter, melted – Binds the crumble together. Let it cool slightly before mixing.
- 1 teaspoon ground cinnamon – Because you can never have too much cinnamon.
- 1/4 teaspoon salt – Don’t skip this. It keeps the crumble from being one-note sweet.
Substitution Notes
If you’re gluten-free, swap the all-purpose flour with a 1:1 gluten-free baking blend. I’ve used King Arthur’s with great results. For a dairy-free version, use vegan butter sticks—just make sure they’re cold for the crust. And if you don’t have oats on hand, chopped pecans or walnuts make an excellent crumble substitute.
Equipment Needed
You don’t need a fancy kitchen to make these bars, which is one of the reasons I love this recipe. Here’s what you’ll need:
- 9×13-inch baking pan – A metal pan gives a crisper crust than glass. If you only have glass, reduce the oven temperature by 25°F.
- Parchment paper – Line the pan with it, leaving overhang on two sides. This makes lifting the bars out a breeze.
- Mixing bowls – You’ll need one for the crust, one for the filling, and one for the crumble.
- Pastry cutter or fork – For cutting the butter into the flour for the crust. If you don’t have one, two knives work in a pinch.
- Sharp knife and cutting board – For peeling and slicing the apples. A mandoline slicer is faster, but watch your fingers.
- Measuring cups and spoons – Accurate measurements matter, especially for the flour.
I’ve made these bars with a cheap baking pan from the dollar store, and they still turned out amazing. The one splurge I’d recommend is a good pastry cutter—it makes the crust so much easier. And honestly, if you’re like me and hate washing dishes, you can mix the crumble in the same bowl you used for the crust. Just wipe it out first.
Preparation Method
- Preheat your oven to 350°F (175°C). Line your 9×13 pan with parchment paper, leaving about 2 inches of overhang on the long sides. This is your lifeline for lifting the bars out later.
- Make the shortbread crust. In a large bowl, whisk together the 2 cups flour, 1/2 cup sugar, and 1/4 teaspoon salt. Add the cold, cubed butter. Use your pastry cutter (or your fingertips if you’re feeling brave) to cut the butter into the flour until the mixture looks like coarse sand with a few pea-sized butter lumps. Don’t overwork it—you want those little pockets of butter for a flaky crust. Press the mixture evenly into the bottom of your prepared pan. Use the bottom of a measuring cup to really pack it down. Bake for 18-20 minutes, until the edges are just barely golden. Set aside to cool slightly while you make the filling.
- Prepare the apple filling. While the crust bakes, peel, core, and thinly slice your apples. I aim for slices about 1/4-inch thick—thin enough to cook through, but thick enough to hold their shape. In a large bowl, toss the apple slices with the 1/3 cup granulated sugar, 1/4 cup brown sugar, 2 tablespoons flour, lemon juice, cinnamon, nutmeg, and salt. Let this sit for about 10 minutes. You’ll see some liquid start to release—that’s good. It means the flavors are mingling.
- Make the oat crumble. In a medium bowl, stir together the oats, 1/2 cup flour, 1/2 cup brown sugar, cinnamon, and salt. Pour in the melted butter and stir until everything is evenly moistened. The mixture should look clumpy, like wet sand. Set it aside.
- Assemble the bars. Spread the apple mixture evenly over the pre-baked crust. Don’t dump all the liquid from the bowl—just the apples and about half the juices. Too much liquid makes the bars soggy. Sprinkle the oat crumble evenly over the apples, covering them completely. I use my hands for this to get a nice, even layer.
- Bake. Place the pan in the oven and bake for 40-45 minutes, until the crumble is golden brown and the apple filling is bubbling up around the edges. If the crumble is browning too quickly (around the 30-minute mark), tent the pan loosely with foil. The bars are done when you can insert a knife into the center and it meets little resistance from the apples.
- Cool completely. This is the hardest part, I know. But trust me—if you cut into these bars while they’re warm, the filling will run everywhere. Let them cool in the pan on a wire rack for at least 2 hours. For clean slices, refrigerate for another hour before cutting. Use the parchment overhang to lift the whole slab out, then slice into 16 squares with a sharp knife.
Pro tip from my third failed batch: If your apple filling seems watery after baking, you probably skipped the 10-minute rest step. That rest lets the sugar draw out the apples’ natural juices, which then thicken with the flour during baking. It’s a small step, but it makes all the difference.
Cooking Tips & Techniques
I’ve made this recipe about a dozen times now, and I’ve learned a few things the hard way. Here’s what I wish someone had told me:
Don’t skip the pre-bake on the crust. The first time I made these, I was in a hurry and just pressed the crust in, added the filling, and baked it all together. The bottom was a sad, soggy mess. Pre-baking the crust for 18-20 minutes creates a barrier that keeps it crisp. Your patience will be rewarded.
Use a mix of apple varieties. I learned this from a pie-baking disaster in my early twenties. Granny Smith apples are tart and hold their shape, but they can be a little one-dimensional. Honeycrisp adds sweetness and a softer texture. Together, they create a filling that’s both flavorful and structurally sound. Avoid Red Delicious—they turn into mush.
Watch your oven like a hawk. Every oven runs differently. My old apartment oven would burn the crumble at 350°F, so I’d drop the temperature to 325°F and bake for an extra 5-7 minutes. Get to know your oven’s quirks. If the crumble starts looking too dark around minute 30, throw that foil tent on without hesitation.
Cooling is not optional. I know, I know. The smell is intoxicating, and you want to dig in immediately. But cutting warm bars is like trying to slice a puddle. The filling needs time to set. I once served these at a dinner party straight from the oven (I was running late, okay?), and they collapsed into a delicious but messy apple soup. Learn from my mistakes.
Make extra crumble. Honestly, the crumble is the best part. I always make a half batch extra and sprinkle it over the top halfway through baking if I want an extra-thick layer. No one has ever complained about too much crumble.
Variations & Adaptations
One of the best things about this recipe is how easily it adapts. Here are a few variations I’ve tried and loved:
Caramel Apple Version: Drizzle 1/4 cup of caramel sauce over the apple filling before adding the crumble. I use store-bought when I’m in a hurry, but homemade is next-level. The caramel seeps into the apples as they bake, creating these gooey pockets of sweetness. It’s dangerous.
Gluten-Free Adaptation: Swap the all-purpose flour with a 1:1 gluten-free baking blend. I’ve tested this with Bob’s Red Mill and Cup4Cup, and both work beautifully. Make sure your oats are certified gluten-free if that’s a concern. The texture is slightly more delicate, but the flavor is spot-on.
Spiced Pear Variation: Replace the apples with firm, ripe Bosc or Anjou pears. Reduce the sugar by 2 tablespoons since pears are naturally sweeter. Add 1/4 teaspoon of ground ginger and a pinch of cardamom for a warm, aromatic twist. I made this for a fall brunch once, and it disappeared in minutes.
Nutty Crumble: Swap 1/2 cup of the oats with 1/2 cup of chopped pecans or walnuts. Toast the nuts first for extra depth. The crunch is incredible, and it adds a lovely savory note that balances the sweetness.
Vegan Option: Use vegan butter sticks (I like Miyoko’s) for both the crust and the crumble. The crust will be a bit more delicate, so press it firmly into the pan. Everything else stays the same. My vegan friend Devin tested this for me and gave it two thumbs up.
Serving & Storage Suggestions
These bars are incredibly versatile when it comes to serving. Here’s how I like to do it:
Serving Temperature: I prefer them at room temperature or slightly warm. If you’re reheating, pop individual bars in a 300°F oven for 5-7 minutes. The crumble gets crunchy again, and the apples soften beautifully. Avoid the microwave—it makes the crumble soggy.
Presentation Tips for Hosting: Arrange the bars on a large wooden board or a white platter for contrast. Dust with powdered sugar just before serving—it looks elegant and adds a touch of sweetness. If you’re feeling fancy, add a dollop of whipped cream or a scoop of vanilla ice cream on the side. For a dinner party, I sometimes drizzle each bar with a little salted caramel sauce and sprinkle with flaky sea salt. It’s a showstopper.
What to Serve Alongside: These bars pair beautifully with a cup of hot coffee or a glass of cold milk. For a fall-themed gathering, serve them with a warm apple cider or a spiced chai latte. If you’re doing a dessert spread, they hold their own next to a chocolate tart or a simple vanilla panna cotta.
Storage Instructions: Store leftover bars in an airtight container at room temperature for up to 3 days. For longer storage, refrigerate for up to a week. The crust will soften slightly in the fridge, but the flavor stays great. To freeze, wrap individual bars tightly in plastic wrap, then place them in a freezer-safe bag. They’ll keep for up to 3 months. Thaw at room temperature for about an hour before serving.
Flavor Development: Here’s a secret—these bars actually taste better the next day. The flavors meld together overnight, and the apple filling becomes even more luscious. So if you’re hosting, make them a day ahead. Your future self will thank you.
Nutritional Information & Benefits
Let’s be real—these are a treat, not a health food. But that doesn’t mean they can’t have some redeeming qualities. Here’s the estimated nutritional breakdown per bar (based on 16 servings):
- Calories: Approximately 320
- Total Fat: 16g
- Saturated Fat: 10g
- Carbohydrates: 44g
- Fiber: 3g
- Sugar: 28g
- Protein: 3g
Now, the upside: Apples are packed with fiber and vitamin C, and oats are a great source of soluble fiber, which is good for heart health. The cinnamon adds anti-inflammatory properties. So while these bars aren’t exactly a salad, they’re a far cry from a processed dessert. I feel good about serving them to my family because I know exactly what’s in them—real butter, fresh apples, and honest ingredients.
If you’re watching your sugar intake, you can reduce the sugar in the filling by 2 tablespoons without sacrificing much flavor. The apples provide natural sweetness, especially if you use a sweeter variety like Fuji or Gala. And for a lower-calorie option, cut the bars into 20 smaller servings instead of 16. They’re still satisfying, just a little less indulgent.
Conclusion
These Dutch Apple Pie Bars with Oat Crumble are everything I love about fall baking—warm spices, tender apples, and a buttery crunch that makes you close your eyes and smile. They’re the dessert I turn to when I want to impress without stress, the one I bring to every potluck and dinner party because I know they’ll disappear. And every time I make them, I think of Aunt Rita and her yellow kitchen, and I feel like I’ve gotten a little closer to that memory I’ve been chasing.
I hope you give these bars a try, and I hope they become a tradition in your home too. Don’t be afraid to customize them—swap the apples for pears, add caramel, or double the crumble (I won’t judge). The best recipes are the ones you make your own. So go ahead, preheat that oven, and get ready to fill your kitchen with the best smell in the world.
When you make them, come back and let me know how they turned out. Did you try a variation? Did your guests fight over the last piece? I want to hear it all. Drop a comment below, share a photo on social media, or just send me a message. Happy baking, friend!
Frequently Asked Questions
Can I use pre-sliced apples from the store?
You can, but I wouldn’t recommend it. Pre-sliced apples are often treated with preservatives to prevent browning, which can affect the texture and flavor. Plus, they’re usually cut thicker than I like for these bars. Taking 10 minutes to slice your own apples is worth the effort.
Why did my crust turn out soggy?
This usually happens for one of two reasons: you didn’t pre-bake the crust long enough, or you added too much liquid from the apple mixture. Make sure your crust is lightly golden before adding the filling, and only add about half the juices from the bowl—not all of them.
Can I make these bars in advance for a party?
Absolutely. In fact, I prefer making them a day ahead. The flavors meld together overnight, and the bars are easier to cut when they’re fully set. Just bake, cool completely, cover, and store at room temperature. Add any powdered sugar or caramel drizzle right before serving.
How do I get clean, neat slices?
Patience is key. Let the bars cool completely—at least 2 hours at room temperature, then 1 hour in the fridge. Use a sharp, straight-edged knife and wipe it clean between cuts. For the cleanest slices, lift the whole slab out using the parchment overhang, then cut on a cutting board.
Can I freeze the unbaked bars for later?
Yes! Assemble the bars completely in the pan, but don’t bake them. Cover tightly with plastic wrap and foil, then freeze for up to 3 months. When you’re ready to bake, add about 10-15 minutes to the baking time. No need to thaw—just bake from frozen. The crumble might be a little darker, but they’ll taste just as good.
Pin This Recipe!
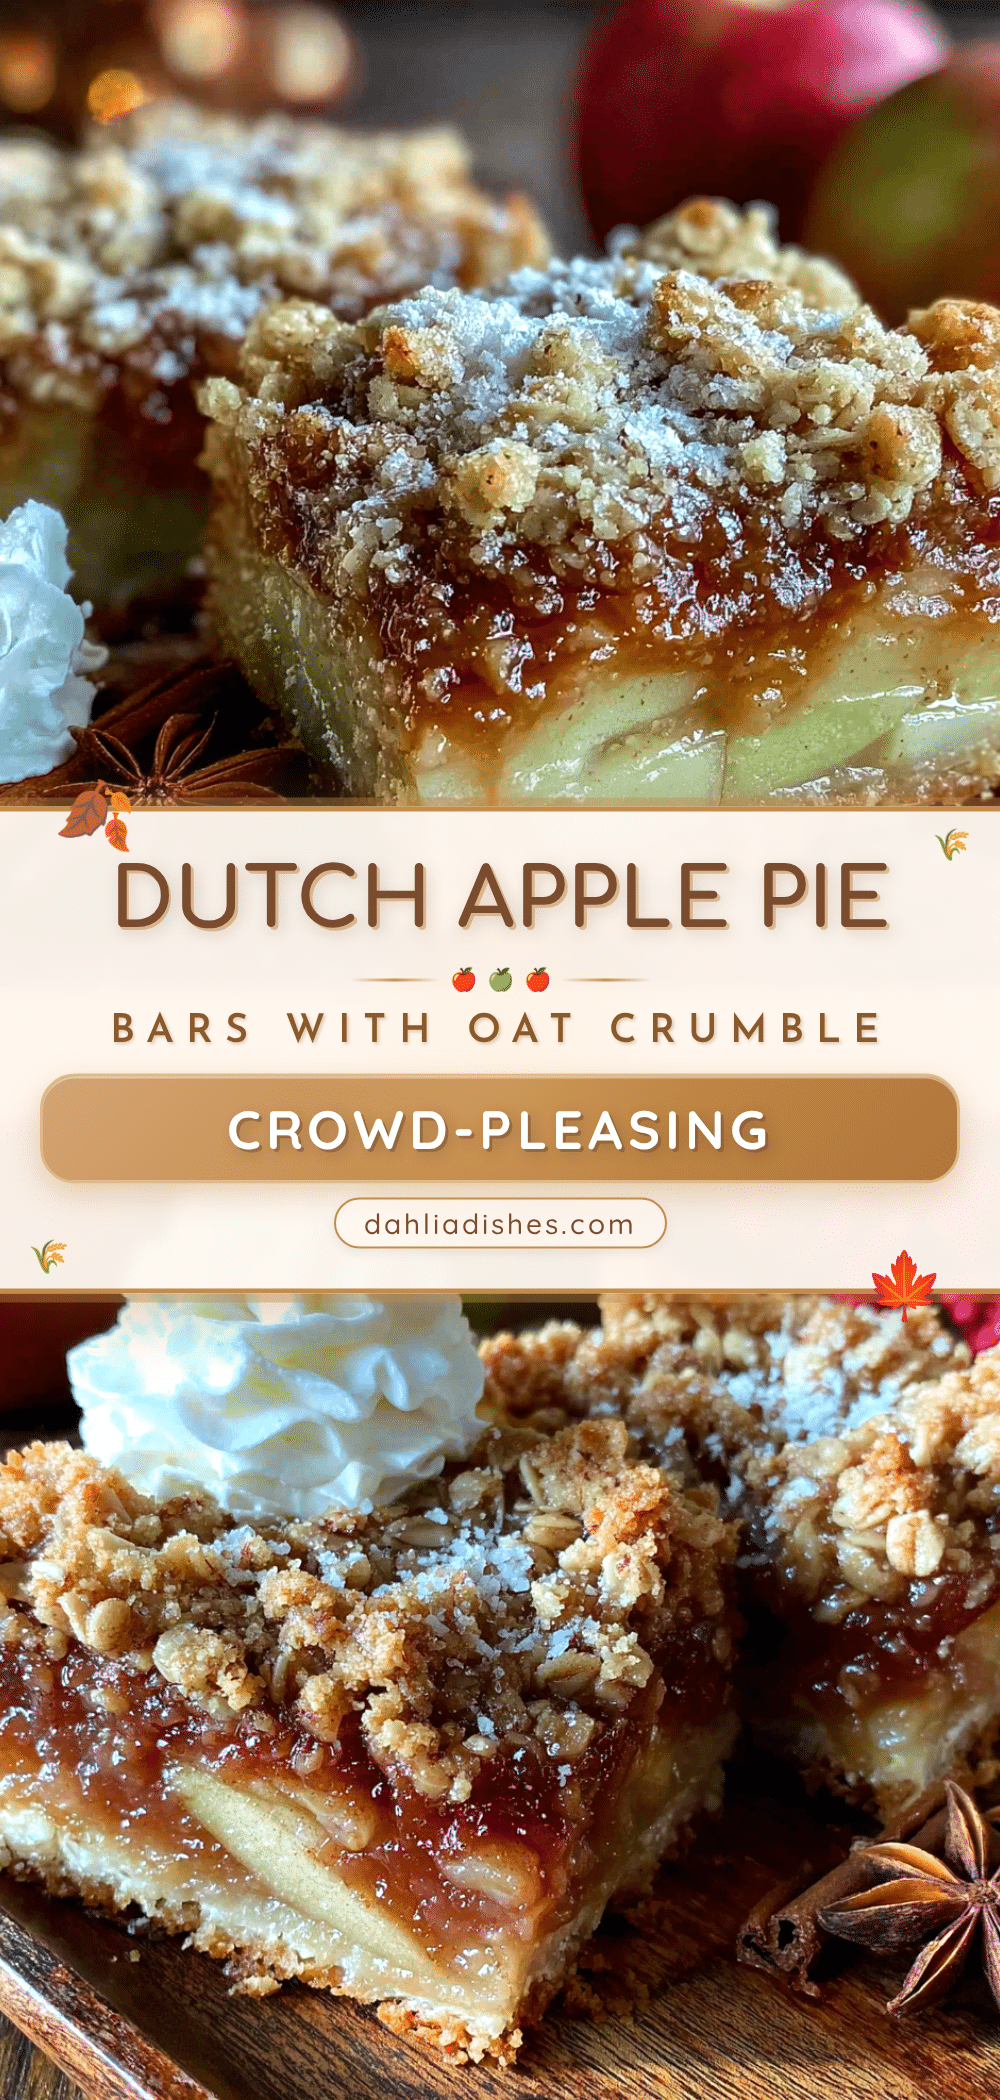
Best Dutch Apple Pie Bars with Oat Crumble
These Dutch Apple Pie Bars feature a buttery shortbread crust, a thick layer of spiced apples, and a crunchy oat crumble topping. They’re easier than a full pie and perfect for a crowd.
- Prep Time: 20 minutes
- Cook Time: 40-45 minutes
- Total Time: 1 hour 5 minutes
- Yield: 16 servings 1x
- Category: Dessert
- Cuisine: American
Ingredients
- 2 cups (250g) all-purpose flour
- 1/2 cup (100g) granulated sugar
- 3/4 cup (170g) unsalted butter, cold and cubed
- 1/4 teaspoon salt
- 6 cups (about 6 medium apples) peeled, cored, and thinly sliced (3 Granny Smith, 3 Honeycrisp)
- 1/3 cup (65g) granulated sugar
- 1/4 cup (50g) brown sugar, packed
- 2 tablespoons all-purpose flour
- 1 tablespoon lemon juice
- 1 teaspoon ground cinnamon
- 1/4 teaspoon ground nutmeg
- 1/4 teaspoon salt
- 1 cup (85g) old-fashioned rolled oats
- 1/2 cup (60g) all-purpose flour
- 1/2 cup (100g) brown sugar, packed
- 1/2 cup (113g) unsalted butter, melted
- 1 teaspoon ground cinnamon
- 1/4 teaspoon salt
Instructions
- Preheat your oven to 350°F (175°C). Line your 9×13 pan with parchment paper, leaving about 2 inches of overhang on the long sides.
- Make the shortbread crust: In a large bowl, whisk together 2 cups flour, 1/2 cup sugar, and 1/4 teaspoon salt. Add the cold, cubed butter. Use a pastry cutter or your fingertips to cut the butter into the flour until the mixture looks like coarse sand with a few pea-sized butter lumps. Press the mixture evenly into the bottom of the prepared pan. Bake for 18-20 minutes, until the edges are just barely golden. Set aside to cool slightly.
- Prepare the apple filling: While the crust bakes, peel, core, and thinly slice the apples. In a large bowl, toss the apple slices with 1/3 cup granulated sugar, 1/4 cup brown sugar, 2 tablespoons flour, lemon juice, cinnamon, nutmeg, and salt. Let sit for about 10 minutes.
- Make the oat crumble: In a medium bowl, stir together the oats, 1/2 cup flour, 1/2 cup brown sugar, cinnamon, and salt. Pour in the melted butter and stir until everything is evenly moistened. The mixture should look clumpy.
- Assemble the bars: Spread the apple mixture evenly over the pre-baked crust (only add about half the juices from the bowl). Sprinkle the oat crumble evenly over the apples.
- Bake for 40-45 minutes, until the crumble is golden brown and the apple filling is bubbling up around the edges. If the crumble is browning too quickly, tent the pan loosely with foil.
- Cool completely in the pan on a wire rack for at least 2 hours. For clean slices, refrigerate for another hour before cutting. Use the parchment overhang to lift the whole slab out, then slice into 16 squares.
Notes
Don’t skip the pre-bake on the crust to avoid a soggy bottom. Use a mix of apple varieties (Granny Smith and Honeycrisp) for best flavor and texture. Let the apple mixture rest for 10 minutes to draw out juices. Cool completely before cutting to prevent the filling from running. For clean slices, refrigerate for an hour before cutting. These bars taste even better the next day.
Nutrition
- Serving Size: 1 bar
- Calories: 320
- Sugar: 28
- Sodium: 150
- Fat: 16
- Saturated Fat: 10
- Carbohydrates: 44
- Fiber: 3
- Protein: 3
Keywords: Dutch apple pie bars, apple bars, oat crumble, fall dessert, apple dessert, potluck dessert


