Love this? Save it for later!
Share the inspiration with your friends
The Thanksgiving potluck at my son’s school was in twelve hours and I’d completely forgotten. Everyone else would be bringing their grandmother’s legendary stuffing, perfectly bronzed turkeys, and pies that looked like they belonged on a magazine cover. I had a bag of frozen green beans, a can of cream of mushroom soup, and a vague sense of panic that felt a lot like parenting in general.
Let me tell you, I stood in my kitchen at ten o’clock at night, staring at those green beans like they held the answer to world peace. I didn’t have time to blanch fresh beans. I didn’t have shallots—heck, I barely had a clean pan. But I remembered my aunt once mentioning that the best green bean casserole she ever made was the one she threw together in a hurry and let sit overnight. Something about the flavors just… melding. Honestly, I was desperate enough to try anything.
So I tossed those frozen beans into a bowl, mixed in the soup, added some milk I prayed wasn’t about to turn, and threw on a handful of those store-bought fried onions because that’s all I had. I covered it, shoved it in the fridge, and went to bed feeling like a fraud. The next morning, I baked it off, and you know what? It won. Not just a “oh that’s nice” win—it won the whole dang potluck. A dad actually asked me for the recipe while his kid was still chewing. I stood there, sheepish, holding my now-empty dish, trying to explain that the secret was basically forgetting to make it until the last possible second.
That’s the thing about this family-favorite make-ahead green bean casserole with crispy shallots. It doesn’t need a fancy origin story or a three-day prep. It needs a little faith, a little patience, and maybe a little procrastination. Maybe you’ve been there—staring down a holiday menu and realizing you’re one dish short with zero time to spare. This one’s for you.
Why You’ll Love This Recipe
This isn’t just another green bean casserole. This is the one that makes people close their eyes after the first bite. I’ve tested it six times over two holidays and a random Tuesday dinner, and every single time, it delivers that same cozy, satisfying magic.
- Make-Ahead Magic: Assemble it the night before and just pop it in the oven. No last-minute scrambling, no dirty dishes during the holiday chaos.
- Simple Ingredients: You probably have most of this in your pantry right now. Frozen green beans, canned soup, milk—nothing exotic or expensive.
- Budget-Friendly: This whole dish costs under ten bucks to make. Perfect for feeding a crowd without wrecking your grocery budget.
- Crowd-Pleaser: Kids devour it. Adults ask for seconds. Picky eaters don’t even realize they’re eating a vegetable.
- Crispy Shallot Upgrade: Those homemade crispy shallots on top? Game-changer. They stay crunchy even after reheating, which is basically a miracle.
What makes this version different from every other green bean casserole out there is the technique. Instead of just dumping everything together, we’re building layers of flavor. We’re sautéing the shallots until golden and fragrant, letting the sauce thicken just right, and giving the whole thing time to meld overnight. It’s comfort food reimagined—faster, smarter, but with the same soul-soothing satisfaction you crave on a chilly evening.
This recipe is perfect for Thanksgiving, Christmas, Easter, or honestly, any Tuesday when you need a little vegetable-based comfort. It’s the kind of dish that makes you look like you spent hours in the kitchen when really, you just planned ahead like a smart home cook.
What Ingredients You Will Need
This recipe uses simple, wholesome ingredients to deliver bold flavor and satisfying texture without the fuss. Most of these are pantry staples, which means no last-minute trips to the store for something weird.
For the Casserole Base
- 2 pounds frozen cut green beans (no need to thaw—just dump them in. I prefer Bird’s Eye or store brand, both work great)
- 1 can (10.5 ounces) condensed cream of mushroom soup (Campbell’s is classic, but any brand works. Use the regular kind, not the low-fat version—the texture matters)
- 1/2 cup whole milk (adds richness. You can use 2% or even oat milk in a pinch, but whole milk gives the creamiest result)
- 1/4 cup sour cream (this is my secret weapon—adds tang and creaminess that takes it over the top)
- 1/2 teaspoon garlic powder (don’t skip this—it adds depth without being overpowering)
- 1/4 teaspoon black pepper (freshly ground if you have it)
- 1/2 teaspoon salt (adjust to taste, especially if you’re using salted butter)
For the Crispy Shallots
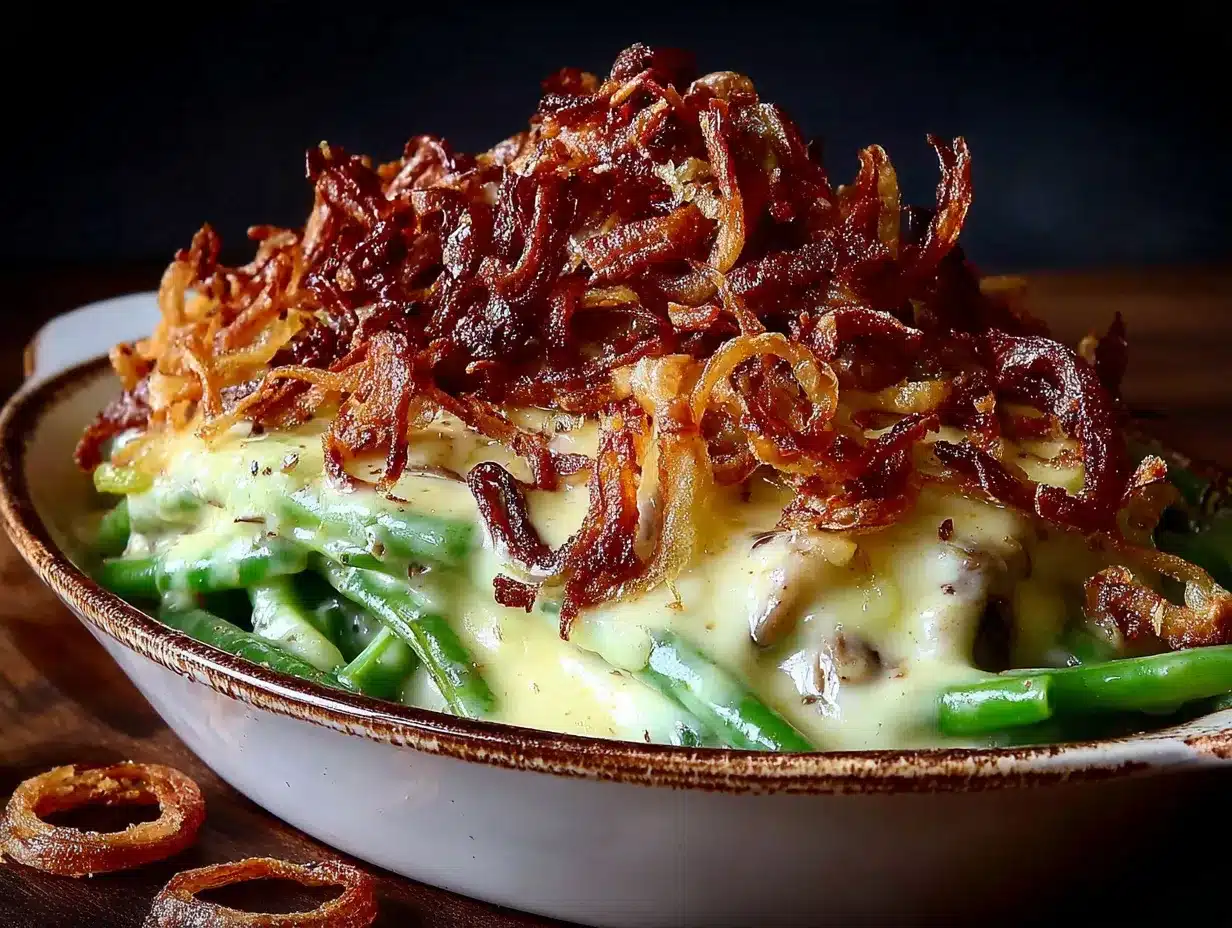
- 3 large shallots (look for firm, dry shallots with papery skin—about 4 ounces total)
- 1/4 cup all-purpose flour (for dredging. You can use rice flour for a gluten-free option)
- 1/2 teaspoon salt (for seasoning the flour)
- 1/4 teaspoon smoked paprika (optional, but adds a lovely color and subtle smokiness)
- 1/2 cup vegetable oil (for frying. Use a neutral oil like canola or grapeseed—olive oil will burn)
For the Topping
- 1 cup crispy fried onions (store-bought is fine—French’s is my go-to. Or use the homemade shallots above! I often do a mix of both)
- 1/2 cup shredded sharp cheddar cheese (optional, but my kids love it. Adds a nice salty bite)
Ingredient Tip: For the best texture, use frozen green beans rather than canned. Canned beans get mushy after baking, while frozen ones hold their shape and have a better snap. If you’re using fresh green beans, blanch them in boiling salted water for 3 minutes, then shock in ice water before using.
Substitution Guidance: Need it dairy-free? Use canned coconut milk instead of whole milk, and skip the sour cream or use a dairy-free version. The crispy shallots are naturally dairy-free. For a gluten-free version, use gluten-free cream of mushroom soup (Pacific Foods makes a good one) and rice flour for the shallots.
Equipment Needed
You don’t need a fancy kitchen to pull this off. Here’s what you’ll need:
- 9×13-inch baking dish (glass or ceramic works best—metal can react with the acidity in the soup)
- Large skillet or frying pan (for sautéing the shallots. A non-stick pan makes cleanup easier)
- Large mixing bowl (for combining the casserole ingredients)
- Wooden spoon or spatula (for stirring—metal can scratch your baking dish)
- Sharp knife and cutting board (for slicing shallots. A mandoline works great if you have one)
- Paper towels (for draining the crispy shallots)
- Aluminum foil (for covering the casserole while it bakes)
Budget-Friendly Tip: If you don’t have a 9×13 dish, use a 10-inch cast iron skillet or even a disposable aluminum pan. I’ve made this in a round 9-inch pie dish before—it just means thicker layers and a slightly longer bake time. Works like a charm.
Personal Note: I’ve made this recipe with a cheap non-stick pan from the grocery store and with my fancy All-Clad. Honestly? The results were identical. Don’t stress about equipment. Your grandmother probably made this in a Pyrex dish from 1972 and it was perfect.
Preparation Method
Let’s walk through this step by step. I promise it’s easier than it looks.
- Preheat your oven to 350°F (175°C). If you’re making this ahead, skip this step until you’re ready to bake.
- Make the crispy shallots. Peel the shallots and slice them into thin rings—about 1/8 inch thick. Separate the rings with your fingers. In a shallow bowl, mix the flour, salt, and smoked paprika. Toss the shallot rings in the flour mixture until they’re evenly coated. Shake off any excess flour.
- Fry the shallots. Heat the vegetable oil in a large skillet over medium-high heat. You’ll know it’s ready when a piece of shallot sizzles immediately when dropped in. Working in batches (don’t crowd the pan), fry the shallots for 2-3 minutes, stirring occasionally, until they’re golden brown and crispy. They’ll darken slightly after you remove them, so take them out when they’re just barely golden.
- Drain the shallots. Use a slotted spoon to transfer the fried shallots to a paper towel-lined plate. Sprinkle with a tiny pinch of salt while they’re still warm. Let them cool completely—they’ll get crunchier as they cool. Set aside.
- Combine the casserole base. In a large mixing bowl, whisk together the cream of mushroom soup, milk, sour cream, garlic powder, black pepper, and salt until smooth. The mixture should look creamy and pale beige—if it seems too thick, add an extra tablespoon of milk.
- Add the green beans. Dump the frozen green beans directly into the bowl (no need to thaw). Use a wooden spoon to fold everything together until the beans are evenly coated in the creamy mixture. Don’t overmix—you just want every bean to have a little coating.
- Assemble the casserole. Pour the green bean mixture into your greased 9×13 baking dish. Spread it into an even layer with the back of your spoon. If you’re using the shredded cheddar, sprinkle it evenly over the top now.
- Add the topping. Sprinkle the crispy fried onions (and half of your homemade crispy shallots) evenly over the casserole. Gently press them into the top layer so they stick.
- Bake immediately or refrigerate. If baking right away, place the dish in the preheated oven and bake for 30-35 minutes, until the casserole is bubbly around the edges and the top is golden brown. If making ahead, cover the dish tightly with foil and refrigerate for up to 24 hours.
- Bake from chilled. When you’re ready to bake, preheat the oven to 350°F (175°C). Remove the foil and bake the chilled casserole for 40-45 minutes, until hot and bubbly. The center should reach 165°F (74°C) if you want to be precise.
- Add the final crispy shallots. About 5 minutes before the casserole is done, sprinkle the remaining homemade crispy shallots over the top. This ensures they stay crunchy and don’t get soggy during baking.
- Let it rest. Remove the casserole from the oven and let it sit for 5-10 minutes before serving. This helps the sauce set up so it doesn’t run all over the plate.
Sensory Cue: You’ll know it’s done when you see bubbles breaking through the topping around the edges, and the whole kitchen smells like buttery, savory comfort. The top should be golden with some darker spots—that’s where the flavor lives.
Cooking Tips & Techniques
I’ve made this recipe about a dozen times now, and I’ve learned a few things the hard way. Let me save you the trouble.
Don’t Overcook the Shallots: The first time I made crispy shallots, I left them in the oil too long and ended up with bitter, dark brown bits that tasted like regret. They cook fast—watch them closely and pull them out when they’re pale golden. They’ll continue cooking from residual heat.
Pat the Shallots Dry: Before you toss them in flour, pat the sliced shallots dry with a paper towel. Excess moisture makes the flour clump and leads to uneven frying. I learned this after my first batch came out looking like lumpy, sad little blobs.
Use Frozen Beans Directly: Don’t thaw the green beans before mixing them in. Frozen beans release moisture as they bake, which helps create that creamy sauce. If you thaw them first, you’ll end up with a watery casserole. Trust me on this one.
Let It Rest: I know you’re hungry, but letting the casserole sit for 10 minutes after baking is non-negotiable. The sauce needs time to thicken up. I once served it immediately and watched my beautiful casserole turn into green bean soup on everyone’s plates. Not my finest moment.
Double the Crispy Shallots: Seriously. Make double the amount you think you need. They’re addictive, and you’ll want extra for snacking. I’ve caught my husband eating them straight from the paper towel more times than I can count.
Timing Strategy: If you’re making this for a holiday meal, assemble it the night before and keep it covered in the fridge. The next day, just pop it in the oven while the turkey rests. It frees up your oven space and your brain space—both equally valuable.
Variations & Adaptations
This recipe is wonderfully flexible. Here are some ways to make it your own:
Dietary Variations
- Gluten-Free: Use gluten-free cream of mushroom soup (Pacific Foods makes a great one) and rice flour or almond flour for the shallots. The texture is slightly different but still delicious.
- Dairy-Free: Substitute the milk with unsweetened oat milk or canned coconut milk. Use dairy-free sour cream (Tofutti works well) and skip the cheddar cheese. The sauce will be a little thinner but still creamy.
- Low-Carb/Keto: Use fresh green beans instead of frozen (they have slightly fewer carbs) and skip the crispy onions on top. Make extra crispy shallots instead—they’re naturally low-carb.
Flavor Twists
- Bacon Lover’s Version: Cook 4 slices of bacon until crispy, crumble them, and sprinkle over the top along with the shallots. I tried this for a Super Bowl party and it disappeared in minutes.
- Mushroom Medley: Sauté 8 ounces of sliced cremini mushrooms with 2 cloves of garlic, then fold them into the casserole base. Adds an earthy depth that mushroom lovers will adore.
- Cheesy Upgrade: Mix 1/2 cup of shredded Gruyère or fontina into the sauce before assembling. It melts beautifully and adds a nutty, sophisticated flavor.
Seasonal Adaptations
- Spring Version: Swap the green beans for asparagus (cut into 2-inch pieces) and use fresh tarragon instead of garlic powder. Light and bright for Easter brunch.
- Summer Version: Use fresh green beans from the farmer’s market, blanched for 3 minutes. Add a handful of cherry tomatoes, halved, for a pop of color and acidity.
Personal Variation: My favorite version uses a mix of green beans and yellow wax beans. The color contrast is gorgeous, and the wax beans have a slightly milder flavor that kids seem to prefer. I found this combo by accident when I grabbed the wrong bag at the store—best mistake I ever made.
Serving & Storage Suggestions
This casserole is incredibly versatile when it comes to serving and storing. Here’s how to get the most out of it.
Serving Temperature: Serve hot, straight from the oven. The crispy shallots should still be crunchy, and the sauce should be thick and bubbly. I like to use a wide spatula to serve, keeping the topping intact.
Presentation Tip: Transfer the casserole to a warmed serving platter if you’re feeling fancy. Sprinkle a few extra crispy shallots on top for that “I just made this” look, even if it’s been sitting in the fridge for a day.
Complementary Dishes: This casserole pairs beautifully with roasted turkey, baked ham, or even a simple roast chicken. For a vegetarian meal, serve it alongside mashed potatoes and a hearty grain salad. A crisp white wine like Sauvignon Blanc cuts through the creaminess nicely.
Storage Instructions: Store leftovers in an airtight container in the refrigerator for up to 4 days. The flavors actually get better after a day or two—the sauce thickens and the seasonings meld together beautifully.
Freezing Instructions: This casserole freezes surprisingly well. Assemble it completely (without the final crispy shallots), wrap tightly in foil, and freeze for up to 3 months. To serve, thaw overnight in the refrigerator, then bake as directed, adding fresh crispy shallots at the end.
Reheating Methods: The best way to reheat is in the oven at 350°F (175°C) for 15-20 minutes, covered with foil. The microwave works in a pinch, but the topping will lose its crunch. If you’re reheating a single serving, use a toaster oven for best results.
Flavor Development Note: I actually prefer this casserole on day two. The sauce thickens up beautifully, and the green beans absorb all that creamy, savory goodness. Don’t be afraid to make it a day ahead—it’s designed for that.
Nutritional Information & Benefits
While this is definitely comfort food, it does have some redeeming nutritional qualities. Here’s what you need to know.
Estimated Nutritional Values (per serving, based on 8 servings):
- Calories: 245
- Total Fat: 14g
- Saturated Fat: 4g
- Cholesterol: 15mg
- Sodium: 680mg
- Total Carbohydrates: 22g
- Dietary Fiber: 4g
- Sugars: 5g
- Protein: 6g
Health Benefits: Green beans are packed with vitamin K (great for bone health), vitamin C (immune support), and fiber (digestive health). The shallots contain quercetin, a powerful antioxidant that supports heart health. Even the mushrooms in the soup provide some B vitamins and selenium.
Dietary Considerations: This recipe can be made gluten-free and dairy-free with simple substitutions (see variations above). It’s naturally nut-free and egg-free. If you’re watching your sodium, use low-sodium cream of mushroom soup and reduce the added salt.
Personal Wellness Perspective: Look, I’m not going to pretend this is a health food. It’s a holiday side dish, and it’s meant to be enjoyed. But I feel good about serving my family real green beans (not canned mush) and homemade shallots instead of processed toppings. It’s comfort food made with a little more intention, and that counts for something.
Conclusion
This family-favorite make-ahead green bean casserole with crispy shallots has become my secret weapon for every holiday gathering, potluck, and busy weeknight. It’s the dish that makes people think you spent hours in the kitchen when really, you just planned ahead and let the fridge do the work.
What I love most about this recipe is how forgiving it is. You can add extra cheese, swap in different vegetables, or double the crispy shallots (please do). It adapts to whatever you have on hand and still turns out delicious. That’s the mark of a truly great recipe—it works with you, not against you.
I’d love to hear how this turns out for you! Did you add bacon? Use fresh beans? Forget the shallots and just use store-bought onions? Drop a comment below and let me know your twist. And if you’re looking for another crowd-pleasing side dish, you might love this creamy mashed potatoes recipe that also happens to be make-ahead friendly. Happy cooking, friends—you’ve got this.
Frequently Asked Questions
Can I use fresh green beans instead of frozen?
Absolutely! Just blanch them first. Bring a pot of salted water to a boil, add the trimmed green beans, and cook for 3 minutes. Drain and plunge them into ice water to stop the cooking. Pat them dry before using. Fresh beans will have a slightly firmer texture than frozen, which some people prefer.
How far ahead can I make this casserole?
You can assemble the casserole (without the final crispy shallots) up to 24 hours in advance. Keep it covered in the refrigerator. When you’re ready to bake, just add about 10 extra minutes to the baking time since you’re starting from cold. I don’t recommend assembling it more than 24 hours ahead, as the green beans can start to get mushy.
Can I freeze the crispy shallots separately?
Yes, but they won’t stay perfectly crunchy. Fried shallots are best made fresh, but you can freeze them in an airtight container for up to 2 months. To refresh them, spread them on a baking sheet and warm them in a 300°F (150°C) oven for 5 minutes. They’ll regain most of their crunch.
Why did my casserole turn out watery?
This usually happens for one of three reasons: you thawed the green beans before adding them (don’t—use them frozen), you used low-fat milk or sour cream (the fat helps thicken the sauce), or you didn’t let it rest after baking. If your casserole is watery, try baking it uncovered for an extra 10 minutes to let some moisture evaporate.
Can I make this in a slow cooker?
You can, but the texture will be different. Assemble the casserole in a greased slow cooker, cook on low for 3-4 hours or high for 1.5-2 hours. The topping won’t get crispy in the slow cooker, so I recommend baking the crispy shallots separately and adding them right before serving. It’s not quite the same as the oven version, but it works in a pinch.
Pin This Recipe!
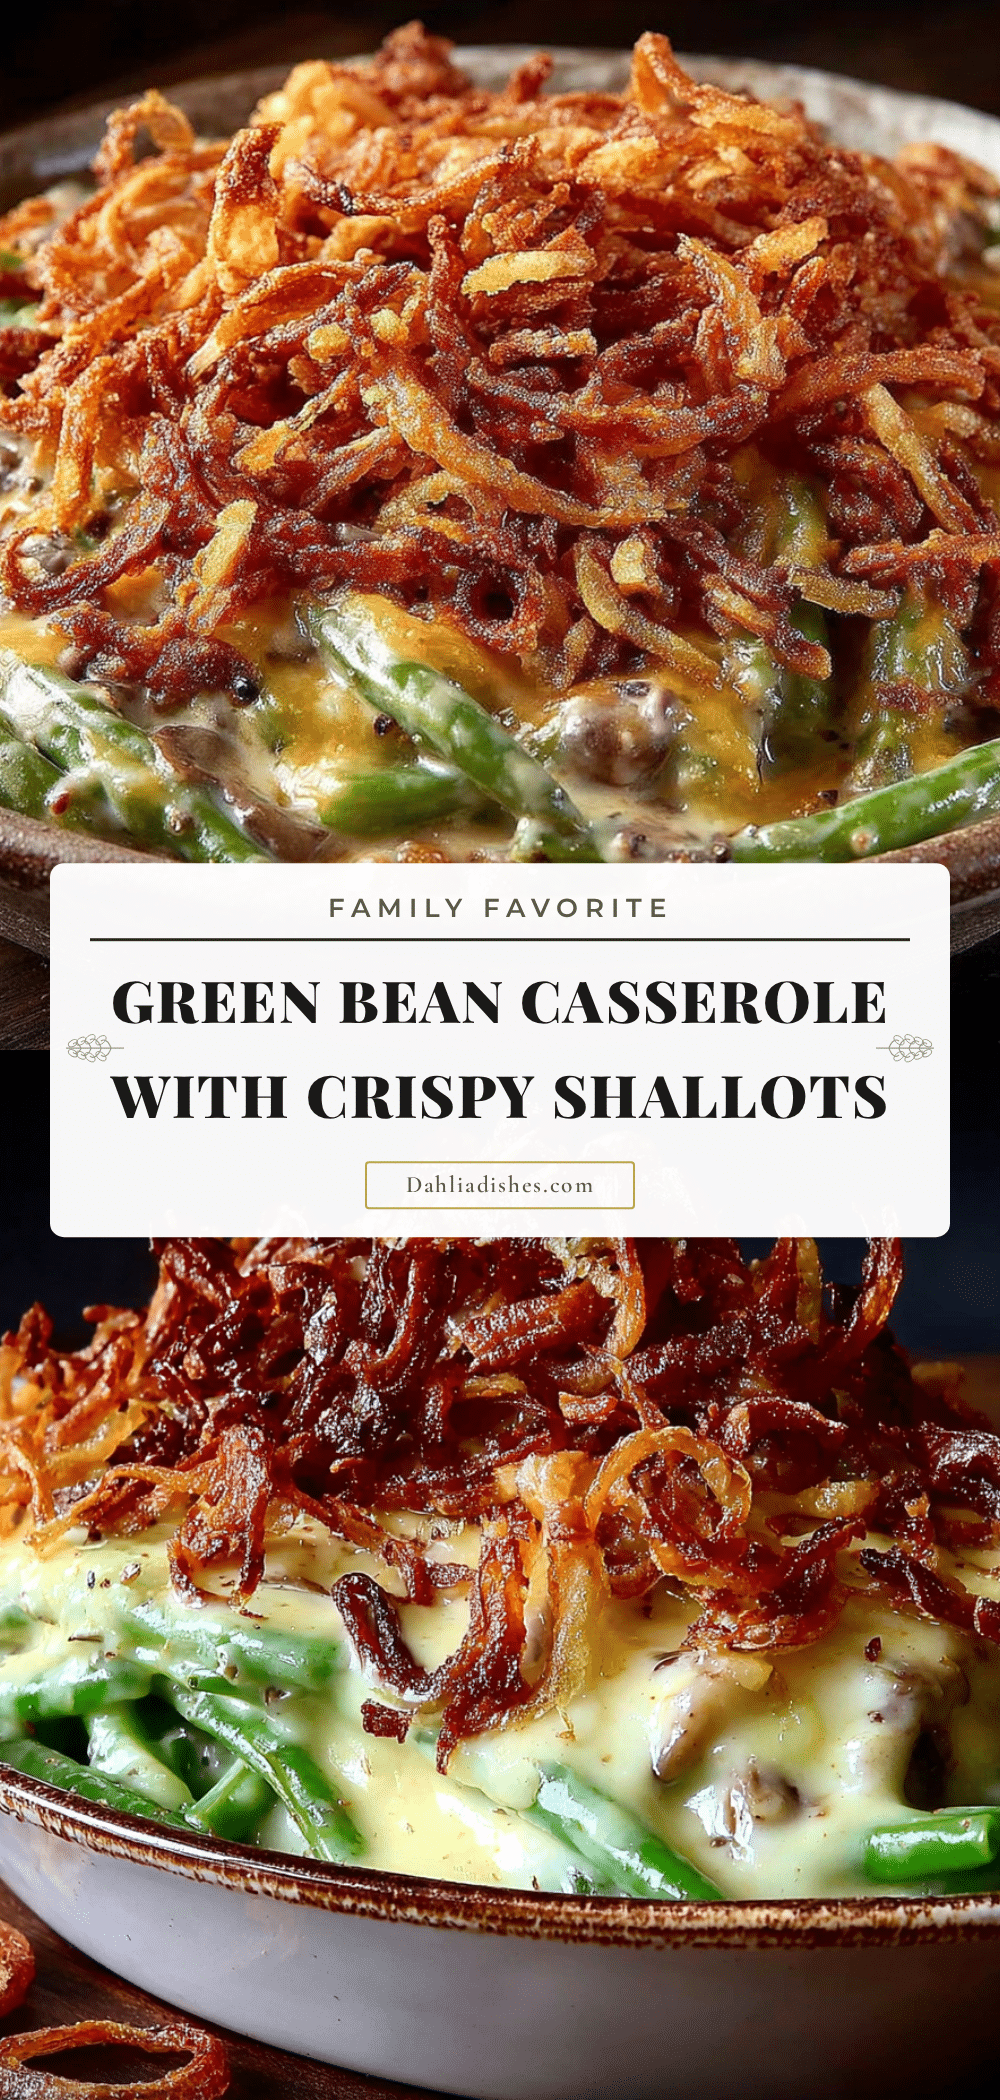
Best Make-Ahead Green Bean Casserole with Crispy Shallots

This make-ahead green bean casserole with crispy shallots is a family-favorite side dish that’s perfect for Thanksgiving, Christmas, or any busy weeknight. It’s easy to assemble the night before, uses simple pantry ingredients, and delivers creamy, savory comfort with a crunchy topping.
- Prep Time: 20 minutes
- Cook Time: 35 minutes
- Total Time: 55 minutes
- Yield: 8 servings 1x
- Category: Side Dish
- Cuisine: American
Ingredients
- 2 pounds frozen cut green beans
- 1 can (10.5 ounces) condensed cream of mushroom soup
- 1/2 cup whole milk
- 1/4 cup sour cream
- 1/2 teaspoon garlic powder
- 1/4 teaspoon black pepper
- 1/2 teaspoon salt
- 3 large shallots (about 4 ounces total)
- 1/4 cup all-purpose flour
- 1/2 teaspoon salt (for shallots)
- 1/4 teaspoon smoked paprika (optional)
- 1/2 cup vegetable oil (for frying)
- 1 cup crispy fried onions (store-bought)
- 1/2 cup shredded sharp cheddar cheese (optional)
Instructions
- Preheat your oven to 350°F (175°C). If making ahead, skip this step until ready to bake.
- Make the crispy shallots: Peel and slice shallots into thin rings (about 1/8 inch thick). Separate rings. In a shallow bowl, mix flour, 1/2 teaspoon salt, and smoked paprika. Toss shallot rings in flour mixture until evenly coated; shake off excess.
- Fry the shallots: Heat vegetable oil in a large skillet over medium-high heat. Working in batches, fry shallots for 2-3 minutes, stirring occasionally, until golden brown and crispy. Transfer to a paper towel-lined plate and sprinkle with a tiny pinch of salt while warm. Let cool completely.
- Combine the casserole base: In a large mixing bowl, whisk together cream of mushroom soup, milk, sour cream, garlic powder, black pepper, and 1/2 teaspoon salt until smooth.
- Add the green beans: Dump frozen green beans directly into the bowl and fold together until evenly coated.
- Assemble the casserole: Pour green bean mixture into a greased 9×13-inch baking dish and spread into an even layer. If using cheddar cheese, sprinkle it evenly over the top.
- Add the topping: Sprinkle crispy fried onions and half of the homemade crispy shallots evenly over the casserole. Gently press them into the top.
- Bake immediately or refrigerate: If baking right away, bake for 30-35 minutes until bubbly and golden. If making ahead, cover tightly with foil and refrigerate for up to 24 hours.
- Bake from chilled: When ready to bake, preheat oven to 350°F (175°C). Remove foil and bake chilled casserole for 40-45 minutes until hot and bubbly (center should reach 165°F/74°C).
- Add final crispy shallots: About 5 minutes before done, sprinkle remaining homemade crispy shallots over the top.
- Let it rest: Remove from oven and let sit for 5-10 minutes before serving.
Notes
For best texture, use frozen green beans (not canned). Don’t thaw them before mixing. Let the casserole rest after baking to allow the sauce to thicken. Double the crispy shallots if desired—they’re addictive. The casserole can be assembled up to 24 hours ahead and baked from chilled.
Nutrition
- Serving Size: 1 serving (about 1 c
- Calories: 245
- Sugar: 5
- Sodium: 680
- Fat: 14
- Saturated Fat: 4
- Carbohydrates: 22
- Fiber: 4
- Protein: 6
Keywords: green bean casserole, make-ahead, crispy shallots, Thanksgiving side dish, holiday side dish, comfort food, easy side dish


