Love this? Save it for later!
Share the inspiration with your friends
I was standing in the frozen food aisle of our local grocery store last Tuesday when the smell of someone’s pumpkin-spice candle wafted over from the seasonal display — and suddenly I was six years old at my Aunt Carol’s tiny kitchen table, watching her press leftover pie dough into a greased muffin tin with her thumbs. She’d let me fill each little cup with a spoonful of canned pumpkin, and I’d eat them right there, standing up, before they’d even had time to cool. She passed away three years ago, and I haven’t thought about those mini pies in probably two decades. But that smell — that specific, slightly artificial pumpkin-spice scent — hit me like a truck, and I had to stand there for a minute, holding my cart, blinking back something I wasn’t expecting to feel on a Tuesday afternoon.
Honestly, I didn’t even buy the candle. I went home and pulled out my own muffin tin instead. I had a can of pumpkin puree in the pantry and a hankering to recreate that exact feeling — not just the taste, but the warmth of being small and safe in someone’s cozy kitchen while she hummed and let me “help.” These mini pumpkin pie bites are my attempt to bottle that moment. They’re buttery, tender, perfectly spiced, and just the right size for a cold evening when you need something sweet but don’t want to commit to a whole slice of pie.
Maybe you’ve been there — chasing a taste you can almost remember but can’t quite name. This is that taste. Let me show you how to make it.
Why You’ll Love This Recipe
These mini pumpkin pie bites are my absolute go-to for fall baking, and I’ve tested them about six times to get them just right. Let me tell you why they’re going to become your new favorite, too.
- Quick & Easy: From start to finish, these come together in about 45 minutes. No rolling out a full pie crust, no blind baking, no fuss. Perfect for a weeknight craving or a last-minute dessert for unexpected guests.
- Simple Ingredients: You probably have most of these in your kitchen right now. Canned pumpkin, eggs, sugar, spices, and store-bought pie crust. No fancy trips to a specialty market required.
- Perfect for Cozy Nights: These little bites are made for cold weather, rainy afternoons, or any day that calls for a little comfort. They’re like a hug in food form, I mean it.
- Crowd-Pleaser: I brought these to a Friendsgiving last year and they disappeared before the main course. Kids love them because they’re bite-sized, and adults love them because they’re not too sweet. Everyone wins.
- Unbelievably Delicious: The filling is silky and rich with just the right amount of spice, and the crust gets perfectly golden and flaky. It’s next-level comfort food that tastes like you spent hours in the kitchen — but you didn’t.
What makes this recipe different from every other pumpkin pie recipe out there? It’s the ratio. I tweaked the filling until it was just custardy enough to set beautifully in a mini muffin tin without getting rubbery. Plus, the crust-to-filling ratio is perfect — every bite has enough buttery pastry to balance the creamy pumpkin. It’s not just another version. It’s my best version, and I’m pretty proud of it.
This is the kind of dessert that makes you close your eyes after the first bite. It’s comfort food reimagined — smaller, faster, but with the same soul-soothing satisfaction. Perfect for impressing guests without stress, or turning a simple Tuesday night into something memorable.
What Ingredients You Will Need
This recipe uses simple, wholesome ingredients to deliver bold fall flavor without the fuss. Most of these are pantry staples, so you can whip these up on a whim.
- For the Crust:
- 1 box (14.1 ounces) refrigerated pie crusts (I recommend Pillsbury for consistent results, but any brand works)
- 1 tablespoon all-purpose flour (for dusting your work surface)
- For the Pumpkin Filling:
- 1 cup (245g) canned pumpkin puree (not pumpkin pie filling — look for 100% pure pumpkin, like Libby’s)
- 1/2 cup (100g) granulated sugar
- 1/4 cup (50g) packed light brown sugar
- 1 large egg, at room temperature
- 1 teaspoon vanilla extract
- 1/2 cup (120ml) evaporated milk (or heavy cream for a richer filling)
- 1 1/2 teaspoons pumpkin pie spice (store-bought or homemade — I use a mix of cinnamon, nutmeg, ginger, and cloves)
- 1/2 teaspoon ground cinnamon
- 1/4 teaspoon salt
- For the Topping (Optional but Recommended):
- 1/2 cup (120ml) heavy whipping cream
- 1 tablespoon powdered sugar
- 1/2 teaspoon vanilla extract
- Ground cinnamon or nutmeg, for garnish
Ingredient Selection Tips: For the best texture, make sure your egg is at room temperature — this helps the filling emulsify properly and prevents a curdled texture. If you forgot to take it out of the fridge, place it in a bowl of warm water for 5 minutes. Also, don’t substitute the evaporated milk with regular milk; it has a higher protein content that helps the filling set up nicely. If you’re dairy-free, you can use full-fat canned coconut milk instead.
Substitution Guidance: You can use a homemade pie crust if you prefer — just make sure it’s enough for a double-crust pie. For a gluten-free option, use a gluten-free pie crust mix. If you don’t have pumpkin pie spice, mix 1 teaspoon cinnamon, 1/2 teaspoon ginger, 1/4 teaspoon nutmeg, and 1/4 teaspoon cloves. And if you want a little extra warmth, add a pinch of cardamom — it’s my secret ingredient.
Equipment Needed
You don’t need a lot of fancy equipment for these mini pies, which is part of the beauty. Here’s what you’ll need:
- Mini muffin tin (24-cup size) — this is non-negotiable. I use a non-stick one from Wilton and it works like a charm.
- Rolling pin — for rolling out the pie crust if it’s a bit thick.
- 2-inch round cookie cutter — or a small glass or biscuit cutter of similar size. You need this to cut out the crust rounds.
- Small mixing bowl — for whisking the filling.
- Whisk — to get the filling smooth and lump-free.
- Measuring cups and spoons — accuracy matters in baking.
- Pastry brush — optional, for brushing the tops with a little egg wash if you want a shiny finish.
- Piping bag or small spoon — for filling the crusts. A small spoon works fine, but a piping bag makes it neater.
- Cooling rack — for letting the pies cool properly.
Budget-friendly tip: If you don’t have a mini muffin tin, you can use a regular muffin tin and make slightly larger pies — just increase the baking time by 3-5 minutes. And if you don’t have a 2-inch cookie cutter, the rim of a small drinking glass works perfectly.
Preparation Method
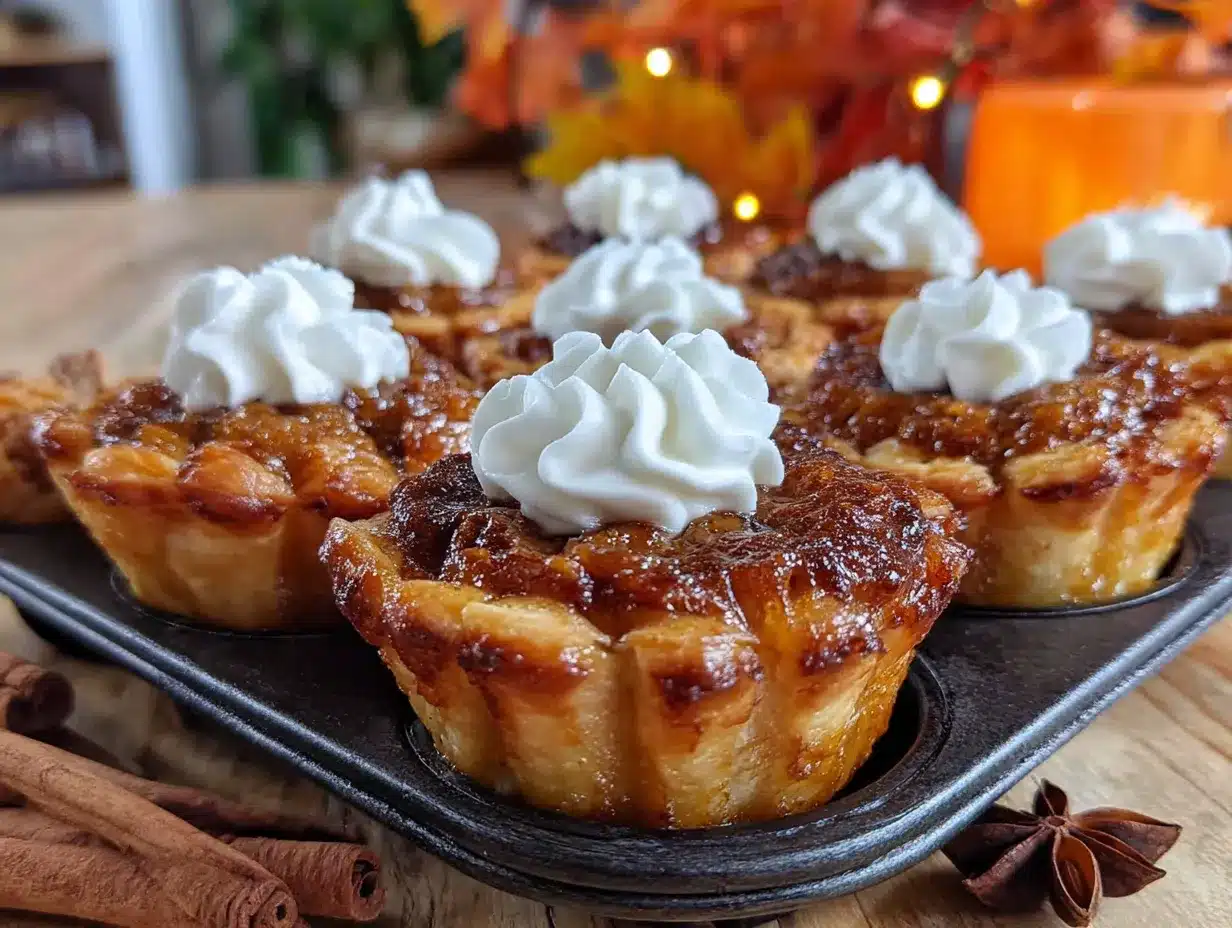
Alright, let’s get to the fun part. Here’s how to make these cozy mini pumpkin pie bites, step by step.
- Preheat your oven to 375°F (190°C). Position the rack in the center of the oven. Lightly spray your mini muffin tin with non-stick cooking spray, even if it’s non-stick. Trust me on this — it makes removing the pies so much easier.
- Prepare the crust. Take your refrigerated pie crusts out of the fridge and let them sit at room temperature for about 5 minutes — this prevents cracking when you roll them out. Lightly dust your work surface with the tablespoon of flour. Unroll one pie crust and roll it out slightly to about 1/8-inch thickness. Using your 2-inch round cookie cutter, cut out as many rounds as you can. You should get about 12 rounds per crust. Gather the scraps, reroll them, and cut out more rounds. You’ll need 24 total for a full mini muffin tin.
- Press the crust into the muffin tin. Gently press each round into a mini muffin cup, making sure the dough reaches all the way to the edges and up the sides slightly. Don’t stretch the dough too much or it will shrink during baking. If a round tears, just press it back together — it’s very forgiving. Place the tin in the refrigerator while you make the filling (this helps the crust hold its shape).
- Make the pumpkin filling. In a small mixing bowl, combine the pumpkin puree, granulated sugar, and brown sugar. Whisk until smooth. Add the egg, vanilla extract, and evaporated milk, and whisk again until everything is well combined and silky. Sprinkle in the pumpkin pie spice, cinnamon, and salt, and whisk one more time. The filling should be smooth and slightly thick — if it looks separated, you might have over-whisked, but don’t worry, it will come together in the oven.
- Fill the crusts. Remove the muffin tin from the fridge. Using a small spoon or a piping bag (I just use a spoon — less cleanup), carefully fill each crust cup with the pumpkin filling. Fill them almost to the top, leaving about 1/8 inch of space. The filling will puff up slightly as it bakes but will settle back down as it cools. Don’t overfill, or they’ll spill over and make a mess.
- Bake the mini pies. Place the muffin tin on the center rack of your preheated oven. Bake for 15-18 minutes, or until the edges of the crust are golden brown and the filling is set around the edges but still slightly jiggly in the very center. They will continue to set as they cool. I usually check at the 15-minute mark — every oven runs a little differently.
- Cool completely. Remove the tin from the oven and place it on a cooling rack. Let the mini pies cool in the tin for 10 minutes — this is important because they’re fragile while hot. After 10 minutes, carefully run a small knife or offset spatula around the edges of each pie to loosen them, then gently lift them out. Transfer them to the cooling rack to cool completely, about 30 minutes. If you try to eat them too early, the filling will be too soft. Patience, my friend.
- Make the whipped cream topping (optional). While the pies are cooling, pour the heavy whipping cream into a chilled bowl. Add the powdered sugar and vanilla extract. Using a hand mixer or a whisk, beat the cream until soft peaks form — this takes about 2-3 minutes with a mixer. Don’t overbeat, or you’ll end up with butter. Store in the refrigerator until ready to serve.
- Serve and enjoy. Once the mini pies are completely cool, top each one with a dollop of whipped cream and a light sprinkle of cinnamon or nutmeg. Serve immediately, or keep them in the fridge until you’re ready.
Pro tip: If the crust edges are browning too quickly but the filling isn’t set yet, loosely tent the muffin tin with aluminum foil for the last few minutes of baking. This saved my first batch from burning!
Cooking Tips & Techniques
I’ve made these mini pumpkin pie bites about six times now, and I’ve learned a few things the hard way. Here are my best tips to make sure yours turn out perfect the first time.
Don’t skip chilling the crust. I made this mistake on my second batch — I was in a hurry and pressed the dough directly into the tin without refrigerating it first. The crust shrunk way down during baking, and the filling spilled over the edges. Chilling the crust for even 10 minutes helps the butter in the dough firm up, which means less shrinkage and a nicer shape.
Watch your filling consistency. If your filling looks too thin or watery, you might have used a different brand of pumpkin puree. Some brands have more moisture than others. If this happens, add an extra tablespoon of sugar or a teaspoon of cornstarch to help thicken it. I had to do this once with a store-brand pumpkin, and it worked like a charm.
Use a light hand with the filling. I know it’s tempting to pile it high, but these mini pies don’t need much filling — about a tablespoon per cup is plenty. Overfilling leads to spillage and uneven baking. Less is more here.
Timing is everything. These bake quickly because they’re small. Set a timer for 15 minutes and check them. If the filling is still very jiggly, give them 2 more minutes. If it’s just slightly wobbly in the center, they’re done. Remember, they’ll continue to set as they cool.
Let them cool completely. I know, I know — it’s hard to wait. But if you try to remove them from the tin while they’re still warm, the crust will crumble and the filling will be too soft. Trust the process. Give them that full 30 minutes on the cooling rack.
Multitasking tip: While the pies are cooling, wash the dishes. I mean it. The kitchen will be clean by the time they’re ready to serve, and you can enjoy them without looking at a pile of dirty bowls.
Variations & Adaptations
One of the best things about this recipe is how easy it is to change up. Here are some of my favorite variations.
Vegan Mini Pumpkin Pie Bites: Use a vegan pie crust (most store-bought brands are accidentally vegan, just check the label). For the filling, replace the egg with 1 tablespoon of flaxseed meal mixed with 3 tablespoons of water (let it sit for 5 minutes to thicken). Use full-fat canned coconut milk instead of evaporated milk. The texture will be slightly softer but still delicious.
Gluten-Free Version: Swap the regular pie crust for a gluten-free one. I like the Wholly Gluten-Free brand. Everything else in the recipe is naturally gluten-free, so you’re good to go. Just make sure to check your pumpkin pie spice blend — some brands add flour as an anti-caking agent.
Chocolate-Pumpkin Swirl: This is my personal favorite variation. Before filling the crusts, melt 2 tablespoons of semi-sweet chocolate chips. Drop a tiny spoonful of melted chocolate into each crust, then add the pumpkin filling on top. Use a toothpick to gently swirl the chocolate into the filling. It looks beautiful and tastes incredible — the chocolate adds a richness that pairs perfectly with the pumpkin spice.
Maple-Orange Twist: Replace the brown sugar with maple syrup and add 1 teaspoon of orange zest to the filling. The maple and orange flavors complement the pumpkin beautifully, and it gives the pies a slightly more sophisticated flavor. I made these for a brunch party and they were a huge hit.
Savory Mini Pumpkin Bites: If you’re feeling adventurous, skip the sugar and use only 1 tablespoon of brown sugar. Add 1/2 teaspoon of garlic powder, 1/4 teaspoon of black pepper, and 1/4 cup of shredded Parmesan cheese to the filling. These savory bites are amazing as an appetizer with a dollop of sour cream on top.
Serving & Storage Suggestions
These mini pumpkin pie bites are best served at room temperature or slightly chilled. I personally love them straight from the fridge with a generous swirl of whipped cream — the cold filling against the flaky crust is just perfect.
Presentation tip: Arrange the mini pies on a beautiful platter or wooden board. Dust them lightly with cinnamon or nutmeg using a fine-mesh sieve. If you’re serving them for a party, place a small bowl of extra whipped cream in the center so guests can add more if they want.
What to serve with them: These little pies are wonderful on their own, but they pair beautifully with a hot cup of coffee, a chai latte, or a glass of cold milk. For a dessert spread, serve them alongside apple cider donuts or a slice of pumpkin bread. They also make a great addition to a Thanksgiving dessert table — everyone loves having a mini version of the classic.
Storage Instructions: Store any leftover mini pies in an airtight container in the refrigerator for up to 4 days. The crust will soften slightly over time, but they’ll still be delicious. If you want to keep the crust crispy, store them without the whipped cream and add it just before serving.
Freezing Instructions: These freeze beautifully! Place the cooled, unfilled-with-whipped-cream mini pies on a baking sheet and freeze for 1 hour, or until firm. Transfer them to a freezer-safe container or zip-top bag, separating layers with parchment paper. They’ll keep for up to 2 months. To thaw, let them sit at room temperature for about 20 minutes, then add whipped cream and serve.
Reheating Tip: If you prefer your pies warm, pop them in a 300°F (150°C) oven for 5-7 minutes. Don’t use the microwave — it will make the crust soggy. The flavors actually deepen after a day in the fridge, so don’t be afraid to make them ahead of time.
Nutritional Information & Benefits
Here’s the estimated nutritional breakdown for one mini pumpkin pie bite (without whipped cream):
| Nutrient | Amount per Serving |
|---|---|
| Calories | 95 |
| Total Fat | 4g |
| Saturated Fat | 2g |
| Cholesterol | 15mg |
| Sodium | 95mg |
| Total Carbohydrates | 13g |
| Dietary Fiber | 1g |
| Sugars | 8g |
| Protein | 2g |
| Vitamin A | 45% DV |
| Calcium | 4% DV |
Pumpkin is packed with vitamin A, which is great for your eyes and immune system. It’s also a good source of fiber and antioxidants. These mini pies are a lighter alternative to traditional pumpkin pie — you get all the flavor with a fraction of the calories and sugar. Plus, the portion control is built right in. You can have two or three without any guilt!
Dietary Considerations: This recipe is vegetarian. For a dairy-free version, use a dairy-free pie crust and substitute the evaporated milk with coconut milk. For a lower-sugar option, reduce the granulated sugar to 1/4 cup and use a sugar substitute like monk fruit sweetener. The texture will be slightly different but still tasty.
Potential Allergens: This recipe contains wheat (in the crust), dairy (in the evaporated milk and optional whipped cream), and eggs. Please adjust accordingly for your dietary needs.
Conclusion
These cozy mini pumpkin pie bites are everything I love about fall baking — simple, comforting, and full of flavor. They remind me of my Aunt Carol’s kitchen, but they’ve also become their own thing in my home. Every time I make them, I think about that moment in the grocery store aisle, and I smile. It’s amazing how a tiny little pie can hold so much memory.
I really hope you give these a try. They’re forgiving enough for beginner bakers and impressive enough for seasoned ones. Customize them however you like — add chocolate, swap the spices, make them vegan. That’s the beauty of a good recipe. It’s just a starting point for your own kitchen story.
If you make these, I’d love to hear about it. Leave a comment below and let me know how they turned out, or share a photo on Pinterest and tag me. Did you add your own twist? What memory do these little pies bring up for you? Let’s keep the conversation going — because honestly, the best part of any recipe is the people you share it with.
Happy baking, friends. May your kitchen be warm and your heart be full.
Frequently Asked Questions
Can I use fresh pumpkin instead of canned?
Yes, you can! Just make sure to roast and puree the pumpkin first, then drain any excess liquid through a cheesecloth or fine-mesh sieve. Fresh pumpkin tends to be more watery than canned, so you might need to cook the filling on the stovetop for a few minutes to thicken it before baking.
Why did my crust shrink during baking?
Crust shrinkage usually happens when the dough isn’t chilled enough before baking, or if it was overworked. Make sure to refrigerate the crust-filled muffin tin for at least 10 minutes before adding the filling. Also, avoid stretching the dough when pressing it into the cups — it should fit snugly without being pulled tight.
Can I make these ahead of time for a party?
Absolutely! These mini pies are perfect for making ahead. Bake them up to 2 days in advance and store them in an airtight container in the refrigerator. Add the whipped cream just before serving for the best presentation. You can also freeze them for up to 2 months — just thaw and add toppings when ready.
My filling came out watery. What went wrong?
Watery filling can happen for a few reasons. First, make sure you’re using 100% pure pumpkin puree, not pumpkin pie filling (which has added liquid). Second, check that your egg and evaporated milk are at room temperature — cold ingredients can cause the filling to separate. If it still seems thin, whisk in a tablespoon of cornstarch or flour before baking.
How do I know when the mini pies are done baking?
The edges of the crust should be golden brown, and the filling should be set around the edges but still slightly jiggly in the very center — about the size of a quarter. They’ll continue to set as they cool. If the filling is completely firm and doesn’t jiggle at all, they might be overbaked and could be a bit rubbery.
Pin This Recipe!
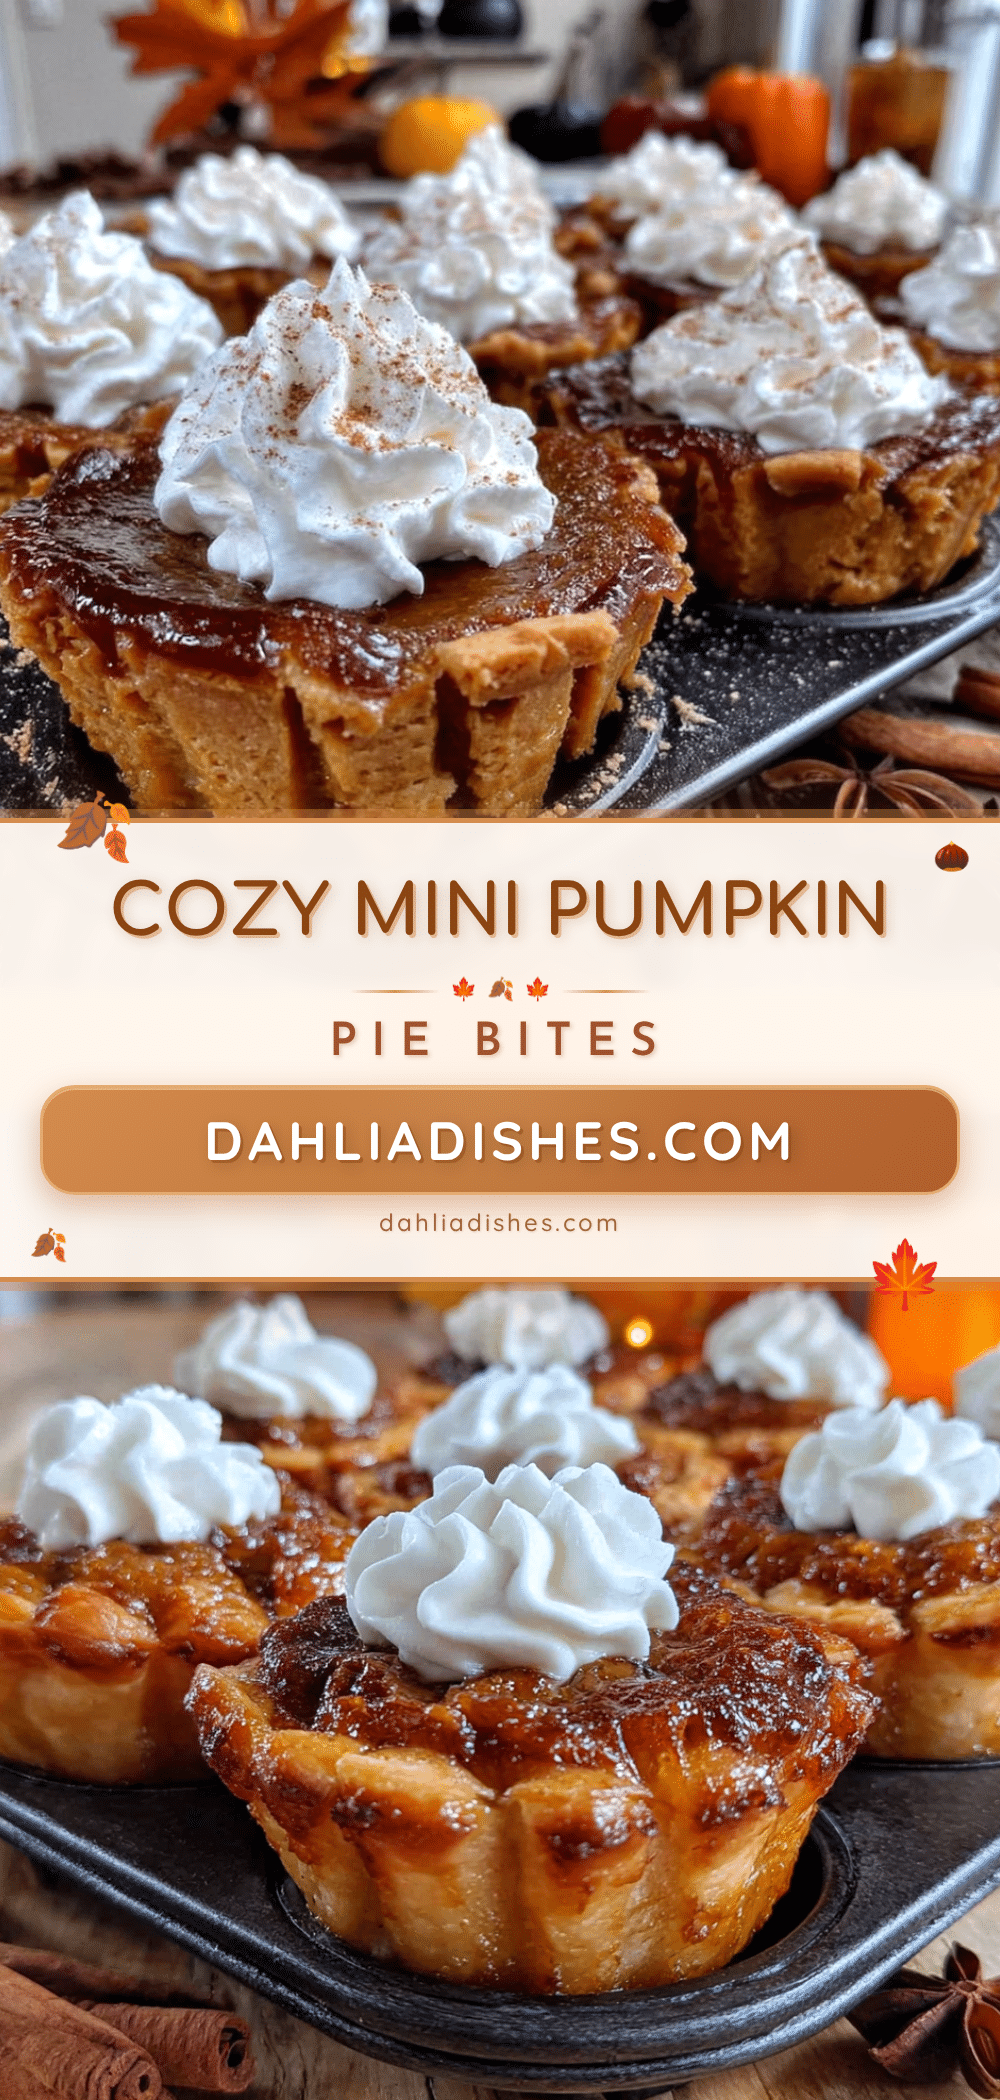
Easy Mini Pumpkin Pie Bites: Best Fall Dessert

These buttery, tender mini pumpkin pie bites are perfectly spiced and just the right size for a cold evening when you need something sweet but don’t want to commit to a whole slice of pie. Quick and easy, they come together in about 45 minutes with simple ingredients.
- Prep Time: 15 minutes
- Cook Time: 18 minutes
- Total Time: 45 minutes
- Yield: 24 servings 1x
- Category: Dessert
- Cuisine: American
Ingredients
- 1 box (14.1 ounces) refrigerated pie crusts (e.g., Pillsbury)
- 1 tablespoon all-purpose flour (for dusting)
- 1 cup (245g) canned pumpkin puree (100% pure pumpkin, not pie filling)
- 1/2 cup (100g) granulated sugar
- 1/4 cup (50g) packed light brown sugar
- 1 large egg, at room temperature
- 1 teaspoon vanilla extract
- 1/2 cup (120ml) evaporated milk (or heavy cream for richer filling)
- 1 1/2 teaspoons pumpkin pie spice
- 1/2 teaspoon ground cinnamon
- 1/4 teaspoon salt
- 1/2 cup (120ml) heavy whipping cream (for topping, optional)
- 1 tablespoon powdered sugar (for topping, optional)
- 1/2 teaspoon vanilla extract (for topping, optional)
- Ground cinnamon or nutmeg (for garnish, optional)
Instructions
- Preheat your oven to 375°F (190°C). Position the rack in the center of the oven. Lightly spray a 24-cup mini muffin tin with non-stick cooking spray.
- Prepare the crust: Let refrigerated pie crusts sit at room temperature for about 5 minutes. Lightly dust your work surface with flour. Unroll one pie crust and roll it out slightly to about 1/8-inch thickness. Using a 2-inch round cookie cutter, cut out as many rounds as possible (about 12 per crust). Gather scraps, reroll, and cut more rounds to get 24 total.
- Press each round into a mini muffin cup, ensuring the dough reaches the edges and up the sides slightly. Do not stretch the dough. Place the tin in the refrigerator while you make the filling.
- Make the pumpkin filling: In a small mixing bowl, combine pumpkin puree, granulated sugar, and brown sugar. Whisk until smooth. Add egg, vanilla extract, and evaporated milk; whisk until well combined and silky. Sprinkle in pumpkin pie spice, cinnamon, and salt; whisk one more time until smooth.
- Remove muffin tin from fridge. Using a small spoon or piping bag, fill each crust cup with pumpkin filling, leaving about 1/8 inch of space at the top.
- Bake on the center rack for 15-18 minutes, until crust edges are golden brown and filling is set around the edges but still slightly jiggly in the center.
- Cool in the tin for 10 minutes, then run a small knife around each pie to loosen. Transfer to a cooling rack to cool completely, about 30 minutes.
- For the whipped cream topping (optional): In a chilled bowl, beat heavy whipping cream, powdered sugar, and vanilla extract with a hand mixer until soft peaks form. Do not overbeat.
- Once pies are completely cool, top each with a dollop of whipped cream and a sprinkle of cinnamon or nutmeg. Serve immediately or refrigerate.
Notes
Chill the crust-filled tin for at least 10 minutes to prevent shrinkage. If crust edges brown too quickly, tent with foil. Let pies cool completely before removing from tin. For best texture, use room temperature egg and evaporated milk. Store in an airtight container in the refrigerator for up to 4 days. Freeze without whipped cream for up to 2 months.
Nutrition
- Serving Size: 1 mini pie bite (wit
- Calories: 95
- Sugar: 8
- Sodium: 95
- Fat: 4
- Saturated Fat: 2
- Carbohydrates: 13
- Fiber: 1
- Protein: 2
Keywords: mini pumpkin pie bites, easy pumpkin dessert, fall dessert, bite-sized pumpkin pie, mini muffin tin recipe


