Love this? Save it for later!
Share the inspiration with your friends
I was supposed to be making a proper chocolate mousse for a dinner party. Like, a real one—the kind with egg yolks and heavy cream and a little splash of espresso. I had the good chocolate out, the fancy bowls, the whole plan. Then my three-year-old walked into the kitchen, grabbed the wrong bag from the pantry, and dumped an entire box of chocolate instant pudding mix into my beautiful, melting chocolate. I just stood there. For a solid ten seconds, I didn’t move. The dinner party was in four hours, and my fancy dessert had just become… well, a disaster.
Honestly, I almost cried. But you know, you can’t un-mix instant pudding. So I just kept going. I finished making the pudding according to the box directions, added the melted chocolate anyway (because why not?), and poured it into some little cups I had. Then I saw the bag of crushed chocolate sandwich cookies my son had been sneaking from earlier. I crumbled some on top, grabbed a bag of gummy worms from the Halloween candy stash, and stuck a few in the “dirt.” I put them in the fridge, fully expecting to throw them out later and serve store-bought ice cream.
Well, the dinner party came. I confessed my pudding mishap, and everyone laughed. Then they tried them. Let me tell you—those little cups of “dirt” were gone in five minutes. People were asking for the recipe. I kept saying, “It’s literally just pudding and cookies,” but nobody cared. They were too busy scraping the bottoms of the cups. I mean, I was too busy scraping the bottom of my own cup. That night, I learned something important: sometimes the best recipes come from the biggest mess-ups. And these Halloween dirt cups with gummy worms? They’ve been a staple ever since. Maybe you’ve had one of those kitchen moments where everything goes wrong but somehow turns out right?
Why You’ll Love This Recipe
Let’s be real for a second. We’re all busy, and Halloween is already a chaotic holiday. Between costumes, school parties, and making sure nobody eats all their candy before dinner, you don’t need a complicated dessert. That’s where these easy Halloween dirt cups come in. They’re the kind of recipe that makes you look like a hero with almost zero effort.
- Quick & Easy: You can have these assembled in under 15 minutes. No baking, no fancy equipment, no stress. Just mix, layer, and chill.
- Simple Ingredients: Everything comes from the regular grocery store. No trips to a specialty baking shop or hunting down obscure ingredients. You probably have most of this stuff in your pantry right now.
- Perfect for Halloween Parties: Whether it’s a classroom celebration, a neighborhood get-together, or just a fun treat for your own kids, these dirt cups fit right in. They’re spooky without being scary.
- Crowd-Pleaser: I’ve yet to meet a kid (or adult, honestly) who doesn’t love digging into a cup of chocolate pudding with cookie crumbles and gummy worms. It’s pure nostalgia in a cup.
- Unbelievably Delicious: Don’t let the simple ingredients fool you. The combination of creamy pudding, crunchy cookie “dirt,” and chewy gummy worms is next-level. It’s comfort food that brings out the kid in everyone.
What makes this recipe different from all the other dirt cup recipes out there? It’s the little tricks I’ve learned from making these dozens of times. Like using a specific brand of pudding for the creamiest texture, or how to layer the cookies so they stay crunchy. I’ve tested this with different pudding flavors, different cookies, even different worms. This version? It’s the one that gets requested every single Halloween. It’s not just another dessert—it’s the one that makes you close your eyes after that first spoonful.
This recipe is for the family cook who wants to give their kids a fun, memorable Halloween treat without spending hours in the kitchen. It’s about making something special on a sensible budget. And honestly? It’s about having a little fun with your food. Because if you can’t stick a gummy worm in some pudding on Halloween, when can you?
What Ingredients You Will Need
This recipe uses simple, wholesome ingredients to deliver that classic dirt cup experience. The beauty is in how these everyday items come together to create something that feels so much more than the sum of its parts. You don’t need anything fancy here—just good, basic ingredients that work.
- For the Pudding Base:
- 2 (3.9-ounce) boxes of instant chocolate pudding mix (I prefer Jell-O brand for the smoothest texture, but store brands work fine too)
- 3 cups cold whole milk (or 2% if that’s what you have; avoid skim milk as it makes the pudding thinner)
- 1 cup heavy cream (optional, but this makes the pudding extra rich and creamy—like a mousse)
- 1 teaspoon vanilla extract (adds a warmth that balances the chocolate)
- For the Dirt Layer:
- 1 (14.3-ounce) package chocolate sandwich cookies (like Oreos, about 36 cookies; generic brands work perfectly here)
- 3 tablespoons unsalted butter, melted (this helps the “dirt” hold together slightly and adds richness)
- For the Spooky Decorations:
- 1 (5-ounce) bag gummy worms (I like the sour ones for extra zing, but regular works great too)
- Optional: candy eyeballs, plastic spiders, or crushed graham crackers for extra texture
Ingredient Selection Tips:
For the pudding, I’ve tried making this with cook-and-serve pudding, and honestly, it’s not the same. The instant kind is what gives you that quick, no-fuss texture. If you want to go the extra mile, swap one cup of the milk for heavy cream. It makes the pudding so rich that people will think you spent hours on it. I’ve also used oat milk in a pinch, and it works—just make sure it’s the full-fat, creamy kind, not the thin, watery variety.
For the cookies, you want the classic chocolate sandwich cookies. I’ve tried this with the double-stuf kind, and while it’s tasty, the “dirt” ends up a little too sweet and doesn’t have the same dark, earthy look. Regular Oreos hit the perfect balance. And here’s a tip from my own kitchen: let the butter cool slightly before mixing it with the crushed cookies. If it’s too hot, it’ll make the crumbs clump together into big chunks instead of that fine, dirt-like texture.
Substitution Guidance:
Need this dairy-free? Use full-fat oat milk or coconut milk (from a carton, not a can) and a dairy-free butter substitute. For the cookies, there are some great gluten-free chocolate sandwich cookies available now. I’ve used them before, and the texture is almost identical. Just know that gluten-free cookies tend to be a bit more crumbly, so handle them gently when crushing.
Equipment Needed
You don’t need anything fancy for these Halloween dirt cups. That’s part of the beauty. Here’s what you’ll need to pull this together:
- Mixing bowls: One medium bowl for the pudding and one small bowl for the cookie crumbs
- Whisk: For mixing the pudding. A hand whisk works fine, but an electric mixer makes it even smoother
- Food processor or zip-top bag: For crushing the cookies. I’ve used both methods. The food processor gives you a super fine, even crumb. A zip-top bag and a rolling pin (or even a heavy pan) gives you more control and lets the kids help without the noise
- Measuring cups and spoons: For accurate pudding and cream measurements
- Small cups or glasses: Clear plastic cups (like the 9-ounce size) work best because you can see the layers. I’ve also used small mason jars, disposable shot glasses for mini versions, or even recycled yogurt cups. Just make sure they’re clean
- Spatula: For scraping every last bit of pudding into the cups
- Spoon or small scoop: For layering the cookie crumbs
Budget-Friendly Options:
Don’t have a food processor? No problem. I’ve crushed cookies with a rolling pin, a meat tenderizer, and even a sturdy water bottle. The crumbs don’t need to be perfect—they just need to look like dirt. And for cups, I’ve used everything from fancy glassware to plain paper cups. The kids don’t care what the cup looks like. They just want the worms.
Personal Note: I bought a set of reusable plastic cups from the dollar store specifically for these dirt cups. They’ve lasted through three Halloweens now, and they stack neatly in my cabinet. Worth every penny.
Preparation Method
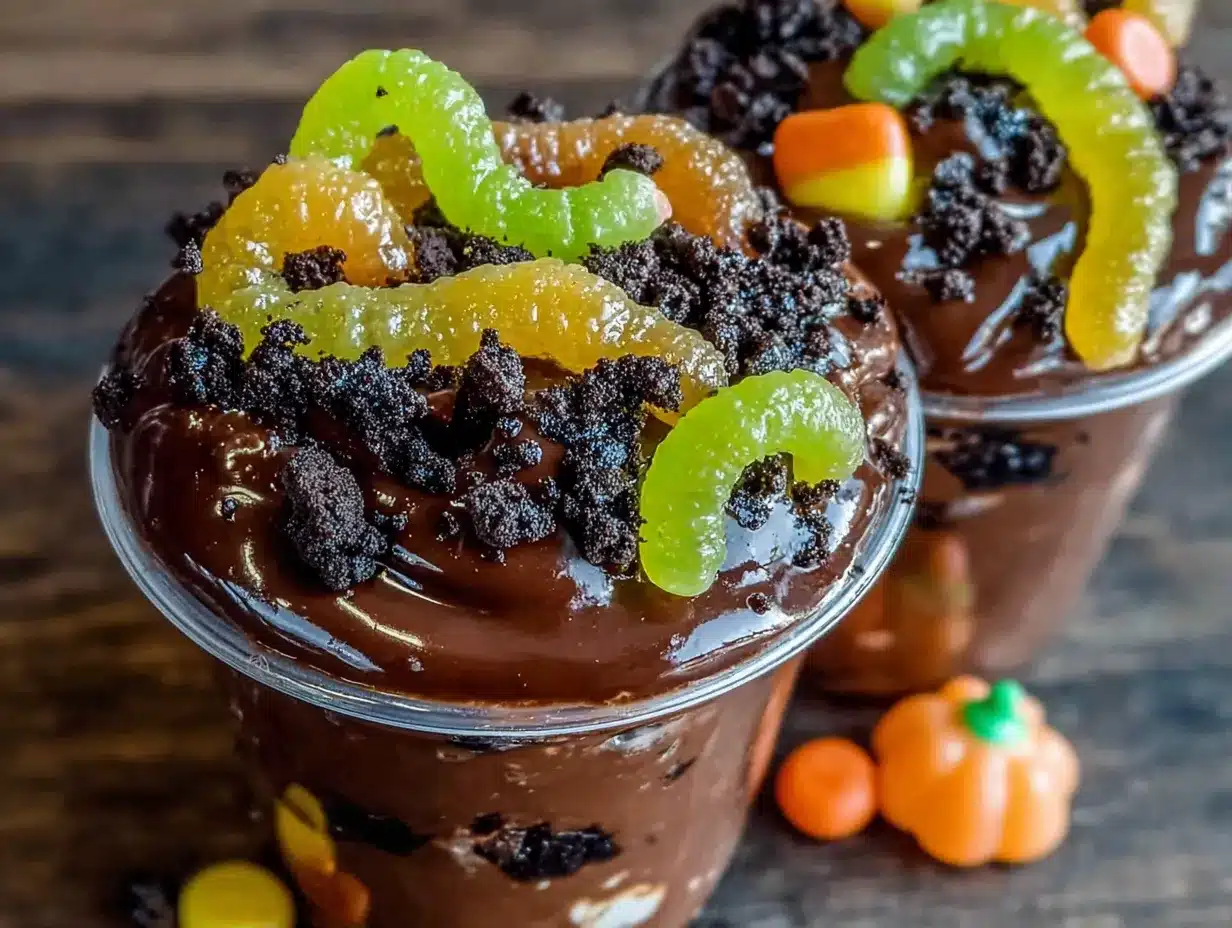
Alright, let’s get to the fun part. This is where the magic happens. Follow these steps, and you’ll have a batch of spooky, delicious dirt cups in no time.
Step 1: Make the Pudding (5 minutes)
In a medium mixing bowl, whisk together the two boxes of instant chocolate pudding mix and 3 cups of cold whole milk. If you’re using the heavy cream, replace 1 cup of the milk with the cream. Whisk vigorously for about 2 minutes, until the pudding starts to thicken. It should look smooth and glossy. Add the vanilla extract and whisk once more. Let it sit for 5 minutes to fully set. Don’t rush this step—the pudding needs time to thicken properly.
Step 2: Crush the Cookies (5 minutes)
While the pudding is setting, crush the chocolate sandwich cookies. If using a food processor, pulse until you get fine crumbs. If using a zip-top bag, place the cookies inside, seal it tight, and crush them with a rolling pin. You want a mix of fine crumbs and slightly larger pieces—that’s what gives the dirt its natural texture. Pour the crumbs into a small bowl and drizzle with the melted butter. Toss with a fork until the butter is evenly distributed. Set aside.
Step 3: Layer the Cups (10 minutes)
Now comes the assembly. Grab your cups or glasses. Start with a layer of cookie crumbs at the bottom—about 2 tablespoons per cup. This creates the “underground” base. Next, spoon or pour the pudding over the crumbs. Fill each cup about two-thirds full. You want enough room for the top dirt layer. Tap the cups gently on the counter to settle the pudding and remove any air bubbles.
Step 4: Add the Worms (5 minutes)
Here’s where the kids love to help. Take your gummy worms and press a few into the pudding, letting some stick out the sides. You want them to look like they’re crawling out of the dirt. I usually put 2-3 worms per cup, but feel free to go wild. This is Halloween, after all.
Step 5: Top with Dirt (5 minutes)
Sprinkle a generous layer of the remaining cookie crumbs over the top of each cup. This should completely cover the pudding and hide the worms. Use about 3 tablespoons per cup. You want it to look like a little pot of dirt. If you’re using candy eyeballs or plastic spiders, press them into the top layer now.
Step 6: Chill (at least 1 hour)
Place the assembled cups in the refrigerator for at least 1 hour. This step is crucial. The chilling time allows the pudding to fully set and the cookie crumbs to soften slightly, creating that perfect dirt-like texture. If you can wait longer, 2-3 hours is even better. The flavors meld together beautifully.
Step 7: Serve and Enjoy
Right before serving, add a few extra gummy worms on top for a dramatic effect. You can also add a sprig of fresh mint to look like a little plant, or a dollop of whipped cream for extra indulgence. Serve cold and watch them disappear.
Sensory Cues:
At each stage, pay attention to the textures. The pudding should be thick enough to hold its shape when spooned—not runny. The cookie crumbs should feel like fine sand with a few pebbles mixed in. When you press the worms into the pudding, you should feel a slight resistance. And when you take that first bite? The creamy pudding, the crunchy dirt, and the chewy worm all come together in a perfect, spooky harmony.
Cooking Tips & Techniques
I’ve made these dirt cups more times than I can count, and I’ve learned a few things along the way. Here are my best tips to make sure yours turn out perfect every time.
Don’t Overmix the Pudding
I know it’s tempting to keep whisking, but overmixing instant pudding can actually make it thinner. You want to whisk just until it starts to thicken, then stop. Let it set on its own. I learned this the hard way when I made a batch that was basically chocolate soup. It still tasted good, but it didn’t hold up in the cups.
Keep the Cookies Crunchy
The butter in the cookie crumbs helps them stay crunchy even after they’re layered against the pudding. But if you add too much butter, they’ll turn into a paste. Stick to the 3 tablespoons. Also, don’t crush the cookies too fine. You want some texture—it makes the “dirt” look more realistic.
Room Temperature Ingredients
Cold milk will make the pudding clump up. I always take my milk out of the fridge about 10 minutes before I start. If you forget, just microwave it for 15 seconds. It doesn’t need to be warm—just not ice cold.
Let Them Rest
I know you’ll be tempted to eat them right away. But trust me, the 1-hour chill is non-negotiable. The pudding needs time to set, and the flavors need time to come together. I’ve had people tell me they made these and ate them immediately, and they were disappointed. The magic happens in the fridge.
Multitasking Tips
While the pudding is setting, crush the cookies. While you’re layering the cups, have the kids add the worms. This recipe is perfect for getting the whole family involved. My kids love being in charge of the gummy worms—it’s their official job.
Common Mistakes to Avoid
Don’t use sugar-free pudding. It doesn’t set as firmly and has a weird aftertaste. Also, don’t skip the butter in the cookie crumbs. It adds richness and helps the “dirt” hold its shape. And for the love of all things spooky, don’t forget to chill them. I made that mistake once. Once.
Variations & Adaptations
One of the best things about this recipe is how easy it is to customize. Here are some of my favorite variations that I’ve tried over the years.
Peanut Butter Dirt Cups:
Swap one box of chocolate pudding for a box of instant vanilla pudding. Add 1/2 cup of creamy peanut butter to the pudding mixture before whisking. The peanut butter adds a savory richness that pairs beautifully with the chocolate cookies. Just be aware of any peanut allergies if you’re serving these at a school party.
Pumpkin Spice Dirt Cups:
For a fall twist, use instant vanilla pudding and add 1 cup of pumpkin puree and 1 teaspoon of pumpkin pie spice. The orange color peeks through the dark cookie crumbs, and the flavor is pure autumn. Top with a few candy corn pumpkins instead of worms for a non-spooky option.
Gluten-Free Version:
Use gluten-free chocolate sandwich cookies (there are several good brands now) and ensure your pudding mix is labeled gluten-free. Most instant pudding mixes are, but always double-check. The texture will be nearly identical, and nobody will know the difference.
Dairy-Free Version:
Use full-fat oat milk or coconut milk for the pudding, and a dairy-free butter substitute for the cookie crumbs. I’ve made these for a friend’s dairy-free kid, and they were a hit. Just make sure the pudding mix is dairy-free—some brands use milk powder.
Mini Dirt Cups:
Use shot glasses or small plastic cups for bite-sized versions. These are perfect for parties where you have a lot of guests. The assembly is the same, just use smaller layers. Mini gummy worms are available at most candy stores, or you can cut regular worms in half.
Personal Variation I Love:
I once added a layer of crushed graham crackers between the pudding and the cookie crumbs. It added a subtle sweetness and a different texture that everyone loved. I call it my “dirt with a secret” version. Try it—you won’t be disappointed.
Serving & Storage Suggestions
These Halloween dirt cups are best served cold, right out of the refrigerator. The contrast between the cool, creamy pudding and the crunchy cookie crumbs is part of what makes them so good.
Serving Temperature:
Serve them straight from the fridge. If they sit out for more than 30 minutes, the pudding will start to soften and the cookies will get too soggy. For a party, I keep them in the fridge until the last minute and only bring out a few at a time.
Presentation Ideas:
For a spooky effect, serve the cups on a black tray or a bed of fake spiderwebs. Add a few plastic spiders crawling up the sides of the cups. You can also label each cup with a name tag using a small stick or a piece of tape. For a classroom party, I write each kid’s name on a small flag and stick it in the dirt.
Complementary Dishes:
These dirt cups pair perfectly with other Halloween treats. I’ve served them alongside pumpkin-shaped sugar cookies, caramel apples, and a bowl of popcorn balls. For drinks, a warm mug of apple cider or a glass of cold milk is the perfect companion.
Storage Instructions:
Store any leftover dirt cups in the refrigerator, covered with plastic wrap or a lid. They’ll keep for up to 3 days. The cookie crumbs will soften over time, but that’s actually part of the charm—they start to taste like a chocolate mousse with a cake-like top.
Reheating:
You don’t want to reheat these. They’re meant to be eaten cold. If you’ve stored them in the fridge, just take them out and serve. If they’ve been sitting out too long, pop them back in the fridge for 15 minutes to firm up.
How Flavors Develop:
Here’s a secret: these dirt cups taste even better the next day. The flavors meld together overnight, and the pudding gets even creamier. I’ve made them a day ahead for parties, and they’re always a hit. Just wait to add the final gummy worms on top until right before serving, so they stay bright and chewy.
Nutritional Information & Benefits
Let’s be honest—these Halloween dirt cups are a treat, not a health food. But that doesn’t mean they can’t be part of a balanced diet. Here’s what you need to know.
Estimated Nutritional Values (per serving, based on 12 cups):
- Calories: 320
- Total Fat: 14g
- Saturated Fat: 8g
- Cholesterol: 35mg
- Sodium: 420mg
- Total Carbohydrates: 47g
- Dietary Fiber: 2g
- Sugars: 32g
- Protein: 5g
Health Benefits of Key Ingredients:
Chocolate pudding, believe it or not, contains calcium from the milk and a small amount of iron from the cocoa. The cookies provide a bit of fiber, and the gummy worms? Well, they’re mostly sugar, but they make people smile. And honestly, sometimes that’s the most important nutrient.
Dietary Considerations:
This recipe can be made gluten-free and dairy-free with simple substitutions (see the Variations section). It’s not suitable for vegans in its current form, but with plant-based milk and butter, you can get close. Always check labels for allergens if you’re serving a crowd.
My Personal Wellness Perspective:
I believe in balance. We eat healthy meals most of the time, but Halloween is for fun. These dirt cups are a once-a-year treat that brings joy to my kids and their friends. I don’t stress about the sugar content because I know they’re eating vegetables at dinner. Life is too short to not enjoy a gummy worm sticking out of chocolate pudding.
Conclusion
So there you have it—the recipe that started as a complete disaster and became a Halloween tradition. These easy Halloween dirt cups with gummy worms are proof that the best things in life often come from happy accidents. They’re simple enough for a weeknight, fun enough for a party, and delicious enough to make everyone forget they’re eating instant pudding.
I hope you give these a try. Don’t be afraid to make them your own—add extra worms, use different cookies, or get creative with the decorations. The beauty of this recipe is that it’s forgiving. Even if you mess up, it’ll still taste great. And if you have kids, let them help. The messier the better. That’s half the fun.
I’d love to hear how yours turn out. Did you add any fun toppings? Did your kids love them? Leave a comment below and share your spooky creations. And if you’re looking for more Halloween treats, check out my pumpkin cupcakes with cream cheese frosting or these spider web dip for a savory option. Happy Halloween, and happy cooking!
Frequently Asked Questions
Can I make these dirt cups ahead of time?
Absolutely! In fact, they taste even better the next day. You can assemble them up to 24 hours in advance. Just wait to add the final gummy worms on top until right before serving so they stay bright and chewy.
Can I use sugar-free pudding and cookies?
You can, but I don’t recommend it. Sugar-free pudding doesn’t set as firmly and has a slightly different texture. The cookies also lose some of their crunch. If you’re watching sugar, it’s better to make smaller portions rather than substitute.
How many cups does this recipe make?
This recipe makes about 12 standard-sized cups (using 9-ounce cups). If you use smaller cups or shot glasses, you’ll get more. If you use larger mason jars, you’ll get fewer. Adjust based on your serving needs.
Can I freeze these dirt cups?
I don’t recommend freezing them. The pudding will become watery and grainy when thawed, and the cookies will turn into a soggy mess. These are best enjoyed fresh or within a few days of making them.
My pudding turned out runny. What did I do wrong?
This usually happens for a few reasons: the milk was too warm, you overmixed the pudding, or you didn’t let it set long enough. Make sure your milk is cold, whisk just until combined, and let the pudding rest for a full 5 minutes before layering. If it’s still runny, add an extra tablespoon of pudding mix and whisk gently.
Pin This Recipe!
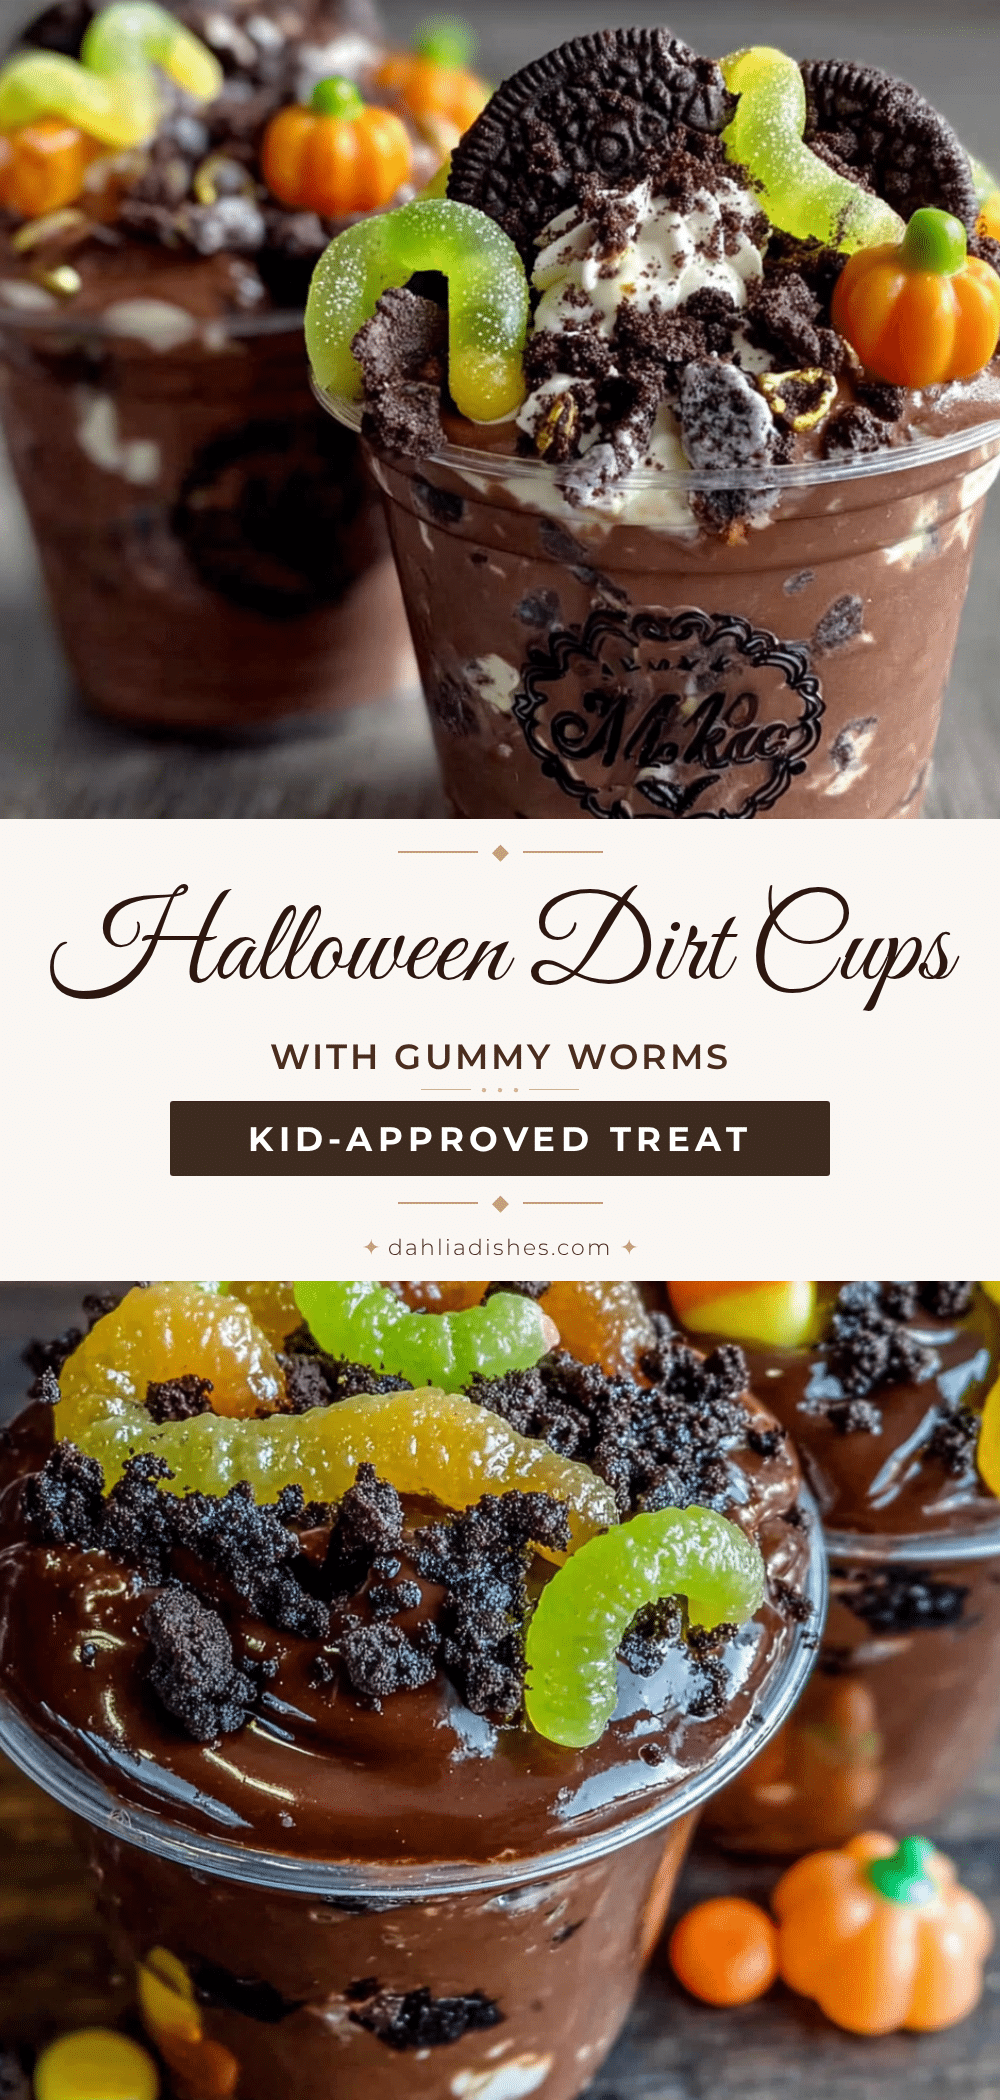
Easy Halloween Dirt Cups with Gummy Worms (Kid-Approved)
These easy Halloween dirt cups with gummy worms are proof that the best things in life often come from happy accidents. They’re simple enough for a weeknight, fun enough for a party, and delicious enough to make everyone forget they’re eating instant pudding.
- Prep Time: 15 minutes
- Cook Time: 0 minutes
- Total Time: 1 hour 15 minutes (includes chilling time)
- Yield: 12 servings 1x
- Category: Dessert
- Cuisine: American
Ingredients
- 2 (3.9-ounce) boxes instant chocolate pudding mix (preferably Jell-O brand)
- 3 cups cold whole milk (or 2%)
- 1 cup heavy cream (optional, for extra richness)
- 1 teaspoon vanilla extract
- 1 (14.3-ounce) package chocolate sandwich cookies (like Oreos, about 36 cookies)
- 3 tablespoons unsalted butter, melted
- 1 (5-ounce) bag gummy worms (sour or regular)
- Optional: candy eyeballs, plastic spiders, or crushed graham crackers for decoration
Instructions
- In a medium mixing bowl, whisk together the two boxes of instant chocolate pudding mix and 3 cups of cold whole milk. If using heavy cream, replace 1 cup of milk with the cream. Whisk vigorously for about 2 minutes until the pudding starts to thicken. Add vanilla extract and whisk once more. Let it sit for 5 minutes to fully set.
- While the pudding is setting, crush the chocolate sandwich cookies. Use a food processor to pulse until fine crumbs form, or place cookies in a zip-top bag and crush with a rolling pin. Aim for a mix of fine crumbs and slightly larger pieces. Pour crumbs into a small bowl and drizzle with melted butter. Toss with a fork until evenly distributed. Set aside.
- Grab your cups or glasses. Start with a layer of cookie crumbs at the bottom—about 2 tablespoons per cup. Spoon or pour the pudding over the crumbs, filling each cup about two-thirds full. Tap cups gently on the counter to settle the pudding and remove air bubbles.
- Press 2-3 gummy worms into the pudding in each cup, letting some stick out the sides to look like they’re crawling out of the dirt.
- Sprinkle a generous layer of remaining cookie crumbs over the top of each cup (about 3 tablespoons per cup) to completely cover the pudding and hide the worms. If using candy eyeballs or plastic spiders, press them into the top layer now.
- Place assembled cups in the refrigerator for at least 1 hour (2-3 hours is even better) to allow the pudding to fully set and the cookie crumbs to soften slightly.
- Right before serving, add a few extra gummy worms on top for dramatic effect. Serve cold.
Notes
For best results, use cold milk and avoid overmixing the pudding. Let the butter cool slightly before mixing with cookie crumbs to prevent clumping. Chilling for at least 1 hour is essential for proper texture. These taste even better the next day. Store covered in the refrigerator for up to 3 days. Do not freeze.
Nutrition
- Serving Size: 1 cup (9-ounce)
- Calories: 320
- Sugar: 32
- Sodium: 420
- Fat: 14
- Saturated Fat: 8
- Carbohydrates: 47
- Fiber: 2
- Protein: 5
Keywords: Halloween dirt cups, gummy worms, chocolate pudding, easy dessert, kid-friendly, no-bake, spooky treats, Halloween party


