Love this? Save it for later!
Share the inspiration with your friends
There used to be this tiny chocolate shop tucked between a laundromat and a used bookstore on Main Street—the kind of place you’d walk past a hundred times before noticing. They made these incredible hot cocoa bombs that were almost too pretty to drop into milk. When they closed last winter—just a handwritten sign on the door saying “Thanks for the sweet years”—I honestly felt a little lost. That first cold snap without their chocolate spheres sitting in the window hit different.
After about eight tries—some that cracked, some that looked like misshapen eggs, and one memorable disaster involving a hair dryer and melted chocolate all over my counter—I finally figured it out. And you know what? This version might actually be better than the original. I mean, I never got to watch them make theirs, but I’ve had plenty of time to perfect my own method in my tiny kitchen.
Maybe you’ve been there too—that specific craving for something that just isn’t available anymore. Or maybe you’re just looking for a fun weekend project that doubles as the best homemade gift. Either way, this easy DIY hot cocoa bomb bar in minutes is going to become your new favorite thing. Let me show you how to make these little chocolate miracles without losing your mind or your patience.
Why You’ll Love This Recipe
Let me tell you why this hot cocoa bomb bar recipe has become my most-requested project from friends and family. It’s not just about the chocolate—though, honestly, that part is pretty incredible.
- Quick & Easy: These come together in under 30 minutes of active time. Perfect for those evenings when you want to make something special but don’t have hours to spare.
- Simple Ingredients: No fancy grocery trips needed. You likely already have most of what you need in your kitchen right now.
- Perfect for Gifting: These make the most thoughtful homemade presents for holidays, teacher appreciation, or just because.
- Crowd-Pleaser: Kids and adults alike absolutely lose their minds over watching these bombs melt into a cup of warm milk.
- Unbelievably Delicious: The combination of rich chocolate shell, creamy cocoa mix, and gooey marshmallows is pure comfort in a mug.
What makes this version different from all the others I tried? It’s the technique. I spent weeks testing different chocolate temperatures, mold types, and filling ratios to find the sweet spot between sturdy shells and easy assembly. This isn’t just another hot cocoa bomb recipe—it’s the one that actually works every single time.
This recipe is the kind that makes you close your eyes after that first sip. It’s comfort food reimagined—faster, simpler, but with the same soul-soothing satisfaction that makes winter evenings feel magical.
What Ingredients You Will Need
This hot cocoa bomb bar recipe uses simple, wholesome ingredients to deliver that rich, indulgent experience without any complicated fuss. Most of these are pantry staples or easy to find at any grocery store.
- Chocolate melting wafers (12 ounces, milk or dark chocolate—I prefer Ghirardelli for the smoothest melt and best snap when set)
- Hot cocoa mix (1 cup, your favorite brand—I use Swiss Miss for that classic taste, but feel free to use a gourmet blend)
- Mini marshmallows (½ cup, the tiny ones work best for fitting inside the bombs)
- White chocolate chips (¼ cup, optional but gorgeous for drizzle decoration on top)
- Sprinkles or crushed candy canes (2 tablespoons, for decorating—totally optional but adds that wow factor)
- Coconut oil (1 teaspoon, helps thin the chocolate for easier molding and gives a beautiful shine)
For the hot cocoa bomb bar assembly station, you’ll also want some fun add-ins to let people customize their bombs. I love setting out crushed peppermint, caramel bits, chocolate chips, and even a little cinnamon. It turns the whole process into an activity rather than just a recipe.
One thing I learned the hard way—don’t skip the coconut oil. My first few batches without it were thick and lumpy, and the chocolate didn’t release cleanly from the molds. That little teaspoon makes a huge difference in texture and finish.
If you’re looking for dairy-free options, there are excellent vegan chocolate melting wafers available now. Just make sure to check the label, and use a dairy-free hot cocoa mix to keep everything consistent.
Equipment Needed
You don’t need a professional pastry kitchen for this, but having the right tools makes everything so much smoother. Here’s what I use every time:
- Silicone hemisphere molds (2-inch size works perfectly—I got a set of 6 on Amazon for under $10)
- Microwave-safe bowl (glass or ceramic, nothing metal)
- Small spatula (silicone is best for spreading chocolate evenly)
- Baking sheet (to hold the molds steady while they set)
- Piping bag or small zip-top bag (for precise chocolate drizzle on top)
- Pastry brush (optional but helpful for getting chocolate into every crevice of the mold)
If you don’t have hemisphere molds, don’t worry. I’ve seen people use silicone egg molds or even clean, empty plastic Easter eggs with decent results. The key is finding something round that splits in half so you can seal the two pieces together. Just make sure whatever you use is food-grade silicone for easy release.
Preparation Method

Alright, let’s get to the good part. I’ve broken this down into clear steps so you can follow along without any confusion. Take your time with the chocolate—rushing is the number one mistake I see people make.
- Melt the chocolate: Place your chocolate melting wafers and coconut oil in a microwave-safe bowl. Heat in 30-second intervals, stirring between each, until completely smooth. This usually takes about 90 seconds total. Don’t overheat or the chocolate will seize up—trust me, I’ve ruined a batch this way.
- Fill the molds: Spoon about 1 tablespoon of melted chocolate into each hemisphere mold. Use your spatula to spread it up the sides, making sure you get an even coating. You want the chocolate layer to be about ⅛ inch thick—thin enough to melt easily in milk but thick enough to hold its shape.
- Chill the shells: Place the filled molds on your baking sheet and pop them in the refrigerator for 10 minutes. They should look set and slightly dull when ready. If they’re still glossy, give them another 2-3 minutes.
- Remove the shells: Gently press on the bottom of each silicone mold to release the chocolate hemispheres. Handle them carefully—they’re fragile at this stage. If any crack, just re-melt and start that one over.
- Fill the bombs: Take one hemisphere and fill it with about 2 teaspoons of hot cocoa mix and 5-6 mini marshmallows. Don’t overfill—you need room to seal the two halves together. Add any extra mix-ins you want at this point.
- Seal the bombs: Warm a small plate in the microwave for 30 seconds, then press the rim of an empty hemisphere onto the warm plate to melt the edge slightly. Immediately press it onto the filled hemisphere to create a sealed ball. Hold for 10 seconds to set.
- Decorate: Melt your white chocolate chips the same way you melted the dark chocolate. Drizzle over the sealed bombs using a piping bag or a zip-top bag with the corner snipped off. Add sprinkles or crushed candy canes while the drizzle is still wet.
- Final set: Place the decorated bombs back in the refrigerator for 15 minutes to fully set. After that, they’re ready to use or gift.
Your bombs should feel smooth and solid when you pick them up. If they feel sticky or soft, they need more time in the fridge. The chocolate should snap cleanly when you bite into it—that’s how you know you got the temperature right.
Cooking Tips & Techniques
After making probably a hundred of these things, I’ve picked up a few tricks that save time and frustration. Let me share what I wish someone had told me before I started.
Temper your chocolate properly. This is the biggest game-changer. If your chocolate gets too hot, it won’t set properly and will look streaky. Keep your microwave bursts short and stir thoroughly between each one. The chocolate should be warm, not hot—think bathwater temperature, not coffee temperature.
Work with one mold at a time. I used to try filling all my molds at once, and the chocolate would start setting before I got to the last one. Now I fill two molds, chill them, and repeat. It takes the same amount of time but gives much better results.
Don’t skip the warm plate trick for sealing. My first few bombs looked terrible because I tried to seal them with extra melted chocolate. The warm plate method gives you a clean, invisible seam that looks professional. It was one of those “why didn’t I think of that sooner” moments.
One mistake I made early on—I filled the bombs too full and they wouldn’t seal properly. Less is more when it comes to the filling. You want enough room for the two hemispheres to press together without the filling spilling out.
If your hands are warm (which mine always are), wear food-safe gloves when handling the chocolate shells. The heat from your fingers can start melting them and leave fingerprints. Learned that one after a particularly frustrating afternoon of smudged chocolate.
Variations & Adaptations
This hot cocoa bomb bar recipe is incredibly flexible. Here are some of my favorite ways to change it up depending on the occasion or who I’m making them for.
Peppermint Cocoa Bombs: Add ¼ teaspoon of peppermint extract to the chocolate before melting, and fill with crushed candy canes along with the cocoa mix. Top with white chocolate drizzle and more crushed peppermint. These are my go-to for holiday gifting.
Spicy Mexican Chocolate Bombs: Stir ½ teaspoon of cinnamon and a pinch of cayenne pepper into your hot cocoa mix before filling. The warmth of the spice pairs beautifully with the rich chocolate shell. It’s unexpected but absolutely delicious on cold evenings.
Vegan-Friendly Version: Use dairy-free chocolate melting wafers, vegan marshmallows (Dandies brand works great), and a plant-based hot cocoa mix. Everything else stays the same. I’ve made these for friends with dietary restrictions and they couldn’t tell the difference.
Caramel-Filled Bombs: Add a small soft caramel candy inside each bomb along with the cocoa mix and marshmallows. When the bomb melts, the caramel creates this incredible gooey layer on top of your hot cocoa. It’s indulgent, but sometimes you just need that extra treat.
I once made a batch with orange zest mixed into the chocolate and filled them with dark chocolate cocoa mix. It tasted like those chocolate oranges you get at Christmas, but in hot cocoa form. That one was a happy accident—I was out of milk chocolate and just went with what I had.
Serving & Storage Suggestions
When you’re ready to enjoy your hot cocoa bombs, heat 8 ounces of milk (dairy or plant-based) until steaming but not boiling. Drop one bomb into a mug, pour the hot milk over it, and watch the magic happen. The chocolate shell melts open, releasing the cocoa mix and marshmallows into a rich, creamy drink. Stir well and enjoy immediately.
These bombs make fantastic gifts. I like to package them in clear cellophane bags tied with ribbon, or nestle them in a decorative mug with a note attached. They stay fresh for up to two weeks when stored in an airtight container at room temperature—assuming they last that long without being eaten.
For longer storage, you can keep them in the refrigerator for up to a month. Just let them sit at room temperature for 10 minutes before using so the chocolate doesn’t crack when the hot milk hits it. I’ve also frozen them successfully for up to three months, though the marshmallows can get a little chewy after thawing.
One thing I love about these bombs—they actually taste better after a day or two. The flavors meld together, and the chocolate develops a deeper richness. So if you’re making them ahead for a party, you’re actually doing yourself a favor.
Nutritional Information & Benefits
Let’s be real—hot cocoa bombs are a treat, not a health food. But knowing what’s in them helps you enjoy them mindfully. Here’s the breakdown for one standard bomb made with milk chocolate and regular cocoa mix:
| Nutrient | Amount per Bomb |
|---|---|
| Calories | 280-320 |
| Total Fat | 14g |
| Saturated Fat | 8g |
| Carbohydrates | 38g |
| Sugar | 30g |
| Protein | 4g |
| Calcium | 8% DV |
| Iron | 10% DV |
Dark chocolate does offer some antioxidant benefits, and the milk you use adds calcium and protein. If you’re watching your sugar intake, you can use sugar-free cocoa mix and dark chocolate with at least 70% cacao. The taste will be different—more intense and less sweet—but still satisfying.
For those with allergies, be aware that most chocolate contains dairy and soy. Look for certified allergen-free brands if needed. The marshmallows are typically gluten-free, but always check the label to be safe.
Conclusion
This easy DIY hot cocoa bomb bar in minutes recipe has become a winter tradition in my house, and I hope it becomes one in yours too. There’s something special about making these little chocolate spheres—they feel like a small piece of magic you can hold in your hand.
Don’t be afraid to make them your own. Use your favorite chocolate, experiment with different fillings, and get creative with the decorations. The first batch might not be perfect, but that’s okay. My first batch looked like lopsided chocolate eggs, and they still tasted amazing.
I’d love to hear how yours turn out! Drop a comment below and let me know what variations you tried, or tag me in your photos if you share them online. Happy cocoa bombing, friends—here’s to warm mugs and cozy evenings.
Frequently Asked Questions
Can I use chocolate chips instead of melting wafers?
You can, but chocolate chips contain stabilizers that make them harder to melt smoothly. If using chips, add an extra teaspoon of coconut oil to help them thin out. Melting wafers give you the best results with the least hassle.
Why did my chocolate shells crack?
This usually happens when the chocolate layer is too thin or the shells were handled too roughly. Aim for a ⅛-inch thickness, and always let them set fully in the refrigerator before removing from the molds. Patience is key here.
How do I get the chocolate drizzle to look professional?
The secret is temperature. Let your white chocolate cool slightly before drizzling—if it’s too hot, it will run right off the bomb. I also recommend using a piping bag with a tiny tip for more control. Practice on a piece of parchment paper first if you’re nervous.
Can I make these without a microwave?
Absolutely! Use a double boiler instead. Place a heatproof bowl over a pot of simmering water (make sure the bowl doesn’t touch the water) and stir the chocolate until melted. It takes a few minutes longer but works just as well.
How far in advance can I make these for a party?
I usually make them 2-3 days ahead and store them in an airtight container at room temperature. Any longer than that, and I’d recommend refrigerating them. Just bring them to room temperature before serving to prevent temperature shock when the hot milk hits them.
Pin This Recipe!
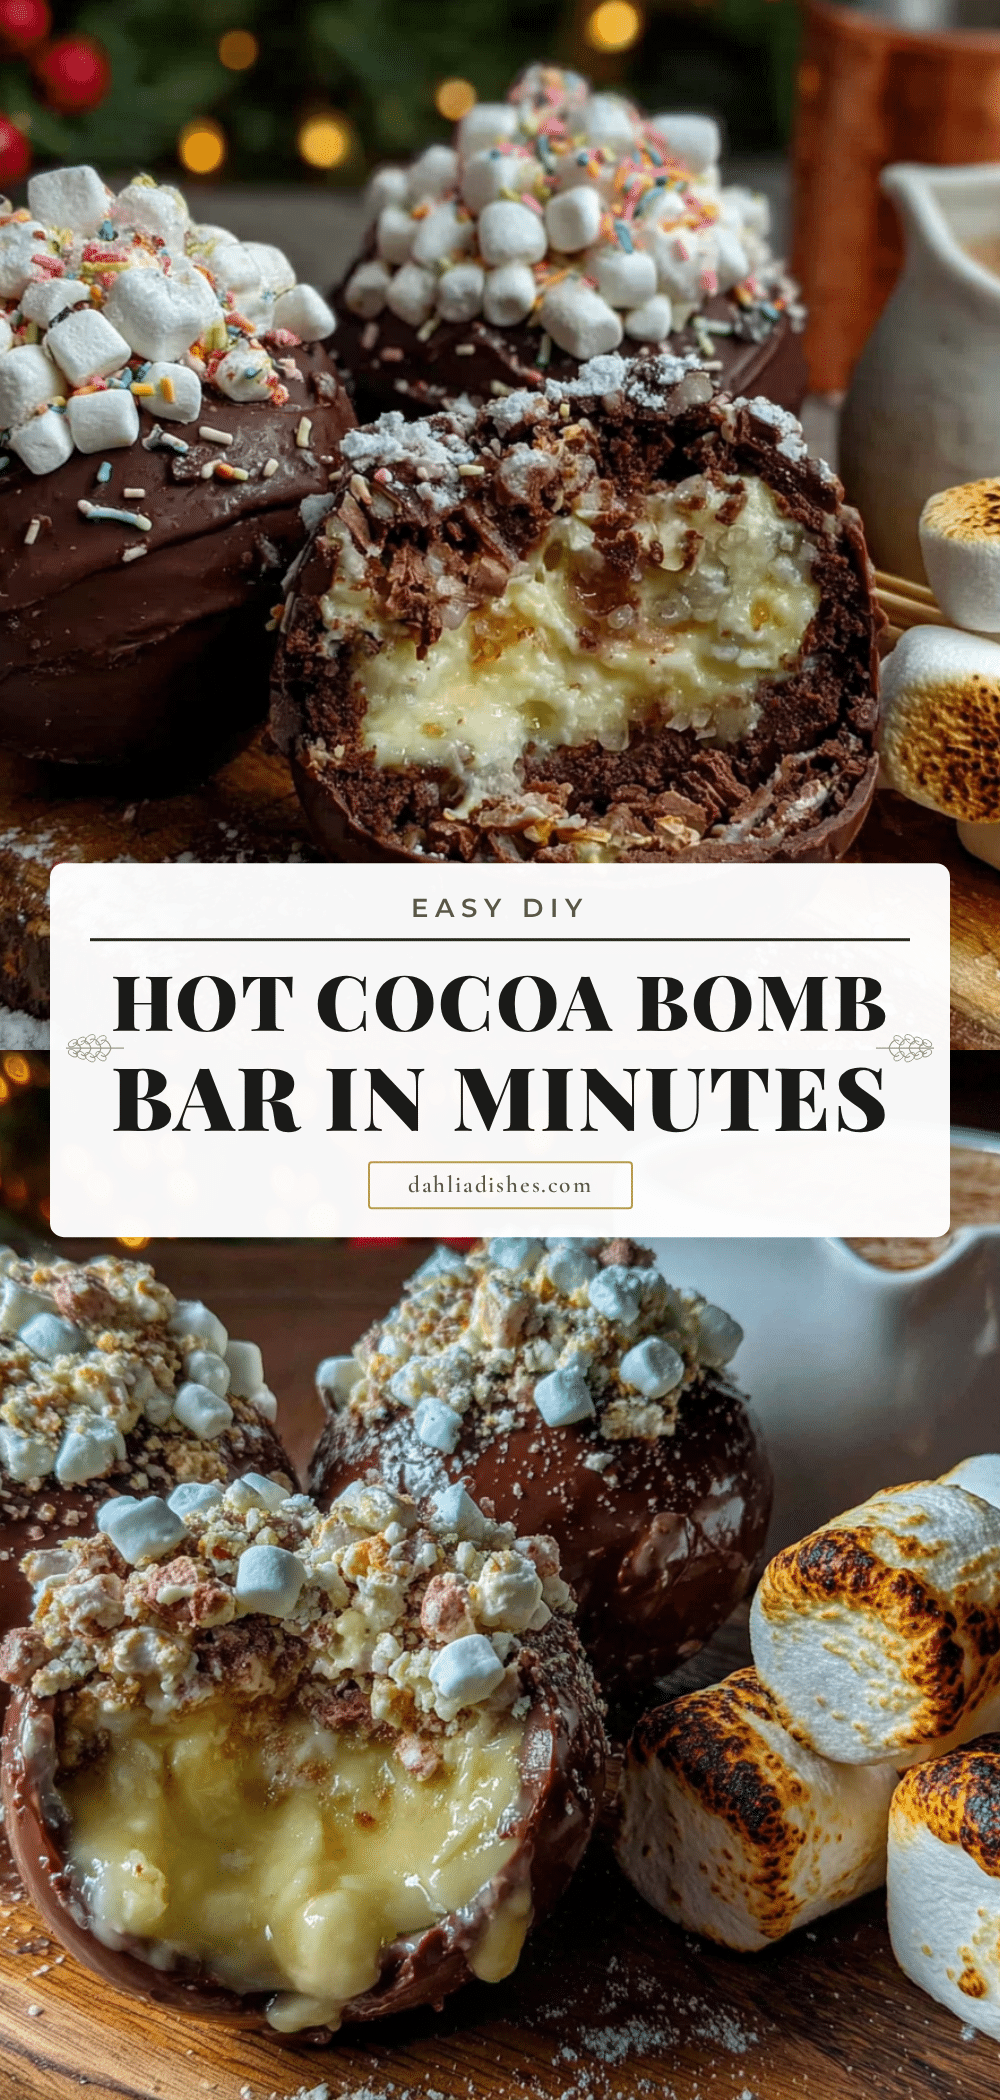
Easy DIY Hot Cocoa Bomb Bar in Minutes: Best Recipe

Learn how to make easy DIY hot cocoa bombs in minutes with this foolproof recipe. Perfect for gifting or a cozy winter treat, these chocolate spheres melt into a rich, creamy hot cocoa with marshmallows.
- Prep Time: 15 minutes
- Cook Time: 5 minutes
- Total Time: 30 minutes
- Yield: 6 servings 1x
- Category: Dessert
- Cuisine: American
Ingredients
- 12 ounces chocolate melting wafers (milk or dark chocolate, preferably Ghirardelli)
- 1 cup hot cocoa mix (e.g., Swiss Miss)
- ½ cup mini marshmallows
- ¼ cup white chocolate chips (optional, for drizzle)
- 2 tablespoons sprinkles or crushed candy canes (optional, for decorating)
- 1 teaspoon coconut oil
Instructions
- Melt the chocolate: Place chocolate melting wafers and coconut oil in a microwave-safe bowl. Heat in 30-second intervals, stirring between each, until completely smooth (about 90 seconds total). Do not overheat.
- Fill the molds: Spoon about 1 tablespoon of melted chocolate into each hemisphere mold. Use a spatula to spread it up the sides, ensuring an even coating about ⅛ inch thick.
- Chill the shells: Place the filled molds on a baking sheet and refrigerate for 10 minutes until set and slightly dull.
- Remove the shells: Gently press on the bottom of each silicone mold to release the chocolate hemispheres. Handle carefully.
- Fill the bombs: Take one hemisphere and fill with about 2 teaspoons of hot cocoa mix and 5-6 mini marshmallows. Do not overfill.
- Seal the bombs: Warm a small plate in the microwave for 30 seconds. Press the rim of an empty hemisphere onto the warm plate to melt the edge slightly, then immediately press it onto the filled hemisphere. Hold for 10 seconds to set.
- Decorate: Melt white chocolate chips as before. Drizzle over the sealed bombs using a piping bag or zip-top bag with the corner snipped off. Add sprinkles or crushed candy canes while the drizzle is still wet.
- Final set: Place the decorated bombs back in the refrigerator for 15 minutes to fully set.
Notes
Do not skip the coconut oil; it helps the chocolate release cleanly from the molds. Work with one mold at a time to prevent chocolate from setting prematurely. Use the warm plate trick for a clean, invisible seam when sealing bombs. If your hands are warm, wear food-safe gloves to avoid fingerprints on the chocolate. Store in an airtight container at room temperature for up to 2 weeks, or refrigerate for up to a month. Let refrigerated bombs sit at room temperature for 10 minutes before using.
Nutrition
- Serving Size: 1 bomb
- Calories: 300
- Sugar: 30
- Sodium: 150
- Fat: 14
- Saturated Fat: 8
- Carbohydrates: 38
- Fiber: 1
- Protein: 4
Keywords: hot cocoa bomb, DIY hot cocoa bomb, easy hot cocoa bomb, homemade hot cocoa bomb, hot cocoa bomb recipe, winter treat, gift idea


