Love this? Save it for later!
Share the inspiration with your friends
My neighbor, Mrs. Kowalski, saw me wrestling with a bag of candy canes at the grocery store checkout line two Decembers ago. She didn’t say anything at first, just watched me try to figure out if I needed crushed peppermint or whole ones. Then she reached over, grabbed a bag of the pre-crushed kind, and handed it to me. “For the fudge,” she said, like it was the most obvious thing in the world. I didn’t even know she made fudge. Honestly, I barely knew her beyond a wave over the fence. But that moment, right there in aisle seven, turned into a conversation about shortcuts and holiday sanity. She told me her secret was keeping it simple, and this recipe was proof. I’ve tweaked it a bit since then, mostly because I’m impatient and always forget to soften butter, but the heart of it is still hers. It’s the kind of recipe that makes you feel like you’ve got it all together, even when you’re running on three hours of sleep and too much eggnog.
Let me tell you, the first time I made this easy white chocolate peppermint fudge, I was skeptical. Five ingredients? In my microwave? It felt like cheating. But then I took a bite, and the texture was so smooth, and the peppermint was so perfectly balanced, I knew I’d found my holiday hero. Maybe you’ve been there, scrolling through complicated dessert recipes with a million steps and a list of ingredients you can’t pronounce. This isn’t that. This is the recipe you turn to when you need something impressive but don’t have the energy for a production. It’s the one you make with your kids on a snowy afternoon, or throw together while the turkey rests. It’s become my go-to for cookie exchanges, teacher gifts, and late-night snacking when I need a little festive cheer. It stayed with me because it’s more than just a dessert—it’s a reminder that sometimes the best things come from the simplest exchanges.
Why You’ll Love This Recipe
This isn’t just any fudge. This is the fudge that will make you look like a holiday hero without breaking a sweat. I’ve tested this recipe more times than I can count, and it’s come out perfect every single time. Seriously, even when I accidentally used salted butter, it was still delicious. Here’s why you’ll keep coming back to it:
- Quick & Easy: Comes together in under 15 minutes of active time. No candy thermometers, no boiling sugar, no fuss. Perfect for those last-minute holiday cravings or unexpected guests.
- Simple Ingredients: You need just five things—white chocolate chips, sweetened condensed milk, butter, vanilla, and crushed peppermint. Chances are you already have most of them in your pantry.
- Perfect for the Holidays: Great for cookie exchanges, holiday parties, gift-giving, or just keeping on the counter for a festive treat. It’s also a fantastic activity to do with kids.
- Crowd-Pleaser: It’s rich, creamy, and has that perfect crunch of peppermint. I’ve never seen a piece last more than five minutes on a plate. Both kids and adults go crazy for it.
- Unbelievably Delicious: The combination of sweet white chocolate and cool peppermint is a match made in heaven. The texture is melt-in-your-mouth smooth, with just the right amount of crunch from the candy.
What makes this recipe different from the rest? It’s the technique. Most fudge recipes require you to boil sugar and cream, which is a recipe for disaster if you’re not careful. This one uses sweetened condensed milk as a base, which gives you a foolproof, silky-smooth fudge every time. It’s my best version because it prioritizes simplicity without sacrificing an ounce of flavor. This isn’t just good—it’s the kind of fudge that makes you close your eyes after the first bite. It’s comfort food reimagined for the modern, busy cook. Perfect for impressing guests without stress, or turning a simple Tuesday night into something special.
What Ingredients You Will Need
This recipe uses simple, wholesome ingredients to deliver a rich, decadent fudge without any complicated steps. Each one plays a crucial role in achieving that perfect texture and flavor. You’ll be surprised how such a short list can create something so special.
- 3 cups (510g) White Chocolate Chips: The star of the show. I strongly recommend using a high-quality brand like Ghirardelli or Guittard for the best melt and flavor. Avoid white “baking chips” or morsels that are artificially flavored—they don’t melt as smoothly and can have a waxy texture. Look for chips that list cocoa butter as an ingredient. For a dairy-free version, use a high-quality vegan white chocolate chips.
- 1 can (14 oz / 397g) Sweetened Condensed Milk: This is your secret weapon for foolproof fudge. It provides the perfect sweetness and creamy texture without the need for a candy thermometer. Use full-fat for the richest result. Do not substitute with evaporated milk—they are not the same! The sugar content in condensed milk is what helps the fudge set properly.
- 2 tablespoons (28g) Unsalted Butter: Adds a touch of richness and helps the fudge set with a smooth, non-grainy texture. It also prevents the white chocolate from seizing when it melts. If you only have salted butter, just reduce any additional salt in the recipe (there isn’t any, so you’re fine). I always use unsalted to control the flavor.
- 1 teaspoon Vanilla Extract: Enhances the sweetness of the white chocolate and adds a warm, aromatic depth. Pure vanilla extract is best, but a good quality imitation will work in a pinch. For a fun twist, try using peppermint extract instead of vanilla for an even more intense mint flavor—but start with ½ teaspoon, as it’s very potent.
- ½ cup (60g) Crushed Peppermint Candies or Candy Canes: This provides the signature crunch and festive flavor. You can buy pre-crushed peppermint, or crush your own by placing candy canes in a zip-top bag and smashing them with a rolling pin. I prefer doing it myself because I can control the size of the pieces. For a smoother fudge, you can pulse them in a food processor for a finer crumb. Save a tablespoon or two for sprinkling on top.
That’s it! Five simple ingredients that come together to create something truly magical. No special trips to a gourmet store, no obscure spices. Just pantry staples and a little bit of holiday spirit.
Equipment Needed
You don’t need a fancy kitchen to make this fudge. In fact, you probably already have everything you need. Here’s the short list of tools that will make the process smooth and easy.
- 8×8-inch Baking Pan: This is the perfect size for a nice, thick fudge. If you only have a 9×9-inch pan, your fudge will be slightly thinner, which is fine—just reduce the setting time slightly. Line it with parchment paper for easy removal.
- Parchment Paper: A must-have for easy cleanup and lifting the fudge out of the pan. Make sure to leave some overhang on two sides to create “handles.”
- Large Microwave-Safe Bowl: A glass or ceramic bowl works best. I use a 4-cup Pyrex measuring cup because it’s deep enough to prevent splatters. Avoid using plastic bowls, as they can warp or absorb odors.
- Rubber Spatula: For stirring the fudge as it melts and for scraping every last bit into the pan. A silicone spatula is heat-resistant and won’t scratch your bowl.
- Small Saucepan (Optional): If you prefer to melt the ingredients on the stovetop, this is your go-to. Use low heat to prevent burning. I find the microwave method to be faster and require less cleanup.
- Sharp Knife: For cutting the fudge into clean squares. A chef’s knife or a large serrated knife works well. For the cleanest cuts, wipe the blade clean between slices.
That’s really all you need. No candy thermometers, no double boilers, no electric mixers. This recipe is designed for real people with real kitchens.
Preparation Method
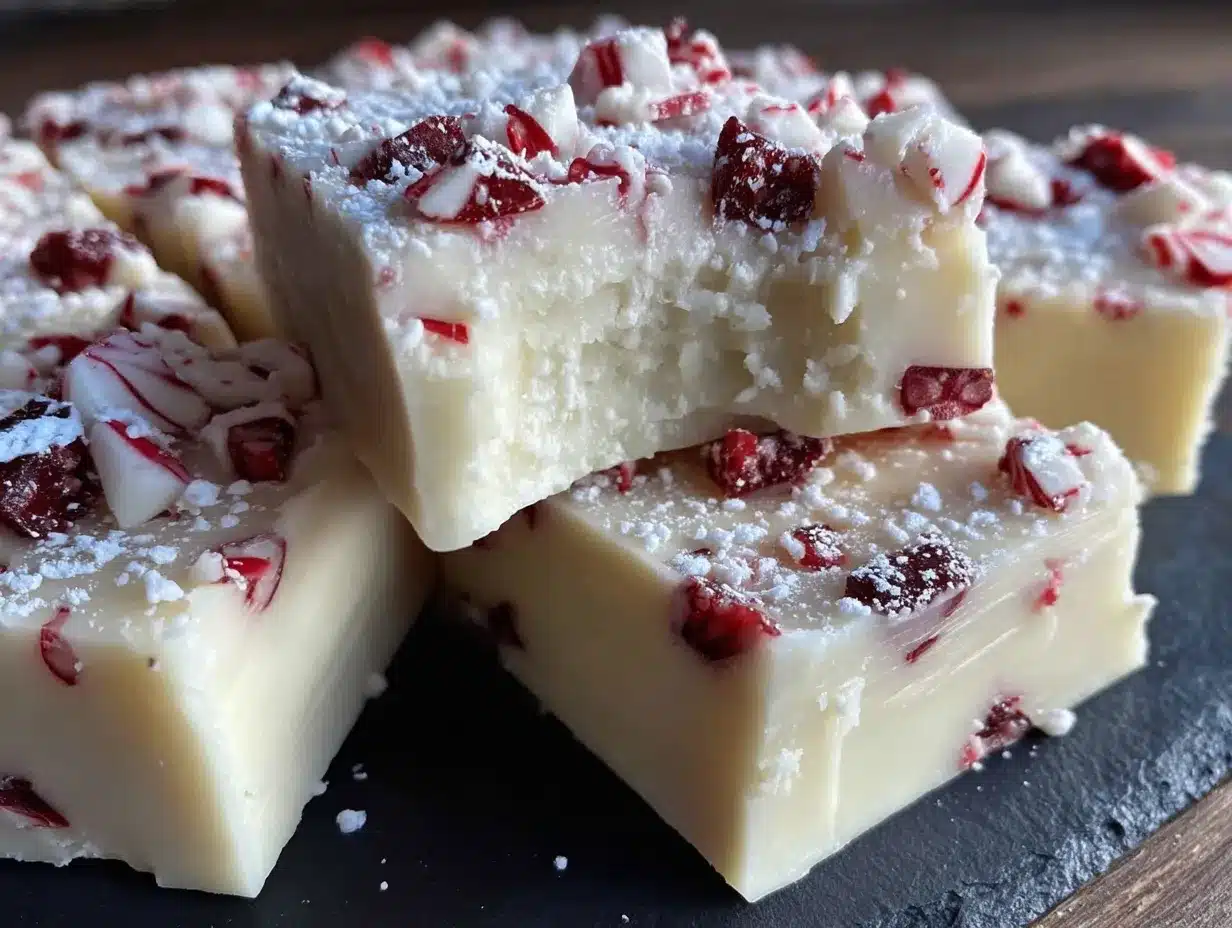
Now for the fun part! This fudge comes together in just a few simple steps. I’ll walk you through each one, including what to look for and how to avoid common pitfalls. Trust me, if you can melt chocolate, you can make this fudge.
- Prepare Your Pan: Line your 8×8-inch baking pan with a sheet of parchment paper. Make sure the paper is long enough to overhang on two opposite sides by about 2 inches. These will be your handles to lift the fudge out later. Lightly grease the parchment with a tiny bit of butter or non-stick spray to ensure the fudge releases easily. Set the pan aside.
- Melt the Base: In your large microwave-safe bowl, combine the white chocolate chips, sweetened condensed milk, and butter. Microwave in 30-second intervals on medium power (50-70% power). After each interval, stir the mixture vigorously with your rubber spatula. It will look lumpy and separated at first—don’t panic! This is normal. Keep microwaving and stirring until the mixture is completely smooth and glossy. This usually takes about 2-3 minutes total. The residual heat will continue to melt the chips, so stop as soon as there are no visible lumps. Overheating can cause the chocolate to seize.
- Add Flavorings: Once your mixture is smooth and fully melted, remove it from the microwave. Immediately stir in the vanilla extract. The mixture will become slightly thinner and more aromatic. If you’re using peppermint extract, add it now. Stir until everything is well combined. The fudge should look thick, shiny, and smell amazing.
- Incorporate the Crunch: Add the crushed peppermint candies to the fudge mixture. Reserve about 1-2 tablespoons for the topping. Fold the candy pieces in gently with your spatula until they are evenly distributed. Work quickly here, as the fudge will start to set as it cools. You don’t want to overmix, but you do want the peppermint evenly spread throughout.
- Transfer to Pan: Pour the fudge mixture into your prepared baking pan. Use your spatula to spread it into an even layer, pushing it into the corners. The mixture will be thick and slightly sticky, so take your time. If it’s not cooperating, you can lightly grease your spatula with a bit of butter to help smooth the top.
- Add the Topping: Immediately sprinkle the reserved crushed peppermint over the top of the fudge. Gently press the pieces into the surface with your fingers or the back of a spoon so they stick. This creates a beautiful, festive look and ensures every piece has a bit of crunch on top.
- Set and Chill: Place the pan in the refrigerator, uncovered, for at least 2-3 hours, or until the fudge is firm to the touch. For best results, let it chill for 4 hours or even overnight. The fudge needs this time to fully set and develop its creamy texture. Don’t rush this step—if you try to cut it too soon, it will be too soft and sticky.
- Cut and Serve: Once the fudge is completely firm, use the parchment paper handles to lift it out of the pan. Place it on a cutting board. Use a sharp knife to cut it into 1-inch squares. For the cleanest cuts, wipe the knife blade with a damp paper towel between each slice. This prevents the fudge from sticking and keeps the edges neat.
And that’s it! You’ve just made a batch of incredible, foolproof fudge. The whole process, from start to fridge, takes about 15 minutes of active time.
Cooking Tips & Techniques
Over the years, I’ve learned a few things the hard way so you don’t have to. Here are my top tips for perfect fudge every single time, along with a few mistakes I’ve made so you can avoid them.
The Biggest Mistake: Overheating the Chocolate. I cannot stress this enough. White chocolate is delicate. If you overheat it, it will seize into a grainy, clumpy mess. Always use 30-second intervals and medium power. The mixture should be just warm enough to melt, not hot. If you see any steam, you’ve gone too far. I once forgot about a batch and nuked it for a full minute—it turned into a lumpy disaster that I had to throw away. Learn from my pain!
The Secret to Smooth Fudge: Stir, Stir, Stir. The key to a silky-smooth texture is constant stirring between microwave intervals. This distributes the heat evenly and prevents hot spots that can scorch the chocolate. Don’t just walk away and let it sit. Stand there and stir. It’s meditative, I promise.
Timing and Multitasking: This recipe is perfect for multitasking. While the fudge is chilling, you can clean up your kitchen, wrap presents, or start on another batch. The active time is so short that you can easily fit it into a busy holiday schedule. I often make this while the turkey is resting or while I’m waiting for cookies to bake.
Consistency is Key: If your fudge is too soft after chilling, it might be because you didn’t cook it long enough, or your kitchen is very warm. Just pop it back in the fridge for another hour. If it’s too hard, it might have been overcooked. Next time, reduce your microwave time by 15 seconds.
Use Room Temperature Ingredients: For the best melt, make sure your butter is at room temperature. Cold butter can cause the chocolate to seize. If you forgot to take it out, just cut it into small cubes and it will warm up quickly.
Variations & Adaptations
One of the best things about this fudge is how versatile it is. Once you’ve mastered the basic recipe, you can customize it in countless ways. Here are a few of my favorite variations that I’ve tried and loved.
- Dark Chocolate Peppermint Fudge: For a less sweet, more sophisticated flavor, swap the white chocolate chips for high-quality dark chocolate chips (60-70% cocoa). The bitterness of the dark chocolate pairs beautifully with the cool peppermint. Follow the same method, but be extra careful not to overheat the dark chocolate. This version is a huge hit with adults.
- Mint Chocolate Chip Fudge: Add ½ cup of mini chocolate chips along with the crushed peppermint. The little pockets of melted chocolate add a wonderful texture and flavor contrast. I like to use semi-sweet or dark mini chips so they don’t overwhelm the white chocolate base. This is my personal favorite for a movie night treat.
- Gluten-Free & Vegan Adaptations: This recipe is naturally gluten-free as long as you check your candy canes (most are gluten-free, but it’s always good to verify). For a vegan version, use a high-quality vegan white chocolate (look for one that melts well) and a dairy-free sweetened condensed milk (like the one from Nature’s Charm). Use a vegan butter stick. The texture will be slightly different, but still delicious.
- Cookie Dough Fudge: For a fun twist, drop small spoonfuls of edible cookie dough (made without eggs) into the fudge before it sets. Swirl it gently with a knife for a marbled effect. This is a huge hit with kids and adds a whole new layer of flavor and texture.
- Spiced Holiday Fudge: Add ½ teaspoon of ground cinnamon and a pinch of nutmeg along with the vanilla. This gives the fudge a warm, chai-like flavor that’s perfect for cozy winter evenings. You can also add a dash of orange zest for a bright, citrusy note.
Don’t be afraid to experiment! The base recipe is so forgiving that you can really make it your own. I’ve even added crushed pretzels for a sweet-and-salty version, and it was a hit.
Serving & Storage Suggestions
This fudge is best served chilled or at room temperature, depending on your preference. I personally love it straight from the fridge—the texture is firmer and the peppermint flavor is more pronounced. Here’s how to serve and store it for the best results.
Serving: Arrange the fudge squares on a festive platter or in a decorative tin. For an extra touch, you can dust the top with a light sprinkle of powdered sugar or a few extra crushed peppermint pieces just before serving. It pairs beautifully with a cup of hot cocoa, a peppermint mocha, or a glass of cold milk. For a dessert board, arrange the fudge alongside other treats like gingerbread cookies, chocolate truffles, and fresh berries.
Storage: Store the fudge in an airtight container in the refrigerator. It will stay fresh for up to 2 weeks, though I doubt it will last that long! The flavors actually meld and deepen after a day or two, making it even more delicious. If you’re layering the fudge in a container, place a sheet of parchment paper between the layers to prevent sticking.
Freezing: This fudge freezes beautifully! To freeze, place the squares in a single layer on a baking sheet and freeze for 1-2 hours, or until solid. Then transfer them to a freezer-safe bag or container, separating layers with parchment paper. They will keep for up to 3 months. To thaw, simply let them sit in the refrigerator overnight or at room temperature for about 30 minutes. The texture remains perfect.
Reheating (Not Recommended): This fudge is meant to be eaten cold or at room temperature. Reheating it will make it melt and lose its structure. If you want a warm, gooey treat, try it in a different recipe!
Flavor Development: I’ve noticed that the fudge is at its absolute best on the second or third day. The peppermint flavor mellows slightly and blends perfectly with the sweet white chocolate. So if you can resist eating it all on day one, you’re in for a real treat on day two.
Nutritional Information & Benefits
Let’s be real—this is a treat, and it’s meant to be enjoyed in moderation. But that doesn’t mean it can’t fit into a balanced lifestyle. Here’s a quick look at the nutritional profile and a few benefits of the key ingredients.
Estimated Nutritional Values (per 1-inch square, based on 36 servings):
- Calories: ~120
- Fat: 6g
- Carbohydrates: 16g
- Sugar: 15g
- Protein: 1g
Health Benefits of Key Ingredients:
- White Chocolate: While not a health food, white chocolate contains cocoa butter, which is a source of healthy fats. It also provides a small amount of calcium and magnesium.
- Peppermint: Peppermint has been used for centuries to aid digestion and freshen breath. The aroma alone can help clear your sinuses and boost your mood. It’s a natural, uplifting flavor that brightens the whole dessert.
- Sweetened Condensed Milk: A good source of calcium and vitamin D, though it’s also high in sugar. Using it as a base allows you to avoid the added sugar and fuss of traditional fudge recipes.
Dietary Considerations: This recipe is naturally gluten-free (always check your candy canes). It can be made vegan with simple substitutions. However, it is not low-fat or low-sugar. It’s a decadent treat, and that’s okay! I believe in enjoying the holidays without guilt. One or two squares is the perfect way to satisfy your sweet tooth.
Potential Allergens: This recipe contains dairy (white chocolate, butter, condensed milk). It may also contain traces of tree nuts and soy, depending on the brands you use. Always check labels if you are serving someone with allergies.
Conclusion
This easy white chocolate peppermint fudge is more than just a dessert—it’s a holiday tradition waiting to happen. It’s the recipe that will save you when you need something impressive in a hurry, the one that will make your kitchen smell like Christmas, and the one that will have everyone asking for the recipe. I love it because it’s a true gift of time and simplicity. It proves that you don’t need a million ingredients or a culinary degree to create something beautiful and delicious.
I encourage you to make this recipe your own. Add a sprinkle of sea salt, swap in dark chocolate, or double the batch for gifting. Whatever you do, I promise you’ll fall in love with it. So go ahead, grab those five ingredients, and give yourself the gift of a stress-free, show-stopping treat. You’ve got this!
I’d love to hear how it turns out for you! Drop a comment below and let me know if you tried any fun variations, or share a photo of your fudge on social media. Happy holidays, and happy cooking!
Frequently Asked Questions
Can I use white chocolate bars instead of chips?
Yes, absolutely! Just chop them into small, uniform pieces so they melt evenly. Chips are designed to hold their shape, so bars can actually melt more smoothly. Use the same weight (510g).
My fudge is too soft. What went wrong?
This usually happens if the fudge wasn’t chilled long enough, or if your kitchen is very warm. Make sure you refrigerate it for at least 4 hours, or even overnight. If it’s still soft after that, you might have under-melted the chocolate or used a different brand of condensed milk. Next time, try microwaving for an extra 15 seconds.
Can I make this fudge without a microwave?
Definitely! Use a small saucepan on the stovetop over very low heat. Combine the white chocolate, condensed milk, and butter, and stir constantly until melted and smooth. Be very careful not to let it boil or scorch. The process takes about 5-7 minutes.
How do I crush candy canes without making a huge mess?
The easiest method is to place the candy canes in a sturdy zip-top bag, seal it, and then gently smash them with a rolling pin or the bottom of a heavy pan. For a finer crumb, you can pulse them in a food processor. I recommend doing this over a sheet of wax paper for easy cleanup.
Can I use peppermint extract instead of crushed candy?
Yes, you can! For a smooth, crunchy-free fudge, add ½ to 1 teaspoon of peppermint extract along with the vanilla. You can also add a few drops of red food coloring for a festive pink hue. The flavor will be just as wonderful, but you’ll miss out on the signature crunch.
Pin This Recipe!
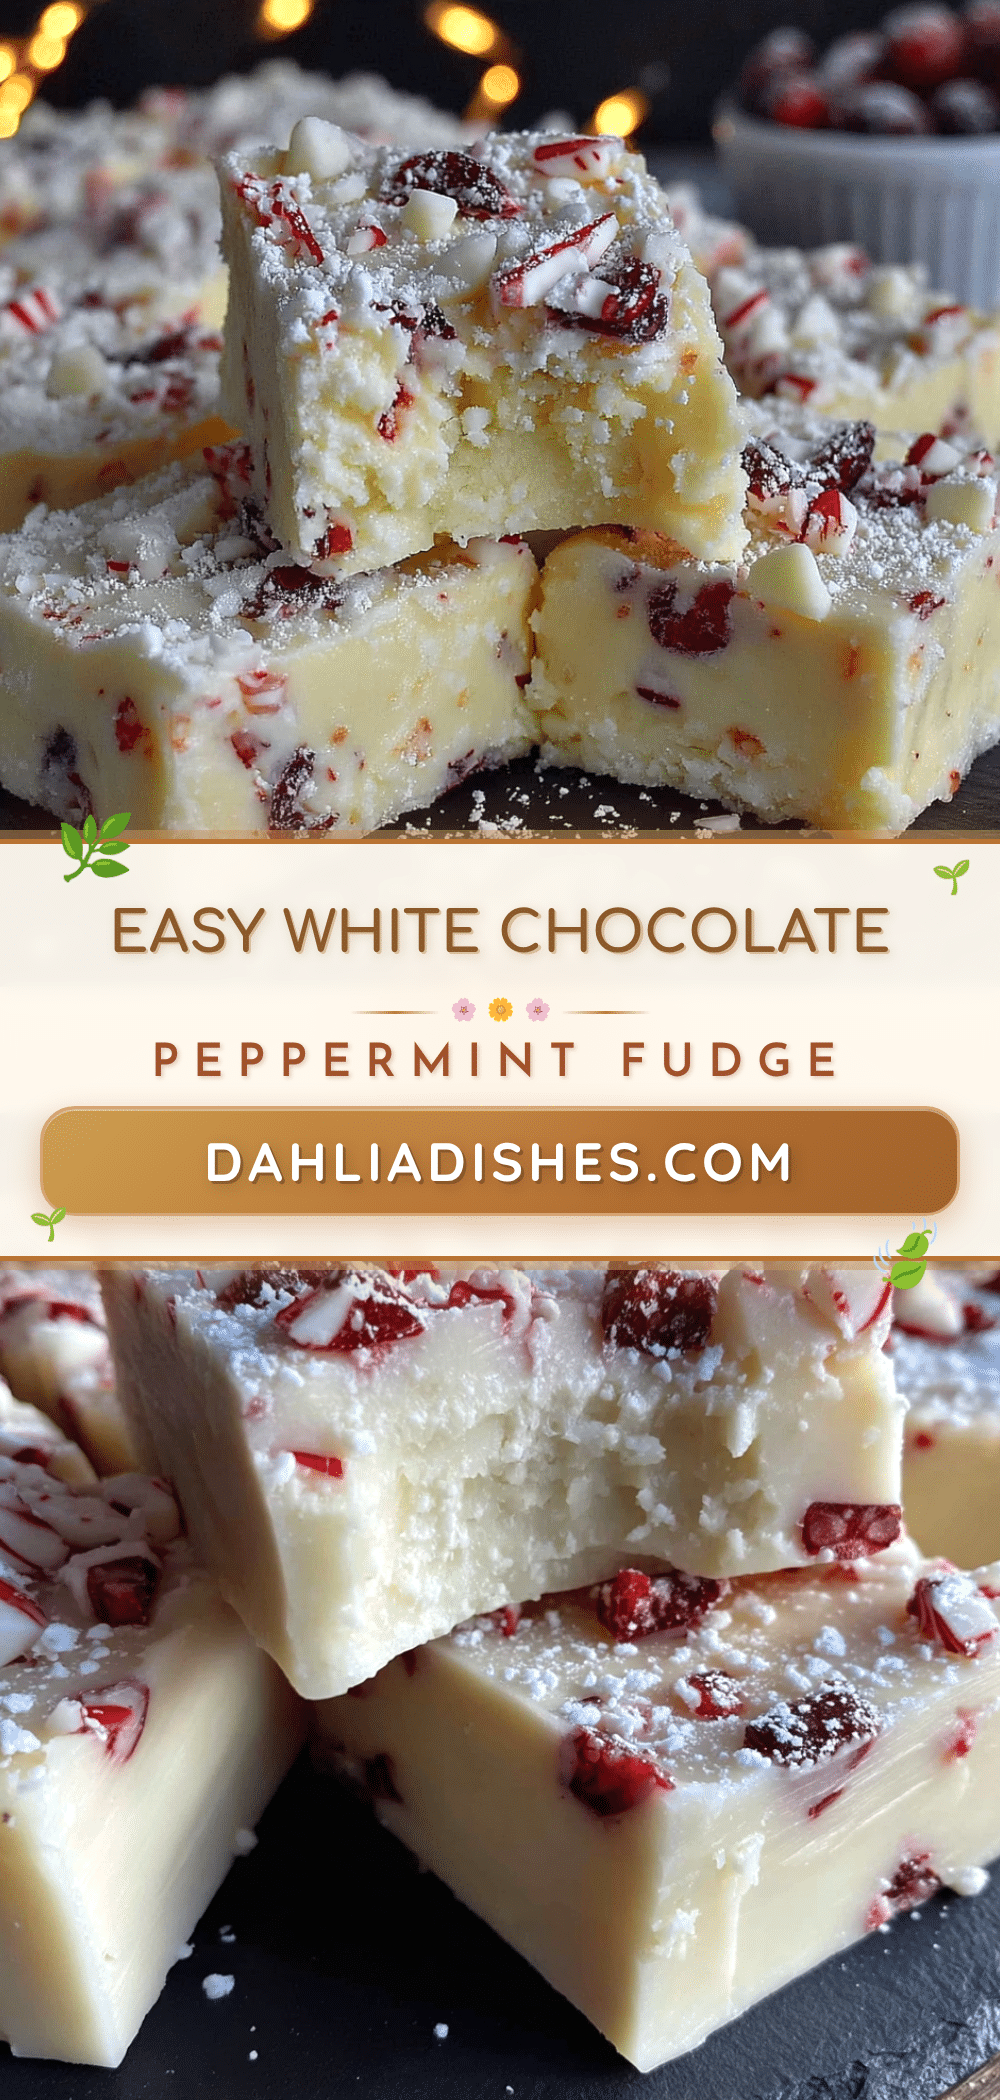
Easy White Chocolate Peppermint Fudge: Best 5-Ingredient Holiday Treat

This easy white chocolate peppermint fudge is a foolproof, 5-ingredient holiday treat that comes together in under 15 minutes. It’s creamy, crunchy, and perfect for gift-giving or holiday parties.
- Prep Time: 15 minutes
- Cook Time: 3 minutes
- Total Time: 2 hours 18 minutes (includes chilling)
- Yield: 36 servings 1x
- Category: Dessert
- Cuisine: American
Ingredients
- 3 cups (510g) white chocolate chips
- 1 can (14 oz / 397g) sweetened condensed milk
- 2 tablespoons (28g) unsalted butter
- 1 teaspoon vanilla extract
- ½ cup (60g) crushed peppermint candies or candy canes
Instructions
- Line an 8×8-inch baking pan with parchment paper, leaving overhang on two sides. Lightly grease the parchment.
- In a large microwave-safe bowl, combine white chocolate chips, sweetened condensed milk, and butter. Microwave in 30-second intervals on medium power, stirring after each, until smooth and glossy (about 2-3 minutes total).
- Remove from microwave and stir in vanilla extract until well combined.
- Fold in crushed peppermint candies, reserving 1-2 tablespoons for topping.
- Pour mixture into prepared pan and spread into an even layer. Sprinkle reserved crushed peppermint on top and gently press into surface.
- Refrigerate uncovered for at least 2-3 hours, or until firm (4 hours or overnight is best).
- Use parchment handles to lift fudge out of pan. Cut into 1-inch squares with a sharp knife, wiping blade clean between cuts.
- Serve chilled or at room temperature.
Notes
Use high-quality white chocolate chips for best results. Do not overheat the chocolate; microwave in 30-second intervals. For a vegan version, use vegan white chocolate, dairy-free condensed milk, and vegan butter. Fudge can be stored in an airtight container in the refrigerator for up to 2 weeks, or frozen for up to 3 months.
Nutrition
- Serving Size: 1 square
- Calories: 120
- Sugar: 15
- Sodium: 30
- Fat: 6
- Saturated Fat: 4
- Carbohydrates: 16
- Protein: 1
Keywords: white chocolate peppermint fudge, easy fudge, 5-ingredient fudge, holiday fudge, peppermint fudge, no-bake fudge


