Love this? Save it for later!
Share the inspiration with your friends
I’d claimed to hate pumpkin desserts for almost a decade. Every fall, when the pumpkin spice lattes started appearing and my friends went wild for pumpkin bread, I’d just shrug. Too sweet, too spiced, too… much. Then last November, my sister-in-law Carla showed up at my door holding a pie plate and looking way too proud of herself. “You’re going to eat this,” she said. I laughed. She was wrong. Except, later that night, after everyone had gone home and I was cleaning up, I found myself standing over the kitchen sink, fork in hand, eating the last slice of something I’d sworn I’d never touch. Caught in the act.
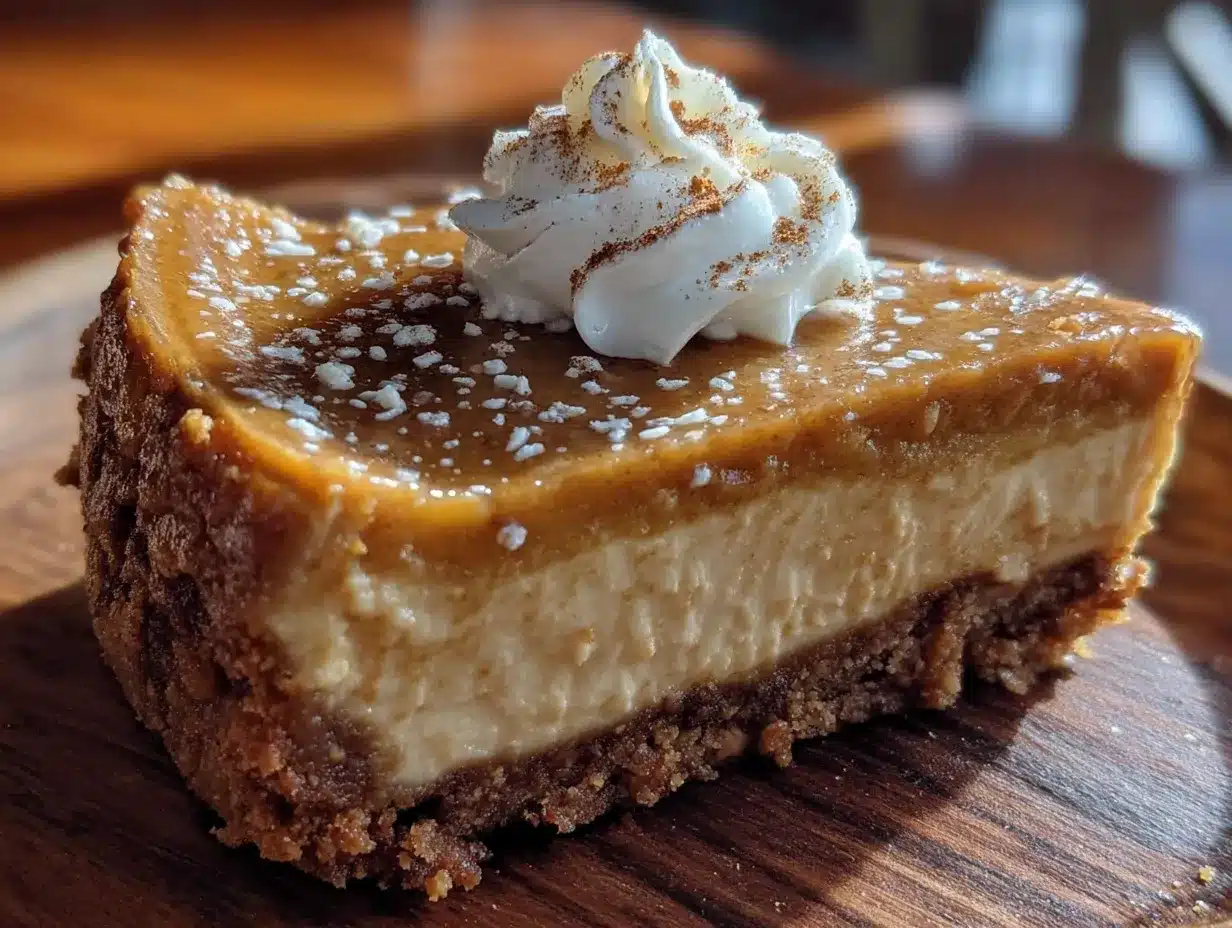
That something was this creamy no-bake pumpkin cheesecake with gingersnap crust. And honestly, I’m still a little embarrassed about how fast I changed my tune. The texture is what got me—it’s not dense or heavy like traditional cheesecake. It’s light, almost mousse-like, with that perfect tang from the cream cheese balancing the warm pumpkin spice. The gingersnap crust? Absolute genius. It adds this little snap of ginger heat that cuts through the sweetness perfectly. I mean, I ate three slices that week. Three.
Maybe you’ve been there, too. Maybe you think pumpkin desserts aren’t your thing, or maybe you’re looking for something that feels indulgent without being heavy. Either way, this recipe is the one that changed my mind. It’s the kind of dessert that makes you close your eyes after the first bite—not because it’s fancy, but because it’s just that good. And the best part? You don’t even need to turn on the oven.
Why You’ll Love This Recipe
Let me tell you why this no-bake pumpkin cheesecake has become my go-to for every fall gathering. I’ve tested this recipe at least six times (for science, obviously), and each time, I’m more convinced it’s the perfect dessert for people who want something special without spending hours in the kitchen.
- No Oven Required : This is a true no-bake recipe. No water baths, no cracking, no worrying about over-baking. Just mix, chill, and serve. Perfect for those days when you want dessert but the oven is full of other dishes.
- Simple Ingredients : You probably already have most of these in your pantry. Cream cheese, pumpkin puree, heavy cream, and a few spices. No fancy grocery store trips needed.
- Make-Ahead Friendly : This cheesecake actually gets better after a day in the fridge. The flavors meld together, and the texture sets up perfectly. You can make it two days ahead without any issues.
- Crowd-Pleaser : I brought this to a Friendsgiving last month, and people who “don’t like pumpkin” went back for seconds. It’s that creamy, that balanced, that good.
- Perfect for Fall Gatherings : Whether it’s Thanksgiving, a potluck, or just a cozy Sunday dinner, this cheesecake fits right in. It’s impressive enough for company but easy enough for a weeknight treat.
What makes this version different from all the other pumpkin cheesecake recipes out there? It’s the texture. I spent weeks perfecting the ratio of cream cheese to pumpkin to heavy cream. Most no-bake pumpkin cheesecakes end up too dense or too soft. This one hits that sweet spot—creamy, light, and sliceable. The gingersnap crust adds a warmth that complements the pumpkin without overpowering it. It’s comfort food reimagined: faster, easier, and honestly, more delicious than the baked version.
What Ingredients You Will Need
This recipe uses simple, wholesome ingredients to deliver that rich, creamy texture and bold fall flavor. Most of these are pantry staples, especially if you do any fall baking. Here’s what you’ll need and why each ingredient matters.
For the Gingersnap Crust
- 2 cups (200g) gingersnap cookie crumbs – I recommend using store-bought gingersnaps like Nabisco or Anna’s. You can crush them in a food processor or put them in a zip-top bag and smash with a rolling pin. The ginger and molasses flavor in gingersnaps is key—don’t substitute with graham crackers unless you’re desperate.
- 6 tablespoons (85g) unsalted butter, melted – This binds the crust together. Use salted butter if that’s all you have, but reduce any added salt elsewhere. I always use unsalted so I can control the salt level.
- 2 tablespoons (25g) granulated sugar – Just a touch of sweetness to balance the spicy gingersnaps. You can skip this if your cookies are already very sweet.
For the Pumpkin Cheesecake Filling
- 16 ounces (450g) full-fat cream cheese, softened – This is non-negotiable. Low-fat cream cheese contains more water and won’t set up properly. Leave it on the counter for at least an hour before starting. I like Philadelphia brand for consistent results.
- 1 cup (200g) granulated sugar – Sweet enough to balance the tangy cream cheese and earthy pumpkin. You can reduce this to 3/4 cup if you prefer less sweet desserts.
- 1 cup (245g) pumpkin puree – Not pumpkin pie filling! Make sure you’re getting 100% pure pumpkin puree. Libby’s is my go-to brand. It’s consistent and not too watery.
- 1 teaspoon vanilla extract – Adds depth and rounds out the flavors. Use pure vanilla extract if you have it.
- 1 teaspoon ground cinnamon – The backbone of pumpkin spice. I use Ceylon cinnamon for a milder, sweeter flavor, but Cassia works fine too.
- 1/2 teaspoon ground ginger – This echoes the gingersnap crust and adds warmth.
- 1/4 teaspoon ground nutmeg – Freshly grated is best, but pre-ground works in a pinch.
- 1/4 teaspoon ground cloves – Use sparingly; cloves are potent and can overpower the other spices.
- 1/4 teaspoon salt – Balances the sweetness and enhances all the flavors.
- 1 cup (240ml) heavy whipping cream, cold – This is what gives the cheesecake its light, mousse-like texture. Make sure it’s very cold so it whips up properly.
For the Topping (Optional but Recommended)
- 1 cup (240ml) heavy whipping cream – For the whipped cream topping.
- 2 tablespoons powdered sugar – Stabilizes the whipped cream and adds sweetness without grittiness.
- 1/2 teaspoon vanilla extract – For flavor.
- Additional crushed gingersnaps or candied pecans – For garnish. Adds a nice crunch.
Equipment Needed
You don’t need any fancy equipment for this recipe, which is part of why I love it. Here’s what you’ll need:
- 9-inch springform pan – This makes removing the cheesecake so much easier. If you don’t have one, you can use a deep-dish pie plate, but the slices won’t be as clean. I’ve also used a 9-inch cake pan lined with parchment paper, which works fine.
- Food processor or rolling pin – For crushing the gingersnaps. A food processor gives you even crumbs, but a zip-top bag and rolling pin do the job just as well. Plus, it’s great stress relief.
- Electric hand mixer or stand mixer – You’ll need this to whip the cream and beat the cream cheese. A whisk and strong arm could work, but I don’t recommend it. Your arm will be sore.
- Large mixing bowls – At least two: one for the crust mixture and one for the filling.
- Rubber spatula – For scraping down the bowl and folding in the whipped cream gently.
- Measuring cups and spoons – Accurate measurements matter in baking, even no-bake recipes.
I’ve made this cheesecake with a cheap hand mixer I bought for fifteen dollars, and it turned out perfectly. Don’t stress about having top-of-the-line equipment. Just make sure your cream cheese is soft and your heavy cream is cold.
Preparation Method
Let’s get to the fun part. This recipe takes about 20 minutes of active prep time, plus at least 6 hours of chilling. I usually make it the night before I plan to serve it.
Step 1: Make the Gingersnap Crust
Start by crushing your gingersnap cookies into fine crumbs. If using a food processor, pulse until you have about 2 cups of crumbs. If using a bag and rolling pin, put the cookies in a zip-top bag, seal it, and go to town. I won’t lie—this is my favorite part. There’s something satisfying about smashing those cookies.
Pour the crumbs into a medium bowl. Add the melted butter and sugar, then stir with a fork until everything looks like wet sand. It should hold together when you squeeze a handful. If it’s too dry, add another tablespoon of melted butter.
Press the mixture firmly into the bottom of your springform pan. I use the bottom of a measuring cup to really pack it down. Go all the way to the edges. Don’t go up the sides—this is just a bottom crust. Pop it in the fridge while you make the filling. This helps it set up.
Step 2: Whip the Heavy Cream
In a large bowl, pour the cold heavy cream. Using your hand mixer or stand mixer with the whisk attachment, beat the cream on medium-high speed until stiff peaks form. This takes about 2-3 minutes. You’re looking for peaks that stand up straight when you lift the beaters. Be careful not to over-whip, or you’ll end up with butter. Set this bowl aside in the fridge while you work on the cream cheese mixture.
Step 3: Beat the Cream Cheese
In another large bowl, beat the softened cream cheese with the sugar until smooth and creamy. This is important—no lumps allowed. Scrape down the sides of the bowl with your spatula at least once. If your cream cheese is properly softened, this should take about 2 minutes. If it’s still cold, you’ll get lumps, and nobody wants lumpy cheesecake.
Step 4: Add the Pumpkin and Spices
Add the pumpkin puree, vanilla extract, cinnamon, ginger, nutmeg, cloves, and salt to the cream cheese mixture. Beat on medium speed until everything is well combined and smooth. The color should be a beautiful pale orange. Taste it here. Seriously, grab a spoon. This is the moment you’ll know if your spice blend is right. Adjust if needed—maybe a pinch more cinnamon, maybe a touch more ginger.
Step 5: Fold in the Whipped Cream
This is the step that makes this cheesecake light and airy. Take the whipped cream out of the fridge. Add about a third of it to the pumpkin mixture and fold it in gently with your spatula. Don’t stir—fold. Cut through the center, scrape the bottom, and bring the mixture up and over. Repeat until it’s mostly combined, then add the rest of the whipped cream and fold until no white streaks remain. The mixture should be smooth, fluffy, and utterly irresistible.
Step 6: Assemble and Chill
Pour the filling over the chilled crust. Spread it evenly with your spatula. Give the pan a gentle tap on the counter to release any air bubbles. Cover the pan with plastic wrap or aluminum foil and refrigerate for at least 6 hours, but overnight is better. I know it’s hard to wait, but trust me on this. The cheesecake needs time to set up properly. If you try to slice it too early, it will be a sad, soupy mess.
Step 7: Make the Whipped Cream Topping
About an hour before serving, make the topping. In a medium bowl, beat the heavy cream, powdered sugar, and vanilla extract until soft peaks form. Spread or pipe this over the set cheesecake. Sprinkle with crushed gingersnaps or candied pecans. Slice and serve cold.
Cooking Tips & Techniques
After making this no-bake pumpkin cheesecake more times than I care to count, I’ve learned a few things the hard way. Here are my best tips.
Soft cream cheese is everything. I cannot stress this enough. If your cream cheese is cold, you’ll end up with lumps that no amount of beating will fix. Leave it on the counter for at least an hour. If you’re in a rush, cut it into cubes and microwave it in 10-second bursts until it’s soft but not hot.
Don’t over-whip the cream. I’ve done this. It’s tragic. You go from beautiful whipped cream to grainy butter in about 30 seconds. Watch carefully, and stop as soon as you see stiff peaks. The cream should be billowy and smooth, not clumpy.
Fold, don’t stir. When combining the whipped cream with the pumpkin mixture, be gentle. Stirring too vigorously will deflate all that air you worked so hard to whip in. Use a light hand and fold until just combined. A few streaks are fine—they’ll disappear as the cheesecake sets.
Patience is a virtue. I know you want to eat this immediately. I’ve been there. But if you cut into it too early, you’ll get a runny, slice-less mess. Six hours is the minimum. Overnight is ideal. The texture firms up beautifully, and the flavors meld together in a way that’s worth the wait.
Use a hot knife for clean slices. Run your knife under hot water, dry it off, then slice. Wipe the blade clean between cuts. This gives you those gorgeous, Instagram-worthy slices with clean edges.
Variations & Adaptations
One of the best things about this recipe is how adaptable it is. Here are some variations I’ve tried and loved.
Gluten-Free Version : Use gluten-free gingersnap cookies for the crust. Most major brands offer gluten-free options now. The filling is naturally gluten-free, so this is an easy swap.
Dairy-Free Version : Substitute the cream cheese with a high-quality dairy-free cream cheese like Kite Hill or Miyoko’s. Use coconut cream (the solid part from a can of full-fat coconut milk) instead of heavy cream. The texture will be slightly different—a bit denser—but still delicious.
Pumpkin Spice Latte Twist : Add 1 tablespoon of instant espresso powder dissolved in 1 tablespoon of hot water to the filling. It gives the cheesecake a subtle coffee flavor that pairs beautifully with the pumpkin and spice.
Chocolate Lover’s Version : Melt 4 ounces of dark chocolate and drizzle it over the crust before adding the filling. Or fold 1/2 cup of mini chocolate chips into the filling before chilling. Chocolate and pumpkin are a surprisingly good combo.
Individual Mini Cheesecakes : Use a muffin tin lined with paper liners instead of a springform pan. Press about 2 tablespoons of crust into each liner, then fill with the pumpkin mixture. Chill for at least 4 hours. These are perfect for parties—no slicing required.
Serving & Storage Suggestions
This cheesecake is best served cold, straight from the fridge. I like to let it sit at room temperature for about 10 minutes before slicing—it takes the edge off the chill and makes the texture even creamier.
Presentation : Before serving, run a thin knife around the edge of the pan to release the cheesecake from the sides. Unclasp the springform ring and remove it carefully. Transfer the cheesecake to a serving plate. Top with whipped cream, a sprinkle of cinnamon, and some crushed gingersnaps. A few candied pecans or a drizzle of caramel sauce wouldn’t hurt either.
Complementary Dishes : This cheesecake pairs beautifully with a cup of hot coffee or spiced chai tea. For a full dessert spread, serve it alongside apple crisp or a warm pumpkin bread pudding. The contrast of cold, creamy cheesecake with warm, spiced desserts is heavenly.
Storage : Cover the cheesecake with plastic wrap or store it in an airtight container in the refrigerator. It will keep for up to 5 days. The flavors actually improve after the first day, so don’t worry about making it ahead.
Freezing : This cheesecake freezes beautifully. Make it completely, including the topping, then freeze it uncovered until firm. Wrap it tightly in plastic wrap and then aluminum foil. It will keep for up to 3 months. Thaw in the refrigerator overnight before serving.
Reheating : Don’t. This is a cold dessert. If you want a warm pumpkin dessert, make my pumpkin bread instead. The beauty of this cheesecake is its cool, creamy texture.
Nutritional Information & Benefits
Here’s the thing—this is dessert, so it’s not health food. But it does have some redeeming qualities. Pumpkin is packed with vitamin A and fiber, which is nice. The cream cheese provides calcium and protein. And hey, you’re getting a serving of vegetables (sort of) in your dessert. Let’s call it a win.
Estimated Nutritional Values (per slice, 12 servings) :
- Calories: 380
- Fat: 26g
- Carbohydrates: 34g
- Protein: 5g
- Fiber: 1g
- Sugar: 24g
Dietary Considerations : This recipe contains dairy and gluten. For gluten-free and dairy-free options, see the variations section above. It’s also vegetarian-friendly.
Potential Allergens : Milk, wheat (in the gingersnaps), and possibly tree nuts depending on your garnish. Always check labels if serving to someone with allergies.
My personal philosophy? Life is short. Eat the cheesecake. Balance it out with a salad for lunch and a walk after dinner. That’s what I do, and I sleep just fine.
Conclusion
This no-bake pumpkin cheesecake with gingersnap crust is the dessert that changed my mind about pumpkin. It’s creamy, it’s spiced just right, and it comes together in under 30 minutes of active work. No oven required. No stress. Just pure, delicious fall flavor in every bite.
I love this recipe because it’s forgiving. You can tweak the spices, swap the crust, make it dairy-free—it always turns out delicious. It’s the kind of recipe you’ll come back to year after year, the kind that becomes a tradition. And honestly, that’s the highest compliment I can give a dessert.
So here’s my challenge to you: make this cheesecake. Bring it to your next gathering. Watch the skeptics take one bite and go back for seconds. And then come back here and tell me about it. I’d love to hear how it turned out, what variations you tried, and whether you converted any pumpkin-haters along the way.
Now go make some magic. Your kitchen is waiting.
Frequently Asked Questions
Can I use pumpkin pie filling instead of pumpkin puree?
No, don’t do that. Pumpkin pie filling already has sugar and spices added, which will throw off the balance of this recipe. Stick with 100% pure pumpkin puree for the best results.
How long does this cheesecake need to set?
At least 6 hours in the refrigerator. Overnight is ideal. The longer it chills, the cleaner your slices will be. If you’re in a rush, you can speed things up by placing it in the freezer for 2-3 hours, but watch it carefully so it doesn’t freeze solid.
Can I make this cheesecake without a springform pan?
Absolutely. Use a 9-inch deep-dish pie plate or a regular cake pan lined with parchment paper. If using a cake pan, leave extra parchment hanging over the edges so you can lift the cheesecake out after it’s set.
Why is my cheesecake filling runny?
This usually happens for one of three reasons: your cream cheese wasn’t fully softened, you didn’t whip the cream to stiff peaks, or you didn’t let it chill long enough. Check each of these and try again. It’s a forgiving recipe, so don’t give up.
Can I use a different cookie for the crust?
Yes! Graham crackers work well, though the flavor will be milder. Speculoos cookies (like Biscoff) are excellent and add a caramel-like warmth. Vanilla wafers or shortbread cookies are also good options. Just adjust the sugar based on how sweet your cookie of choice is.
Pin This Recipe!
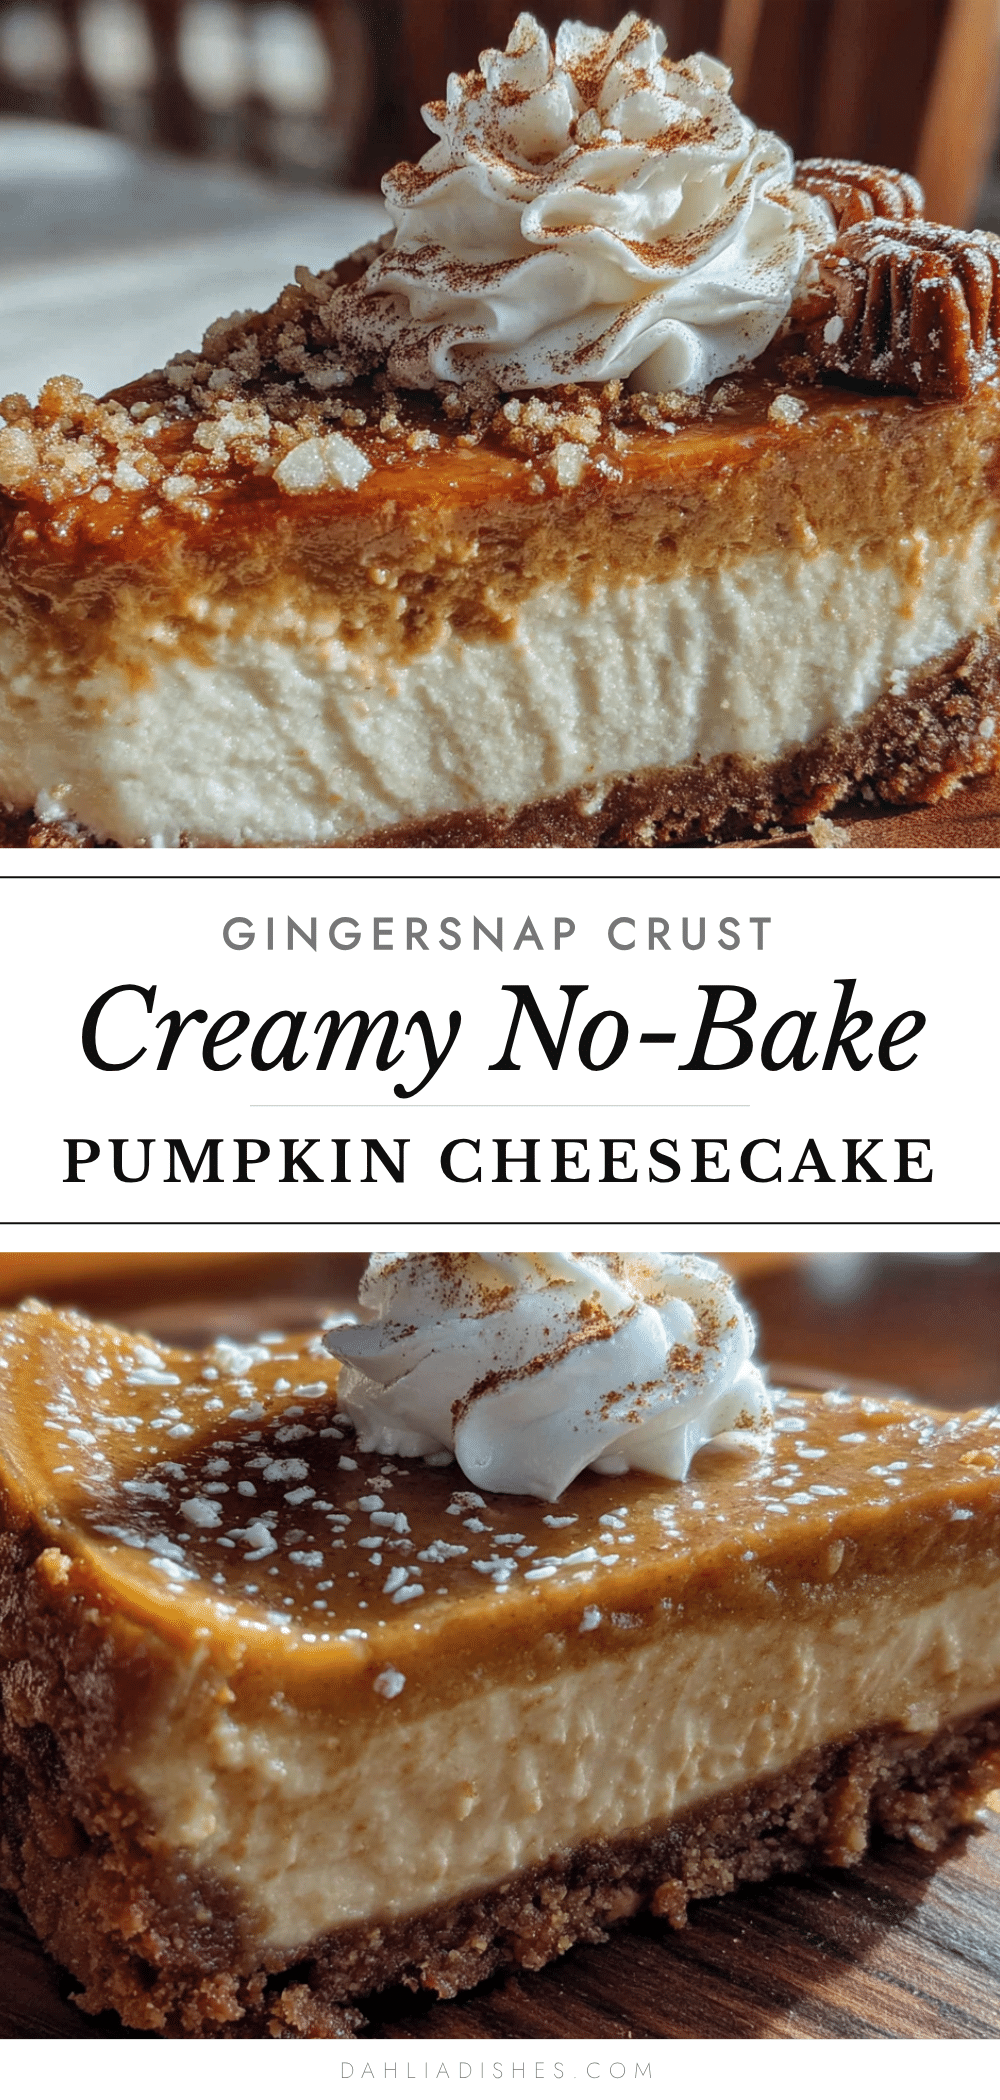
Easy No-Bake Pumpkin Cheesecake with Gingersnap Crust
A creamy, light, and sliceable no-bake pumpkin cheesecake with a spicy gingersnap crust. Perfect for fall gatherings, this dessert requires no oven and comes together in under 30 minutes of active prep time.
- Prep Time: 20 minutes
- Cook Time: 0 minutes
- Total Time: 6 hours 20 minutes (includes chilling)
- Yield: 12 servings 1x
- Category: Dessert
- Cuisine: American
Ingredients
- 2 cups (200g) gingersnap cookie crumbs
- 6 tablespoons (85g) unsalted butter, melted
- 2 tablespoons (25g) granulated sugar
- 16 ounces (450g) full-fat cream cheese, softened
- 1 cup (200g) granulated sugar
- 1 cup (245g) pumpkin puree
- 1 teaspoon vanilla extract
- 1 teaspoon ground cinnamon
- 1/2 teaspoon ground ginger
- 1/4 teaspoon ground nutmeg
- 1/4 teaspoon ground cloves
- 1/4 teaspoon salt
- 1 cup (240ml) heavy whipping cream, cold
- 1 cup (240ml) heavy whipping cream (for topping)
- 2 tablespoons powdered sugar
- 1/2 teaspoon vanilla extract
- Additional crushed gingersnaps or candied pecans (for garnish)
Instructions
- Make the crust: Crush gingersnap cookies into fine crumbs. Mix with melted butter and sugar until it resembles wet sand. Press firmly into the bottom of a 9-inch springform pan. Refrigerate while making the filling.
- Whip the heavy cream: In a large bowl, beat cold heavy cream on medium-high speed until stiff peaks form. Set aside in the fridge.
- Beat the cream cheese: In another large bowl, beat softened cream cheese with sugar until smooth and creamy, about 2 minutes.
- Add pumpkin and spices: Add pumpkin puree, vanilla extract, cinnamon, ginger, nutmeg, cloves, and salt. Beat until well combined and smooth.
- Fold in whipped cream: Gently fold the whipped cream into the pumpkin mixture in thirds until no white streaks remain.
- Assemble and chill: Pour filling over the chilled crust. Spread evenly. Cover and refrigerate for at least 6 hours, preferably overnight.
- Make the topping: About an hour before serving, beat heavy cream, powdered sugar, and vanilla extract until soft peaks form. Spread or pipe over the set cheesecake. Garnish with crushed gingersnaps or candied pecans. Slice and serve cold.
Notes
Soft cream cheese is essential for a smooth filling. Do not over-whip the cream. Chill for at least 6 hours, preferably overnight. Use a hot knife for clean slices. For gluten-free, use gluten-free gingersnaps. For dairy-free, use dairy-free cream cheese and coconut cream.
Nutrition
- Serving Size: 1 slice
- Calories: 380
- Sugar: 24
- Fat: 26
- Carbohydrates: 34
- Fiber: 1
- Protein: 5
Keywords: no-bake pumpkin cheesecake, gingersnap crust, fall dessert, pumpkin dessert, no-bake cheesecake, easy pumpkin cheesecake


