Love this? Save it for later!
Share the inspiration with your friends
It was 10:47 PM on a random Thursday, and I was hit with a craving for green bean casserole that made absolutely no sense. I mean, it was June. Not a holiday in sight. But there I was, standing in my kitchen in my pajamas, staring at a bag of frozen green beans like they held the answers to the universe. The problem was, I didn’t have a can of cream of mushroom soup — the kind my grandma always used — and I definitely didn’t have those crispy fried onions you buy in a can. What I did have was a half-bag of shallots that were starting to look a little sad, some heavy cream that needed using up, and this wild idea that maybe, just maybe, I could make my own crispy topping from scratch. My husband walked in, took one look at me chopping shallots at 11 PM, and just shook his head. “You’re doing that thing again,” he said. And honestly? He was right. But by midnight, I had a baking dish full of the most ridiculous green bean casserole I’d ever made — and it was good. Really good. The kids came running down the next morning asking what smelled so amazing, and that’s when I knew this recipe was something special. Maybe you’ve been there — that late-night kitchen energy where you just trust your gut and see what happens. This is what happened for me, and I’ve been making it ever since.
Why You’ll Love This Recipe
Look, I’m not here to tell you this is some fancy restaurant dish. This is real food for real families, and it comes together in under an hour with ingredients you probably already have. Here’s why this one’s a keeper:
- Kid-Approved Magic : My kids, who usually pick around anything green, actually asked for seconds. The crispy shallots on top? They thought they were little onion rings. I didn’t correct them.
- No Canned Soup Required : We’re making a real cream sauce from scratch — it’s easier than you think and tastes a hundred times better.
- Budget-Friendly : Green beans are cheap, shallots are affordable, and everything else is probably in your fridge right now.
- Make-Ahead Friendly : You can prep this the night before, pop it in the fridge, and bake it when you’re ready. Perfect for busy weeknights or holiday dinners.
- That Crunch Factor : The homemade fried shallots are honestly life-changing. They stay crispy even the next day, which is basically a kitchen miracle.
What makes this different from every other green bean casserole out there? It’s the texture, honestly. Most versions turn into a soggy mess, but this one has layers — tender beans, creamy sauce, and that ridiculously crunchy topping that makes you forget you’re eating vegetables. It’s comfort food that actually works for real life.
What Ingredients You Will Need
This recipe uses simple, honest ingredients that work together to create something way bigger than the sum of its parts. Nothing fancy here — just smart cooking that tastes like you spent way more effort than you actually did.
- Fresh green beans — 1 ½ pounds, ends trimmed (frozen works too, just thaw and pat dry first)
- Shallots — 4 large ones, thinly sliced into rings (these are the stars of the show)
- All-purpose flour — ½ cup for the shallots, plus 2 tablespoons for the sauce
- Unsalted butter — 4 tablespoons, divided (I use Kerrygold when I can — the flavor is just better)
- Heavy cream — 1 cup (half-and-half works in a pinch, but cream gives that velvety texture)
- Whole milk — 1 cup
- Garlic — 3 cloves, minced (fresh only, please — the jarred stuff gets weird when cooked)
- Fresh mushrooms — 8 ounces, sliced (cremini or white button both work great)
- Salt — 1 teaspoon, plus more for the shallots
- Black pepper — ½ teaspoon, freshly ground
- Nutmeg — ¼ teaspoon, freshly grated if you can (it’s a game-changer in cream sauces)
- Vegetable oil — for frying the shallots (about 2 cups, enough for shallow frying)
- Panko breadcrumbs — ½ cup, for extra crunch on top (optional but highly recommended)
For the shallots, look for ones that feel firm with papery skins — they should be about the size of a golf ball. If you can’t find shallots, thinly sliced yellow onions work in a pinch, but shallots are sweeter and crisp up better. And here’s a tip I learned the hard way: slice them as evenly as possible so they cook at the same rate. Nobody wants burnt shallots mixed with undercooked ones.
Equipment Needed
You don’t need a fancy kitchen for this one. Here’s what you’ll actually use:
- Large pot — for blanching the green beans (any big stockpot works)
- Cast iron skillet or heavy-bottomed pan — for frying shallots (the heavy bottom helps maintain even heat)
- 9×13 baking dish — or any 3-quart casserole dish
- Slotted spoon — for removing shallots from oil
- Paper towels — for draining the fried shallots
- Medium saucepan — for making the cream sauce
- Whisk — to keep the sauce smooth
- Sharp knife — a good chef’s knife makes slicing shallots so much easier
- Cutting board — preferably one that won’t slide around on you
If you don’t have a cast iron skillet, a regular frying pan works fine — just watch the heat more carefully. And if you’re short on time, you can skip the panko topping and just use extra fried shallots. I’ve done both, and honestly, both are delicious.
Preparation Method
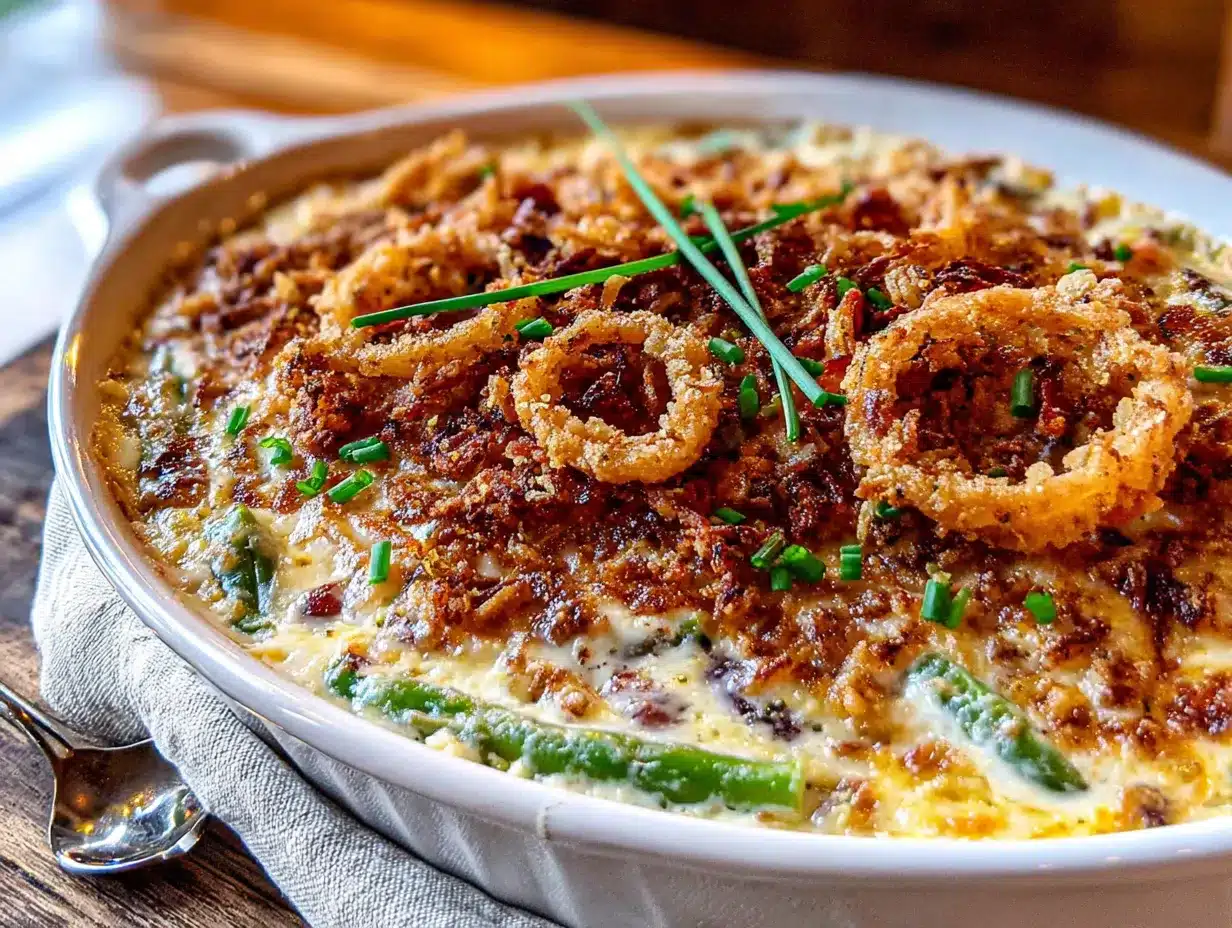
Alright, let’s get cooking. This might look like a lot of steps, but I promise it flows pretty naturally once you get going. Put on some music, pour yourself something to drink, and let’s make some magic.
- Blanch the green beans. Bring a large pot of salted water to a rolling boil. Toss in your trimmed green beans and cook for exactly 3 minutes. You want them bright green and still a little crunchy — they’ll finish cooking in the oven. Drain them and immediately plunge them into a bowl of ice water to stop the cooking. This is called “shocking” and it keeps that gorgeous green color. Drain again and pat dry with a clean kitchen towel.
- Start the fried shallots. While the beans are blanching, heat about 2 inches of vegetable oil in your cast iron skillet over medium heat. You want it around 325°F — if you don’t have a thermometer, drop a shallot piece in and see if it sizzles gently. Toss your sliced shallots in ½ cup of flour until they’re all separated and coated. Shake off the excess flour — trust me, too much flour makes them clumpy.
- Fry in batches. Carefully add the shallots to the hot oil in small batches — don’t crowd the pan. Fry for 2-3 minutes, stirring occasionally, until they’re golden brown and crispy. They’ll darken a bit after you take them out, so pull them when they’re just lighter than you want. Use your slotted spoon to transfer them to a paper towel-lined plate and sprinkle with salt immediately. Repeat with remaining shallots. Set aside.
- Cook the mushrooms. In your medium saucepan, melt 2 tablespoons of butter over medium-high heat. Add the sliced mushrooms and cook without stirring for 3 minutes — let them get some color. Then stir and cook another 3-4 minutes until they’re golden and have released their liquid. Add the minced garlic and cook for 30 seconds until fragrant. Don’t burn the garlic — it gets bitter fast.
- Make the cream sauce. Reduce the heat to medium and add the remaining 2 tablespoons of butter. Once melted, sprinkle in the 2 tablespoons of flour and whisk constantly for 1 minute — this cooks out the raw flour taste. Slowly pour in the heavy cream while whisking, then add the milk. Keep whisking until the sauce thickens, about 3-4 minutes. It should coat the back of a spoon. Season with salt, pepper, and that pinch of nutmeg.
- Combine everything. Preheat your oven to 375°F. In a large bowl, toss the blanched green beans with the mushroom cream sauce until everything is well coated. Pour into your greased 9×13 baking dish and spread it even.
- Add the topping. Sprinkle the fried shallots all over the top. If you’re using panko, mix it with a tablespoon of melted butter and sprinkle it over the shallots for extra crunch.
- Bake. Pop it in the oven for 20-25 minutes until bubbly and the top is golden brown. Let it rest for 5 minutes before serving — that’s the hardest part, I know.
One thing I learned the hard way: if you’re making this ahead, don’t add the fried shallots until right before baking. They’ll get soggy sitting in the fridge overnight, and nobody wants that.
Cooking Tips & Techniques
After making this casserole about a dozen times (yes, really), I’ve picked up a few things that make a real difference. First off, don’t skip the blanching step. I tried it once just tossing raw beans into the sauce, thinking it would save time, and ended up with crunchy, undercooked beans that nobody liked. The 3-minute blanch is non-negotiable.
For the shallots, here’s the trick: slice them as thin as you possibly can. Like, see-through thin. A mandoline slicer is great for this if you have one, but a sharp knife and patience works too. And when you’re frying them, keep the oil at a steady medium heat. If it’s too hot, they’ll burn on the outside before they’re crispy all the way through. Too cool, and they’ll absorb all the oil and turn greasy. I ruined my first batch by getting impatient and cranking up the heat — they looked beautiful for about 30 seconds, then turned into charcoal.
Another thing: taste your cream sauce before you add the beans. It should be slightly saltier than you think because the beans will absorb some of that salt. And that nutmeg? Don’t skip it. It’s not a strong flavor, but it adds this warmth that makes the whole dish feel cozy. I forgot it once and my husband asked if something was different. He couldn’t put his finger on it, but he knew.
If you’re multitasking (because when are we not?), blanch the beans while the shallots are frying. That way, everything comes together at the same time. I’ve learned to read my recipe through completely before starting — saves me from those “oh no, I need another pan” moments.
Variations & Adaptations
This recipe is pretty flexible, which is great when you’re cooking for a family with different tastes. Here are some ways I’ve changed it up:
- Make it gluten-free : Use a gluten-free all-purpose flour blend for both the shallot coating and the sauce. The texture is slightly different, but it still works beautifully. I’ve done this for my sister-in-law who has celiac, and she said it was the best green bean casserole she’d had in years.
- Add some protein : Toss in some cooked, crumbled bacon or diced ham to make it a full meal. I did this one night when I had leftover ham from Easter, and my kids devoured it. The smoky flavor with the creamy sauce is incredible.
- Cheese it up : Sprinkle ½ cup of shredded Parmesan or Gruyère over the top before adding the shallots. It gets all melty and golden and ridiculous. I do this for holiday dinners when I want to impress the in-laws.
- Vegan version : Swap the butter for vegan butter, use oat milk and coconut cream instead of dairy, and skip the eggs. The sauce won’t be quite as thick, but it’s still delicious. I made this for a friend’s vegan potluck and got asked for the recipe three times.
- Spice it up : Add a pinch of red pepper flakes to the cream sauce for a little heat. My husband loves this version — he says it wakes up the whole dish.
My personal favorite variation? I once added a handful of crispy bacon bits and some shredded sharp cheddar on top before the shallots. It was pure chaos in the best way possible. The kids still talk about “that one time mom made the fancy green beans.”
Serving & Storage Suggestions
This casserole is best served hot, straight out of the oven, with that top still crispy and the sauce bubbling around the edges. Let it rest for 5 minutes — I know it’s hard, but the sauce needs to set a little so it doesn’t run all over the plate. I like to serve it alongside a simple roast chicken or some pan-seared pork chops. It also works great as a Thanksgiving side dish — it actually holds up better than traditional green bean casserole because the sauce is thicker.
For leftovers (if you have any), store them in an airtight container in the fridge for up to 4 days. The shallots will lose some of their crunch, but the flavor gets even better overnight — the sauce really soaks into the beans. To reheat, pop it in a 350°F oven for about 15 minutes, or microwave individual portions for 1-2 minutes. If you want that crunch back, sprinkle some fresh fried shallots on top before reheating.
You can also freeze this casserole! Assemble it completely but don’t bake it. Wrap the dish tightly in plastic wrap and then foil, and freeze for up to 3 months. When you’re ready, thaw it in the fridge overnight, then bake as directed, adding about 10 extra minutes since it’ll be cold going in. I’ve done this for holiday meal prep, and it’s a lifesaver.
The flavors definitely develop over time — day-old casserole is actually my favorite way to eat it. The sauce gets thicker and the beans absorb all that creamy goodness. Just don’t expect leftovers to last very long with hungry kids around.
Nutritional Information & Benefits
Per serving (about 1 cup, based on 8 servings): approximately 290 calories, 18g fat, 10g saturated fat, 28g carbohydrates, 6g fiber, 8g protein, 450mg sodium. These numbers will vary based on exact ingredients and portion sizes, but it’s a reasonable estimate.
The green beans are the real hero here — they’re packed with vitamin K, vitamin C, and fiber, which is great for digestion and immune health. Shallots are rich in antioxidants and have antibacterial properties, plus they add that amazing flavor without needing a ton of salt. And while this isn’t exactly health food (we’re using cream and butter here, let’s be real), it’s definitely a better option than the canned soup version. You’re getting real vegetables, homemade sauce, and no weird preservatives.
If you’re watching your sodium, use unsalted butter and go light on the added salt — the shallots provide plenty of flavor on their own. And for a lighter version, you can swap the heavy cream for half-and-half and use less butter in the sauce. It won’t be as rich, but it’ll still be delicious.
This recipe contains dairy and gluten. For dairy-free, use the vegan adaptations mentioned above. For gluten-free, use a gluten-free flour blend. Always check your ingredient labels if cooking for someone with allergies.
Conclusion
This green bean casserole has become a staple in our house, and I honestly think it’s because it doesn’t try to be fancy. It’s just good, honest food made with a little bit of late-night creativity and a whole lot of love. The crispy shallots, the creamy sauce, the tender beans — it all comes together in a way that makes you forget you’re eating your vegetables.
I’d love for you to try this and make it your own. Maybe your kids will love it as much as mine do, or maybe you’ll find your own variation that becomes a family tradition. That’s the beautiful thing about cooking — every batch is a little different, and that’s exactly how it should be. Drop a comment below and let me know how it turned out, or tag me in your photos if you share them online. Happy cooking, friends!
Frequently Asked Questions
Can I use frozen green beans instead of fresh?
Absolutely! Thaw them first and pat them dry really well with paper towels. You can skip the blanching step since frozen beans are already partially cooked. Just toss them directly into the sauce and proceed with the recipe.
How do I keep the fried shallots crispy?
The key is frying them at the right temperature (around 325°F) and draining them well on paper towels. Also, don’t add them to the casserole until right before baking — if you prep ahead, store them separately in an airtight container at room temperature for up to 2 days.
Can I make this casserole ahead of time?
Yes! Assemble everything except the fried shallot topping up to 24 hours in advance. Cover and refrigerate. When you’re ready, add the shallots and bake as directed, adding 5-10 extra minutes since the dish will be cold.
What can I use instead of shallots?
Thinly sliced yellow onions are the best substitute. They won’t be quite as sweet or crispy, but they’ll still be delicious. You can also use store-bought crispy fried onions in a pinch — just look for ones that are actually crispy, not stale.
Is this recipe freezer-friendly?
It sure is! Assemble the casserole without the shallot topping, wrap it well, and freeze for up to 3 months. Thaw overnight in the fridge, add the shallots, and bake. The texture won’t be quite as perfect as fresh, but it’s still really good — especially for busy weeknights.
Pin This Recipe!
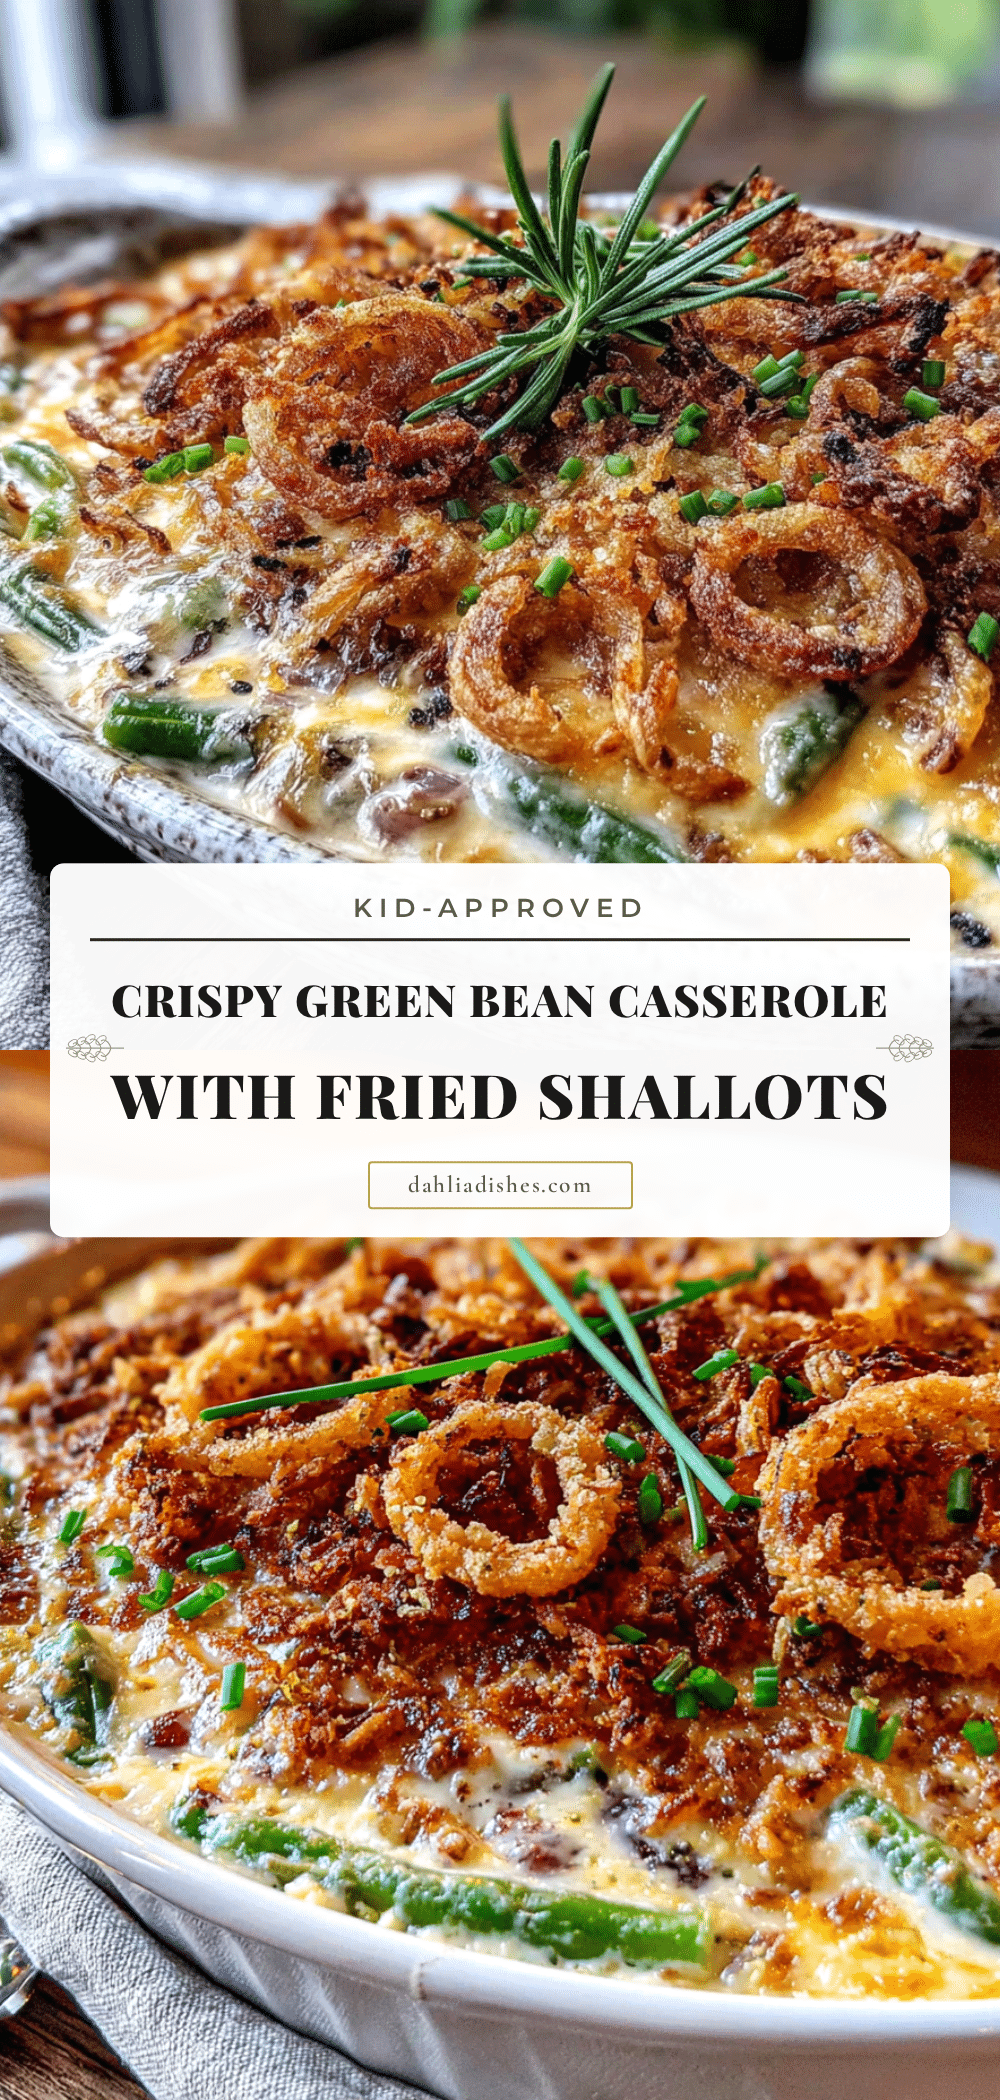
Kid-Approved Crispy Green Bean Casserole with Easy Fried Shallots

A homemade green bean casserole with a creamy from-scratch sauce and crispy fried shallots, perfect for family dinners or holiday gatherings. This kid-approved recipe is budget-friendly, make-ahead friendly, and delivers incredible crunch without canned soup.
- Prep Time: 20 minutes
- Cook Time: 30 minutes
- Total Time: 50 minutes
- Yield: 8 servings 1x
- Category: Side Dish
- Cuisine: American
Ingredients
- 1 ½ pounds fresh green beans, ends trimmed (frozen works too, just thaw and pat dry first)
- 4 large shallots, thinly sliced into rings
- ½ cup all-purpose flour (for the shallots), plus 2 tablespoons for the sauce
- 4 tablespoons unsalted butter, divided
- 1 cup heavy cream
- 1 cup whole milk
- 3 cloves garlic, minced
- 8 ounces fresh mushrooms, sliced (cremini or white button)
- 1 teaspoon salt, plus more for the shallots
- ½ teaspoon black pepper, freshly ground
- ¼ teaspoon nutmeg, freshly grated if possible
- Vegetable oil, for frying the shallots (about 2 cups)
- ½ cup panko breadcrumbs, optional for extra crunch
Instructions
- Blanch the green beans: Bring a large pot of salted water to a rolling boil. Add trimmed green beans and cook for exactly 3 minutes. Drain and immediately plunge into a bowl of ice water to stop cooking. Drain again and pat dry.
- Start the fried shallots: While beans blanch, heat about 2 inches of vegetable oil in a cast iron skillet over medium heat to 325°F. Toss sliced shallots in ½ cup flour until separated and coated. Shake off excess flour.
- Fry in batches: Carefully add shallots to hot oil in small batches. Fry for 2-3 minutes, stirring occasionally, until golden brown and crispy. Transfer to a paper towel-lined plate and sprinkle with salt immediately. Repeat with remaining shallots. Set aside.
- Cook the mushrooms: In a medium saucepan, melt 2 tablespoons butter over medium-high heat. Add sliced mushrooms and cook without stirring for 3 minutes. Stir and cook another 3-4 minutes until golden. Add minced garlic and cook for 30 seconds until fragrant.
- Make the cream sauce: Reduce heat to medium. Add remaining 2 tablespoons butter. Once melted, sprinkle in 2 tablespoons flour and whisk constantly for 1 minute. Slowly pour in heavy cream while whisking, then add milk. Keep whisking until sauce thickens, about 3-4 minutes. Season with salt, pepper, and nutmeg.
- Combine everything: Preheat oven to 375°F. In a large bowl, toss blanched green beans with mushroom cream sauce until well coated. Pour into a greased 9×13 baking dish and spread evenly.
- Add the topping: Sprinkle fried shallots all over the top. If using panko, mix with 1 tablespoon melted butter and sprinkle over shallots.
- Bake: Bake for 20-25 minutes until bubbly and top is golden brown. Let rest for 5 minutes before serving.
Notes
For make-ahead: assemble without fried shallots, cover, and refrigerate up to 24 hours. Add shallots before baking and add 5-10 extra minutes. For freezing: assemble without shallots, wrap tightly, freeze up to 3 months. Thaw overnight in fridge, add shallots, and bake. To keep shallots crispy, fry at 325°F and drain well. Do not add shallots until right before baking if prepping ahead.
Nutrition
- Serving Size: 1 cup
- Calories: 290
- Sugar: 6
- Sodium: 450
- Fat: 18
- Saturated Fat: 10
- Carbohydrates: 28
- Fiber: 6
- Protein: 8
Keywords: green bean casserole, crispy shallots, homemade cream sauce, kid-friendly, Thanksgiving side dish, comfort food, make-ahead casserole


