Love this? Save it for later!
Share the inspiration with your friends
It was 11:47 PM on a random Wednesday, and I was hit with a craving for something crispy, sticky, and savory-sweet. I didn’t have the energy for a multi-step recipe—the kind that calls for shallow frying, then a separate sauce, then more cleanup. But I had chicken thighs in the fridge, a head of garlic that was starting to sprout, and a bottle of honey that was almost empty. The idea that arrived was simple: throw everything on a sheet pan and let the oven do the heavy lifting. I mean, honestly, it felt almost too easy to work. But that late-night desperation—the kind where you’re too tired to overthink—pushed me forward.
I tossed the chicken with soy sauce, a little oil, and some garlic, then slid it into the oven. Twenty minutes later, I brushed on a honey glaze and cranked the heat. The smell that filled my kitchen was ridiculous—like a takeout restaurant had somehow set up shop in my tiny apartment. Let me tell you, I almost burned my tongue on the first piece because I couldn’t wait. The skin was shatteringly crisp, the meat was juicy, and that sticky garlic honey coating? Absolute gold.
That night, standing over the pan in my pajamas, I knew I had stumbled onto something worth sharing. It’s become my go-to for nights when I want big flavor without the big effort. If you’ve ever wanted a dinner that feels fancy but takes almost no work, you’re in the right place.
Why You’ll Love This Recipe
This isn’t just another chicken recipe—it’s the one that’ll earn a permanent spot in your dinner rotation. Here’s why you’ll absolutely love it:
- Quick & Easy: From fridge to table in under 40 minutes, with just 10 minutes of active prep. Perfect for those nights when you’re short on time but still want something special.
- Simple Ingredients: You probably already have most of these in your pantry—chicken, honey, soy sauce, garlic. No fancy grocery runs required.
- Perfect for Hosting: This dish is a showstopper at dinner parties or potlucks. The sticky glaze and crispy skin look impressive, but you barely broke a sweat making it. Your guests will think you spent hours in the kitchen.
- Crowd-Pleaser: Kids love the sweet honey flavor, and adults appreciate the savory garlic kick. It’s that rare dish that makes everyone happy.
- Unbelievably Delicious: The contrast between the crispy skin and the sticky, caramelized glaze is next-level comfort food. Seriously, you’ll want to lick the pan.
What makes this recipe different from all the others? It’s the technique. Most sheet pan chicken recipes end up with soggy skin, but here we use a two-temperature method—starting high to crisp the skin, then finishing with a glaze under the broiler. I tested this at least a dozen times to get that perfect balance of crunch and stickiness. It’s not just another version; it’s my best version.
This recipe is comfort food reimagined—faster, easier, but with the same soul-soothing satisfaction. It’s perfect for impressing guests without stress, or turning a simple Tuesday dinner into something memorable.
What Ingredients You Will Need
This recipe uses simple, wholesome ingredients to deliver bold flavor and satisfying texture without the fuss. Most of these are pantry staples, which makes this dish perfect for last-minute hosting.
- Bone-in, skin-on chicken thighs (6-8 thighs, about 2.5 lbs) — The bone keeps the meat juicy, and the skin gets gloriously crispy. I prefer thighs from Bell & Evans or Mary’s Free Range for the best flavor and texture.
- Honey (1/3 cup) — Use a good-quality honey for the best flavor. Local honey adds a lovely floral note, but any pure honey works. Avoid the stuff that’s blended with corn syrup—it won’t caramelize properly.
- Soy sauce (3 tablespoons) — This provides the savory backbone that balances the sweetness. I use Kikkoman low-sodium soy sauce to control the salt level. Tamari or coconut aminos work great for gluten-free options.
- Garlic (6 cloves, minced) — Fresh garlic is non-negotiable here. The pre-minced stuff in a jar lacks the punch we need. Look for firm, plump cloves without green sprouts.
- Olive oil (2 tablespoons) — Helps the skin crisp up and carries the flavors. Extra virgin is fine, but regular olive oil works just as well.
- Rice vinegar (1 tablespoon) — Adds a touch of acidity that cuts through the richness. Apple cider vinegar is a good substitute in a pinch.
- Cornstarch (1 teaspoon) — This is the secret to a glossy, thick glaze that clings to the chicken. Don’t skip it!
- Salt and black pepper (to taste) — Simple seasoning that enhances everything.
- Optional garnish: Sliced green onions and sesame seeds for a pop of color and freshness.
Pro tip: For the crispiest skin, pat the chicken thighs dry with paper towels before seasoning. Moisture is the enemy of crispiness!
Equipment Needed
You don’t need a lot of fancy gear for this recipe, which is part of its beauty. Here’s what you’ll need:
- Sheet pan (half-sheet, 18×13 inches) — A rimmed baking sheet is essential to catch all the juices. I love my Nordic Ware aluminum sheet pans—they heat evenly and don’t warp. If you don’t have one, any rimmed baking pan will work, just avoid nonstick ones that might scratch.
- Parchment paper or aluminum foil — Line your pan for easy cleanup. Trust me, you’ll thank yourself later.
- Mixing bowl (medium) — For tossing the chicken with the marinade.
- Small saucepan — For making the glaze. A 1-quart pan is perfect.
- Whisk — To combine the glaze ingredients smoothly.
- Pastry brush — For brushing the glaze onto the chicken. A silicone brush is easier to clean than a natural-bristle one.
- Meat thermometer — The most reliable way to know your chicken is done. I use a ThermoPro instant-read thermometer—it’s affordable and accurate.
- Tongs — For flipping the chicken without piercing the skin.
Budget-friendly tip: If you don’t have a pastry brush, use the back of a spoon to spread the glaze. It’s not as neat, but it works just fine.
Preparation Method
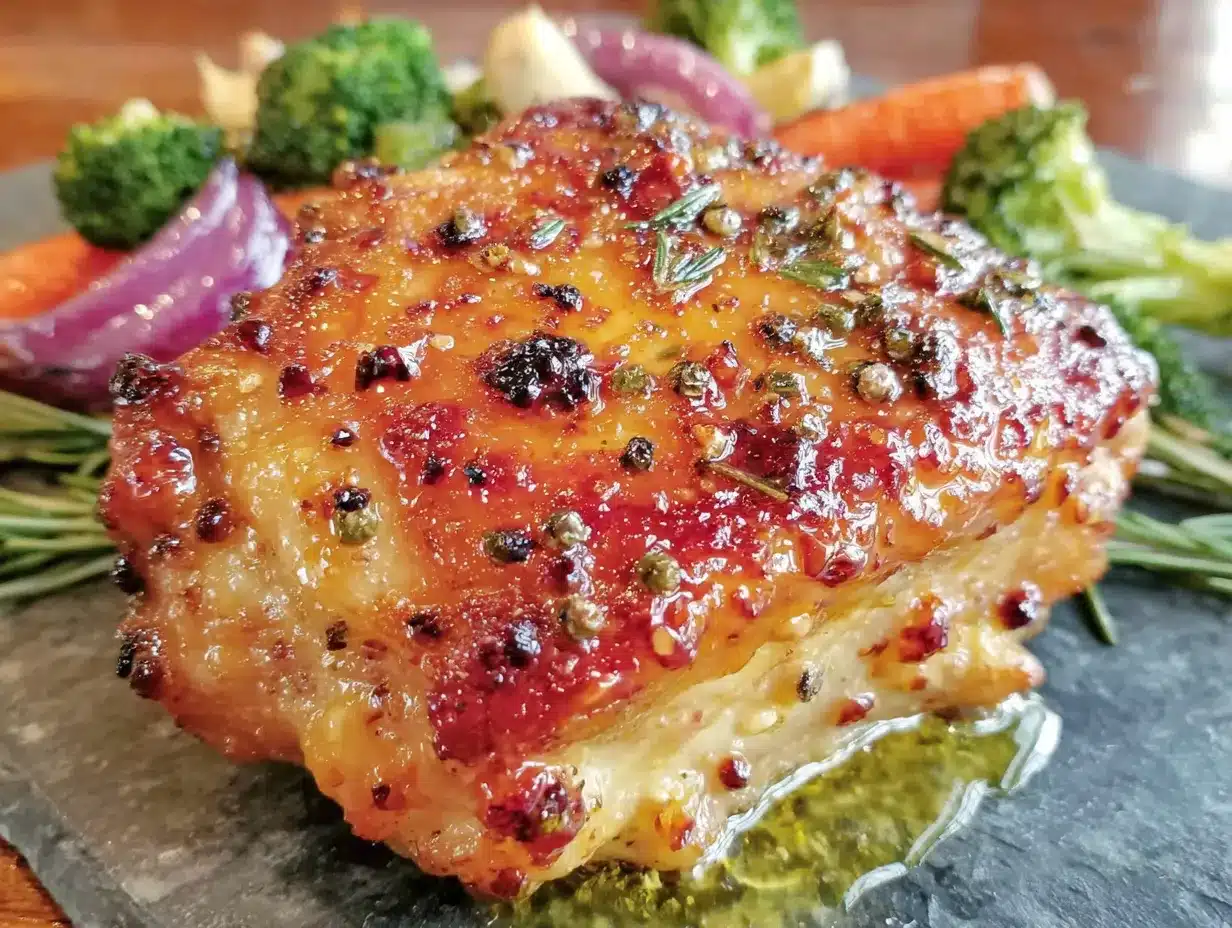
- Preheat your oven to 425°F (220°C). Line a sheet pan with parchment paper or foil for easy cleanup. Place the pan in the oven while it preheats—this helps the chicken skin start crisping the moment it hits the pan.
- Pat the chicken thighs dry with paper towels. This step is crucial for crispy skin. Place the thighs in a large mixing bowl and season generously with salt and pepper on both sides.
- Make the marinade: In a small bowl, whisk together 2 tablespoons of olive oil, 2 tablespoons of soy sauce, and the minced garlic. Pour this over the chicken and toss to coat evenly. Let it sit at room temperature for 10 minutes while the oven finishes preheating.
- Arrange the chicken on the hot sheet pan skin-side down. Be careful—the pan is hot! Leave a little space between each thigh so they brown instead of steam. Roast for 15 minutes.
- While the chicken roasts, make the glaze: In a small saucepan, combine 1/3 cup honey, 1 tablespoon soy sauce, 1 tablespoon rice vinegar, and 1 teaspoon cornstarch. Whisk until smooth, then bring to a simmer over medium heat. Cook for 2-3 minutes, stirring constantly, until the glaze thickens slightly. Remove from heat.
- Flip the chicken using tongs. Brush the tops (skin-side up) generously with the glaze. Return the pan to the oven and roast for another 10 minutes.
- Brush with more glaze and switch the oven to broil. Broil for 2-3 minutes, watching closely, until the glaze is bubbly and caramelized. The skin should be deep golden brown and crispy.
- Check for doneness: The internal temperature should reach 165°F (74°C) at the thickest part of the thigh. If it’s not there yet, return to the oven for another 2-3 minutes.
- Rest for 5 minutes before serving. This allows the juices to redistribute and the glaze to set. Sprinkle with sliced green onions and sesame seeds if desired.
Sensory cue: At the broiling stage, you’ll hear the glaze sizzling and see it bubbling into dark, sticky patches. The kitchen will smell like a honey-garlic dream—sweet, savory, and slightly smoky. That’s when you know it’s perfect.
Cooking Tips & Techniques
After making this recipe more times than I can count, I’ve learned a few tricks that make all the difference. Here are my best tips:
- Don’t skip the preheated pan. I learned this the hard way after a batch of soggy-skinned chicken. A hot pan gives the skin an immediate sear, which locks in moisture and starts the crisping process.
- Pat those thighs dry. I know I said it already, but it bears repeating. Any moisture on the skin will steam instead of crisp. Use a few paper towels and really press them dry.
- Watch the broiler like a hawk. Honey burns quickly under high heat. I once got distracted by my phone and ended up with charcoal chicken. Set a timer for 2 minutes and stay nearby.
- Double the glaze if you’re serving a crowd. The recipe makes just enough for a generous coating, but if you’re making a double batch, increase the glaze ingredients by 1.5 times to ensure every piece gets coated.
- Let the chicken rest. I know it’s tempting to dig in immediately, but those 5 minutes of rest allow the juices to settle. Cut into it too soon, and you’ll end up with dry meat and a puddle on your plate.
- Use a meat thermometer. Don’t rely on visual cues alone. Chicken can look golden and crispy on the outside but still be undercooked near the bone. A thermometer takes the guesswork out.
One failure I’ll admit: The first time I made this, I used skinless thighs because I thought they were healthier. Big mistake. The skin is what makes this dish special—it gets shatteringly crisp and acts as a sponge for the glaze. Don’t skip it.
Variations & Adaptations
This recipe is incredibly versatile. Here are some ways to make it your own:
- Spicy Honey Garlic: Add 1 teaspoon of red pepper flakes or sriracha to the glaze. The heat cuts through the sweetness beautifully. I tried this after a friend suggested it, and now it’s my go-to version.
- Lemon Garlic: Replace the rice vinegar with fresh lemon juice and add a teaspoon of lemon zest to the glaze. The citrus brightens everything up—perfect for spring dinners.
- Gluten-Free: Use tamari or coconut aminos instead of soy sauce. The flavor is slightly different but equally delicious. I’ve served this to gluten-sensitive guests without any complaints.
- Maple Dijon: Swap the honey for maple syrup and add 1 tablespoon of Dijon mustard to the glaze. The mustard adds a tangy complexity that’s fantastic with roasted vegetables.
- Sheet Pan Veggie Add-On: Toss broccoli florets or green beans with olive oil and salt, then add them to the pan during the last 15 minutes of roasting. Everything cooks together, and the veggies soak up the extra glaze.
Personal variation: I once added a splash of bourbon to the glaze on a whim. It added a smoky depth that was incredible. Just be careful—the alcohol can cause flare-ups under the broiler, so keep a close eye on it.
Serving & Storage Suggestions
This dish is incredibly versatile when it comes to serving. Here’s how to make the most of it:
- Serving temperature: Serve the chicken hot, straight from the oven. The glaze is at its stickiest and the skin at its crispiest right after resting.
- Presentation: Arrange the thighs on a platter, drizzle with any remaining pan juices, and sprinkle with sliced green onions and sesame seeds. The contrast of dark, glossy chicken against bright green onions is gorgeous.
- What to serve alongside: Steamed jasmine rice is a classic choice—it soaks up the extra glaze beautifully. For a low-carb option, serve with cauliflower rice or a simple green salad. Roasted broccoli or sautéed green beans also pair wonderfully.
- Storage: Store leftovers in an airtight container in the refrigerator for up to 4 days. The skin will lose its crispness, but the flavor remains fantastic.
- Reheating: For best results, reheat in a 350°F (175°C) oven for 10-15 minutes. This helps restore some of the crispiness. Avoid the microwave—it turns the skin rubbery.
- Freezing: You can freeze the cooked chicken for up to 3 months. Wrap each thigh individually in plastic wrap, then place in a freezer bag. Thaw overnight in the refrigerator before reheating.
Flavor development note: The glaze intensifies overnight. Leftovers actually taste even better the next day, making this a great make-ahead option for busy weeks.
Nutritional Information & Benefits
Here’s the estimated nutritional breakdown per serving (based on 6 servings):
| Nutrient | Amount |
|---|---|
| Calories | 385 |
| Protein | 28g |
| Fat | 22g |
| Carbohydrates | 16g |
| Fiber | 0g |
| Sugar | 15g |
| Sodium | 620mg |
Health benefits: Chicken thighs are a great source of protein, iron, and B vitamins, which support energy metabolism. Honey provides antioxidants and has natural antibacterial properties. Garlic is known for its immune-boosting compounds. While this dish isn’t low-calorie, it’s a satisfying, nutrient-dense meal that fits well into a balanced diet.
Dietary considerations: This recipe is naturally dairy-free and can be made gluten-free with simple substitutions. It’s not suitable for a low-fat diet due to the skin, but the fat is what makes it so satisfying.
Conclusion
This Crispy Honey Garlic Sheet Pan Chicken Thighs recipe is proof that you don’t need complicated techniques or fancy ingredients to make something truly memorable. It’s the kind of dish that makes you look like a hero in the kitchen—whether you’re feeding your family on a busy weeknight or hosting a dinner party with friends.
I love this recipe because it delivers on every level: the crackling skin, the sticky-sweet glaze, the tender meat that falls off the bone. And the best part? It all happens on one pan, with minimal cleanup. That’s a win in my book.
I’d love to hear how this recipe turns out for you! Did you try any variations? What did you serve alongside it? Drop a comment below and share your experience. And if you loved it as much as I do, don’t forget to share this post with your fellow food-loving friends. Happy cooking!
Frequently Asked Questions
Can I use chicken breasts instead of thighs?
Yes, but the results won’t be as juicy. Chicken breasts cook faster and can dry out more easily. If you use boneless, skinless breasts, reduce the initial roasting time to 12 minutes and check the internal temperature early.
How do I prevent the honey from burning?
The key is to add the glaze later in the cooking process and watch the broiler closely. If you notice the glaze darkening too quickly, move the pan to a lower rack or reduce the broiler heat.
Can I make this recipe ahead of time?
Absolutely! You can prep the chicken and glaze up to 24 hours in advance. Store the marinated chicken in the fridge and the glaze in a separate container. When ready to cook, let the chicken sit at room temperature for 15 minutes before roasting.
What if I don’t have a sheet pan?
Any rimmed baking dish will work, though the results may vary slightly. A glass or ceramic dish will retain more moisture, so the skin might not get as crispy. For best results, use a metal pan.
Can I double this recipe for a party?
Yes! Just make sure not to overcrowd the pan. Use two sheet pans if needed, and rotate them halfway through cooking. Double the glaze ingredients to ensure every piece gets coated.
Pin This Recipe!
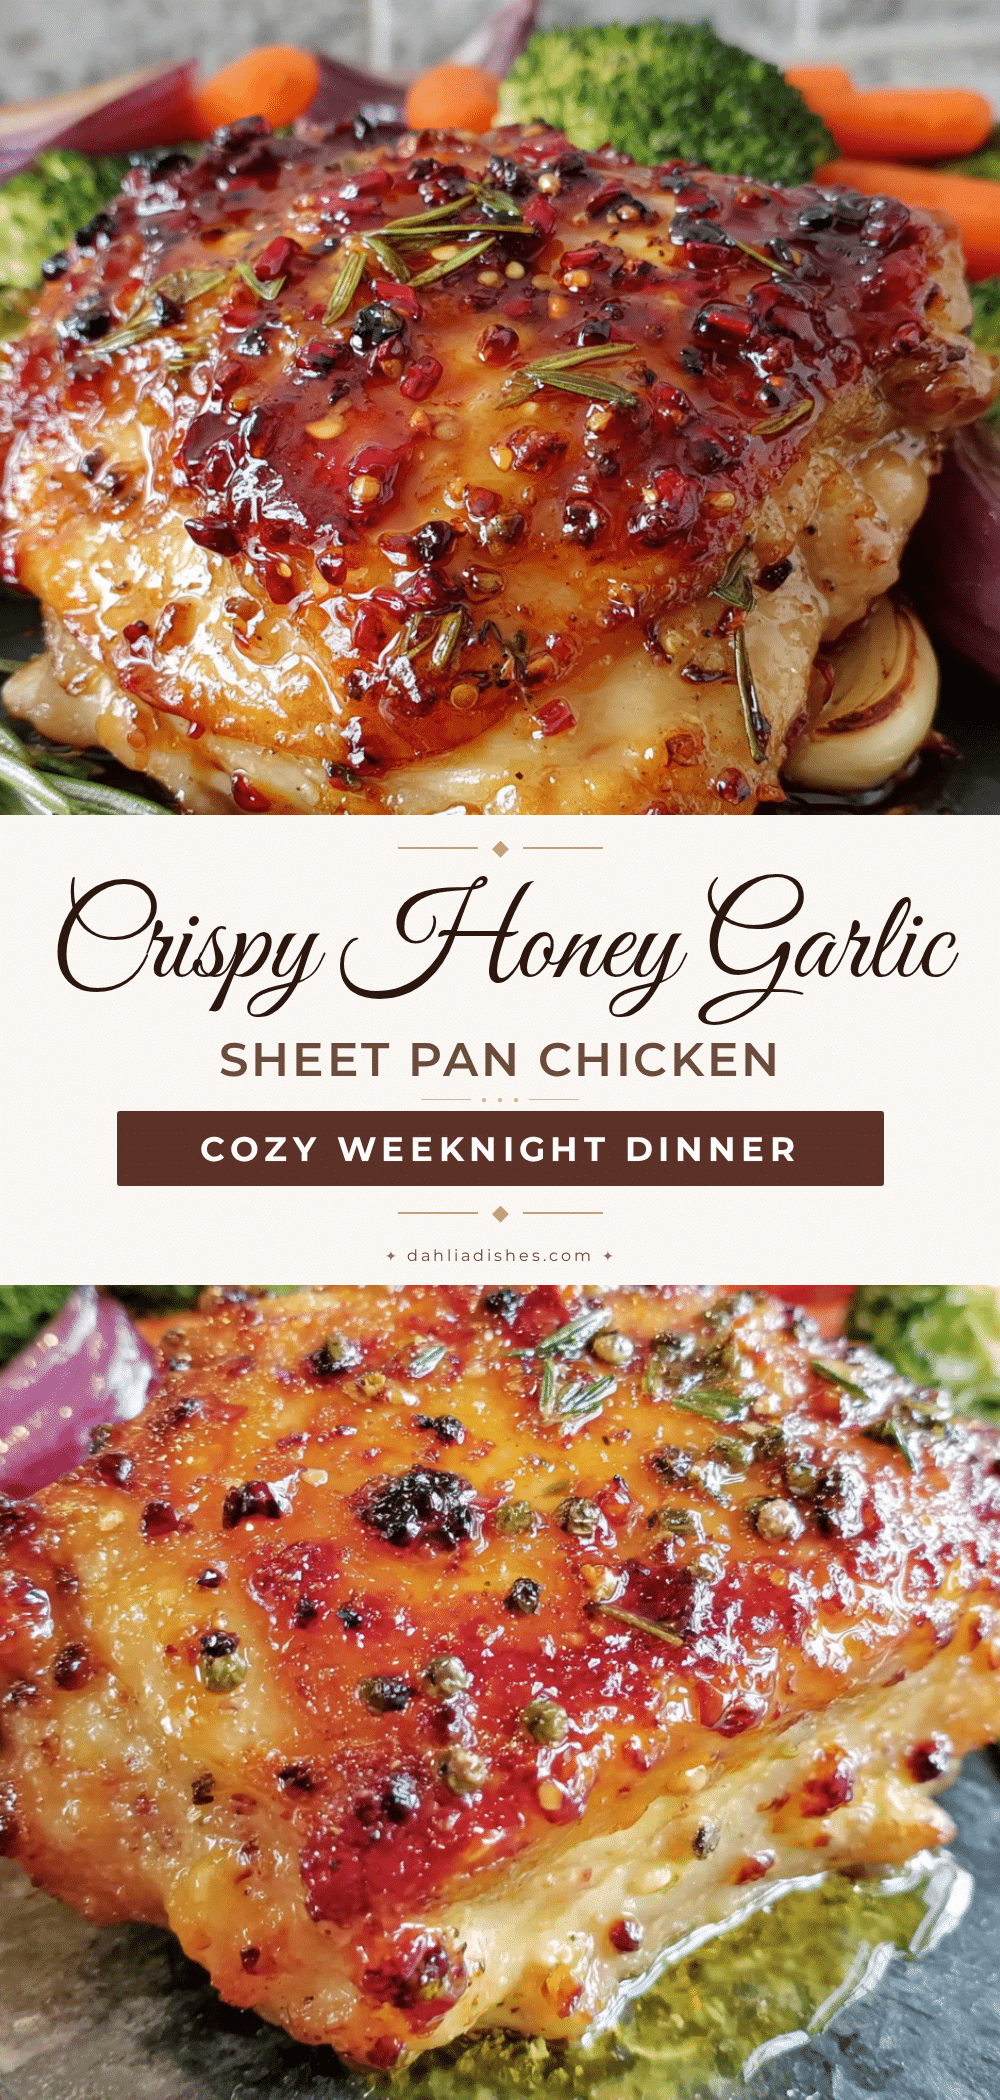
Crispy Honey Garlic Sheet Pan Chicken Thighs (Easy Dinner)

This easy sheet pan recipe delivers crispy, sticky, and savory-sweet chicken thighs with a honey garlic glaze. Perfect for busy weeknights or impressing guests with minimal effort.
- Prep Time: 10 minutes
- Cook Time: 30 minutes
- Total Time: 40 minutes
- Yield: 6 servings 1x
- Category: Main Course
- Cuisine: American
Ingredients
- 6–8 bone-in, skin-on chicken thighs (about 2.5 lbs)
- 1/3 cup honey
- 3 tablespoons soy sauce (low-sodium recommended)
- 6 cloves garlic, minced
- 2 tablespoons olive oil
- 1 tablespoon rice vinegar
- 1 teaspoon cornstarch
- Salt and black pepper to taste
- Optional: sliced green onions and sesame seeds for garnish
Instructions
- Preheat oven to 425°F (220°C). Line a sheet pan with parchment paper or foil and place it in the oven to preheat.
- Pat chicken thighs dry with paper towels. Season generously with salt and pepper on both sides.
- In a small bowl, whisk together olive oil, 2 tablespoons soy sauce, and minced garlic. Pour over chicken and toss to coat. Let sit at room temperature for 10 minutes.
- Arrange chicken skin-side down on the hot sheet pan, leaving space between pieces. Roast for 15 minutes.
- Meanwhile, in a small saucepan, combine honey, remaining 1 tablespoon soy sauce, rice vinegar, and cornstarch. Whisk until smooth, then bring to a simmer over medium heat. Cook for 2-3 minutes, stirring constantly, until thickened. Remove from heat.
- Flip chicken using tongs. Brush tops (skin-side up) generously with glaze. Return to oven and roast for another 10 minutes.
- Brush with more glaze and switch oven to broil. Broil for 2-3 minutes, watching closely, until glaze is bubbly and caramelized and skin is deep golden brown and crispy.
- Check internal temperature: should reach 165°F (74°C) at thickest part. If not, return to oven for 2-3 more minutes.
- Let rest for 5 minutes before serving. Sprinkle with green onions and sesame seeds if desired.
Notes
For crispiest skin, pat chicken thighs dry before seasoning. Watch broiler closely to prevent honey from burning. Let chicken rest 5 minutes before serving to allow juices to redistribute. Leftovers can be stored in an airtight container in the refrigerator for up to 4 days; reheat in a 350°F oven for 10-15 minutes.
Nutrition
- Serving Size: 1 thigh
- Calories: 385
- Sugar: 15
- Sodium: 620
- Fat: 22
- Saturated Fat: 6
- Carbohydrates: 16
- Protein: 28
Keywords: sheet pan chicken, honey garlic chicken, crispy chicken thighs, easy dinner, weeknight dinner, one pan meal


