Love this? Save it for later!
Share the inspiration with your friends
I used to think banana bread was a consolation prize. You know, the thing you bake when you don’t have enough ingredients for actual cake? The loaf that sits there looking humble while everyone secretly wishes for chocolate chip cookies. Honestly, I spent years avoiding the recipe altogether. Then last Tuesday happened. My neighbor Maria knocked on my door holding three spotty bananas and a bag of walnuts she’d bought on a whim. “I don’t bake,” she said, shoving them into my hands. “You figure it out.” So I did. I pulled out a bowl, grabbed a fork, and decided to prove a point to myself — that banana bread could be worth getting excited about.
The thing is, I wasn’t trying to convert anyone. I was just making a quick loaf to use up those sad bananas before they attracted fruit flies. But somewhere between mashing them with the back of that fork and catching the first whiff of cinnamon filling my kitchen, something clicked. This wasn’t just banana bread. This was the kind of warm, tender, nutty situation that makes you close your eyes on the first bite. Maria came back an hour later to collect her bowl and found me cutting a second slice. I didn’t even have the decency to look guilty.
Maybe you’ve been there — underestimating something simple until it proves you wrong. That’s this banana bread. It’s one bowl, no mixer, zero fuss. But it delivers that cozy, nostalgic feeling we’re all chasing on a cold evening or a rough day. I keep making it because it reminds me that sometimes the best things aren’t complicated. They’re just perfectly timed.
Why You’ll Love This Recipe
Look, I’ve tested a lot of banana bread recipes over the years. Some were too dry. Some were too sweet. Some required pulling out a stand mixer and three separate bowls, which honestly defeats the purpose of a weeknight baking project. This one is different, and here’s why it’s earned a permanent spot in my rotation.
- One Bowl, No Mixer: You don’t need a stand mixer, a hand mixer, or even a whisk if you’re feeling lazy. Just a bowl and a fork. That’s it. Cleanup takes about forty-five seconds.
- Simple Ingredients: Butter, sugar, eggs, bananas, flour, baking soda, salt, walnuts. Chances are you have most of these in your kitchen right now. No fancy extracts, no obscure flours, no trips to a specialty grocery store.
- Perfect for Cozy Evenings: This is the kind of baking you do when the weather turns cold, or you’ve had a rough day, or you just want the house to smell like comfort. It’s a slow, soothing process that rewards you with something warm to eat within an hour.
- Crowd-Pleaser: I brought this to a family gathering last month, expecting it to be ignored next to a chocolate cake. It was gone before the cake was even sliced. Kids love it. Adults love it. Even my uncle who “doesn’t do walnuts” had two pieces.
- Unbelievably Tender: The secret is in how you mash the bananas and how you fold the walnuts. The texture is moist without being gummy, with little pockets of toasted walnut in every bite. It’s next-level comfort food hiding in a humble loaf pan.
This isn’t just another banana bread recipe. It’s the one I reach for when I want something that feels like a hug. And honestly, after that first bite, you’ll understand why.
What Ingredients You Will Need
This recipe relies on simple, wholesome ingredients that work together to create that perfect moist crumb and nutty crunch. No surprises here — just pantry staples that deliver big flavor without the fuss.
- Unsalted butter, melted (1/2 cup or 1 stick) — Adds richness and moisture. I prefer salted butter in a pinch, just reduce the added salt slightly. Let it cool for a minute after melting so it doesn’t scramble the eggs.
- Granulated sugar (3/4 cup) — Just enough sweetness to balance the bananas. You can reduce this to 1/2 cup if your bananas are very ripe and sweet.
- Large eggs (2, room temperature) — Helps bind everything together. If you forget to take them out ahead of time, place them in a bowl of warm water for 5 minutes.
- Ripe bananas (3 medium, mashed) — The darker and spottier, the better. Seriously, the ones you’re about to throw away are perfect. Mash them well with a fork until mostly smooth with a few small lumps for texture.
- Vanilla extract (1 teaspoon) — Adds warmth and depth. Use pure vanilla if you have it, but imitation works fine here too.
- All-purpose flour (1 1/2 cups) — The backbone of the bread. Spoon and level it into your measuring cup — don’t scoop directly or you’ll pack in too much flour and end up with dry bread.
- Baking soda (1 teaspoon) — The only leavening agent you need. Make sure it’s fresh — if it doesn’t fizz when mixed with a little vinegar, toss it.
- Salt (1/2 teaspoon) — Balances the sweetness and brings out the banana flavor. I use fine sea salt here.
- Ground cinnamon (1 teaspoon) — Optional but highly recommended. It makes the kitchen smell like heaven and complements the bananas beautifully.
- Walnuts, chopped (1 cup) — Adds that essential crunch and toasty flavor. Toast them lightly in a dry pan for 3-4 minutes before adding for extra depth. I recommend buying raw walnut halves and chopping them yourself for the best texture.
Substitution Notes: For a dairy-free version, use coconut oil or a plant-based butter substitute. For a gluten-free option, swap the all-purpose flour with a 1:1 gluten-free baking flour blend. If you don’t have walnuts, pecans work beautifully, or you can leave them out entirely for a plain banana bread.
Equipment Needed
The beauty of this recipe is that you don’t need much. Here’s what you’ll need to have on hand:
- Large mixing bowl — Any medium-to-large bowl works. I use a ceramic one because it feels cozy, but glass or metal is fine.
- Fork or potato masher — For mashing the bananas. A fork works perfectly and means one less tool to wash.
- Wooden spoon or spatula — For mixing the batter. A rubber spatula is great for scraping the sides.
- 9×5-inch loaf pan — Standard size. If you only have an 8×4-inch pan, increase the baking time by 5-10 minutes. Line it with parchment paper for easy removal.
- Measuring cups and spoons — For accuracy. I’ve learned the hard way that eyeballing baking soda leads to sad results.
- Cooling rack — Helps the bread cool evenly so the bottom doesn’t get soggy. If you don’t have one, just tilt the loaf pan slightly after removing the bread.
Budget-Friendly Tip: You don’t need a fancy loaf pan. A basic metal one from the grocery store works just fine. If you don’t have parchment paper, grease the pan thoroughly with butter or non-stick spray and dust with a little flour.
Preparation Method
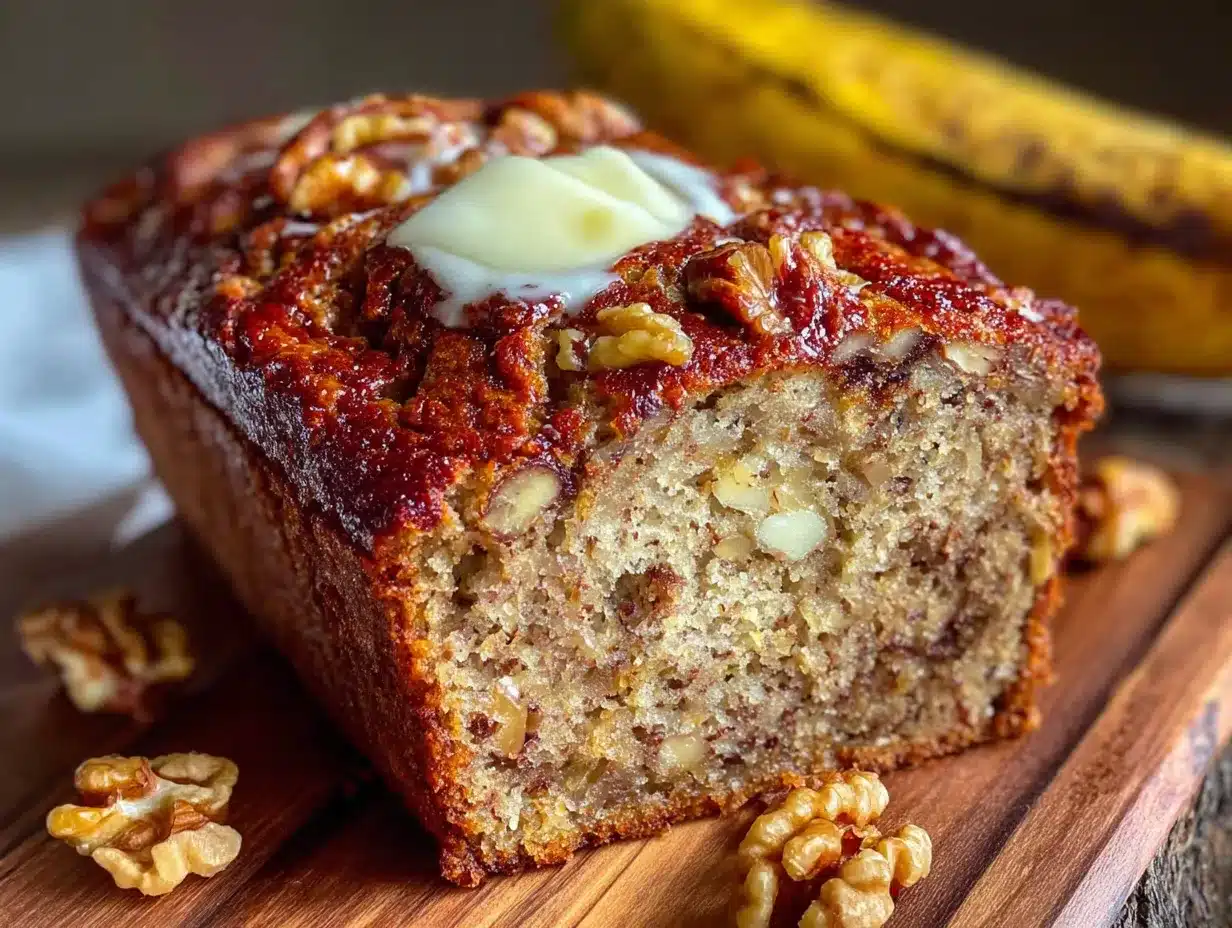
Let’s get baking. This comes together fast, so preheat your oven first and get everything ready.
- Preheat your oven to 350°F (175°C). Position the rack in the center. Line your 9×5-inch loaf pan with parchment paper, leaving some overhang on the long sides — this makes lifting the bread out so much easier. Lightly grease the exposed ends.
- Melt the butter. Place 1/2 cup (1 stick) of unsalted butter in a microwave-safe bowl and heat in 20-second bursts until just melted. Set it aside to cool slightly while you prepare the other ingredients. You don’t want it hot enough to cook the eggs.
- Mash the bananas. In your large mixing bowl, add the 3 ripe bananas. Use a fork to mash them until mostly smooth with a few small lumps remaining. I like to leave a few chunks for texture — it’s a personal preference. You should have about 1 1/2 cups of mashed banana.
- Combine the wet ingredients. To the mashed bananas, add the melted butter, 3/4 cup granulated sugar, 2 eggs, and 1 teaspoon vanilla extract. Stir everything together with your wooden spoon or spatula until well combined. Don’t overmix — just make sure there are no streaks of egg or butter.
- Add the dry ingredients. Sprinkle the 1 1/2 cups all-purpose flour, 1 teaspoon baking soda, 1/2 teaspoon salt, and 1 teaspoon cinnamon over the wet mixture. Stir gently until just combined. A few streaks of flour are okay — overmixing at this stage will make the bread tough. The batter should be thick but scoopable.
- Fold in the walnuts. Add the 1 cup of chopped walnuts to the batter. Fold them in with a few gentle strokes until evenly distributed. Reserve a small handful to sprinkle on top if you want a prettier presentation.
- Pour the batter into the prepared pan. Use your spatula to scrape every last bit into the pan. Smooth the top gently. If you reserved some walnuts, sprinkle them over the top now and press them in lightly so they stick.
- Bake for 50-60 minutes. Place the pan in the preheated oven and bake until a toothpick inserted into the center comes out clean or with just a few moist crumbs. Start checking at 50 minutes. The top should be golden brown and cracked in that beautiful way banana bread does.
- Cool in the pan for 10 minutes. Set the pan on a wire rack. After 10 minutes, use the parchment paper overhang to lift the bread out and transfer it to the rack to cool completely. Resist the urge to slice it while it’s warm — it will be too tender and might fall apart. I speak from experience.
Sensory Cue: Your kitchen will smell like cinnamon and toasted walnuts about 30 minutes in. That’s when you know it’s working. The top should be a deep golden brown, and the cracks should look dry and set.
Cooking Tips & Techniques
I’ve made this banana bread at least a dozen times, and I’ve learned a few things the hard way. Here’s what I wish someone had told me sooner.
Don’t overmix the batter. This is the most common mistake. Once you add the flour, stir just until you can’t see dry streaks anymore. Overmixing develops the gluten and gives you a dense, tough loaf instead of a tender, moist one. I ruined my first two batches this way.
Use really ripe bananas. I mean the ones that are almost black and look like they belong in the trash. The riper they are, the sweeter and more flavorful your bread will be. If your bananas aren’t quite there yet, you can roast them in the oven at 300°F for 15-20 minutes until the skins darken. It’s a little trick I learned from a pastry chef friend.
Toast your walnuts. This is optional but makes a huge difference. Spread the chopped walnuts on a baking sheet and toast them at 350°F for 5-7 minutes until fragrant. Let them cool before folding them into the batter. The toasty flavor adds a depth that raw walnuts just can’t match.
Check for doneness properly. A toothpick test is reliable, but insert it in the center crack — that’s usually the last part to set. If the toothpick comes out with wet batter, give it another 5 minutes. If it comes out with a few moist crumbs, it’s perfect. If it comes out completely clean, it might be slightly overdone but still delicious.
Let it cool completely before slicing. This is the hardest part, I know. But cutting into warm banana bread is a recipe for crumbs and sadness. The structure needs time to set. Wait at least an hour, or even two if you can manage it. The texture will be so much better.
Multitasking tip: While the bread is baking, wash your one bowl and fork. That’s literally all you need to clean. By the time the bread is done, your kitchen is already tidy.
Variations & Adaptations
This recipe is forgiving and easy to customize. Here are a few ways I’ve adapted it over the years.
Chocolate Chip Banana Bread: Swap the walnuts for 1 cup of semi-sweet chocolate chips. The combination of banana and chocolate is a classic for a reason. I’ve also done half walnuts, half chocolate chips when I couldn’t decide — no regrets.
Gluten-Free Version: Substitute the all-purpose flour with a good 1:1 gluten-free baking blend. I’ve tested this with Bob’s Red Mill and King Arthur brands, and both worked well. Add an extra tablespoon of milk or yogurt since gluten-free flours tend to absorb more moisture.
Vegan Adaptation: Replace the butter with melted coconut oil or vegan butter. Use two flax eggs (2 tablespoons ground flaxseed mixed with 6 tablespoons water, let sit for 5 minutes) instead of regular eggs. The texture will be slightly denser but still delicious.
Spiced Banana Bread: Add 1/2 teaspoon of nutmeg and 1/4 teaspoon of ground ginger along with the cinnamon. This gives it a warm, almost chai-like flavor that’s perfect for fall baking. I made this version last November and it was gone in two days.
Lower Sugar Option: Reduce the sugar to 1/2 cup. The bananas provide plenty of natural sweetness, especially if they’re very ripe. You can also swap the granulated sugar for coconut sugar or maple syrup, though the texture will be slightly different.
Add-In Ideas: Dried cranberries, shredded coconut, chopped dates, or even a swirl of peanut butter are all fair game. I once added a handful of dark chocolate chunks and some flaky sea salt on top — it was incredible.
Serving & Storage Suggestions
This banana bread is wonderful on its own, but here are a few ways to make it even better.
Serving Temperature: Room temperature is ideal. The texture is at its peak, and the flavors have had time to meld. If you want a warm slice, pop it in the microwave for 10-15 seconds or toast it lightly in a buttered pan. A pat of salted butter melting into a warm slice is pure magic.
Presentation Ideas: Slice it thick — about 1-inch slices — and arrange them on a wooden board. Dust with a little powdered sugar if you’re feeling fancy. It’s also lovely served alongside a cup of strong coffee or a tall glass of cold milk.
Storage: Wrap the cooled loaf tightly in plastic wrap or aluminum foil and store at room temperature for up to 4 days. The flavors actually get better on day two, as the moisture redistributes throughout the bread. I honestly prefer it on day two.
Freezer Instructions: This bread freezes beautifully. Wrap the fully cooled loaf (or individual slices) tightly in plastic wrap, then in foil, and place in a freezer-safe bag. It will keep for up to 3 months. To thaw, leave it on the counter for a few hours or pop individual slices in the toaster straight from the freezer.
Reheating: For a single slice, the microwave works in a pinch. For the whole loaf, wrap it in foil and warm it in a 300°F oven for 10-15 minutes. The aroma will fill your kitchen all over again.
Nutritional Information & Benefits
This banana bread is a treat, but it also has some redeeming qualities. Here’s a rough estimate per slice (based on 10 slices):
- Calories: Approximately 280
- Fat: 14g
- Carbohydrates: 36g
- Fiber: 2g
- Sugar: 18g
- Protein: 5g
Health Highlights: Bananas are a great source of potassium and vitamin B6, which support heart health and energy levels. Walnuts provide omega-3 fatty acids and antioxidants that are great for brain health. The cinnamon adds a touch of anti-inflammatory goodness. So while this is definitely a comfort food, it’s not entirely without merit.
Dietary Considerations: This recipe contains gluten, dairy, eggs, and tree nuts. For gluten-free, dairy-free, or vegan adaptations, see the variations section above. It’s naturally low in sodium and can be made with reduced sugar if needed.
I believe in balance — enjoying something that feels indulgent while knowing it’s made with real, whole ingredients. This banana bread checks both boxes.
Conclusion
This cozy one-bowl banana bread with walnuts is proof that you don’t need fancy equipment or complicated techniques to create something truly satisfying. It’s the kind of recipe that feels like a warm hug on a cold day — humble, forgiving, and absolutely delicious. Whether you’re baking to use up spotty bananas, to fill your home with that comforting cinnamon scent, or simply because you deserve a treat, this bread delivers every time.
I love this recipe because it reminds me that the best things in life are often the simplest. It’s messy, imperfect, and full of character — just like the best homemade food should be. I hope you make it your own, whether that means adding extra walnuts, swapping in chocolate chips, or enjoying it plain with a pat of butter.
If you give this banana bread a try, I’d love to hear about it. Leave a comment below and let me know how it turned out, or share your own twist on the recipe. Happy baking, and don’t forget to save a slice for yourself before it disappears!
Frequently Asked Questions
Can I use frozen bananas for this recipe?
Absolutely. Thaw them completely, then drain off any excess liquid before mashing. Frozen bananas are actually sweeter and more flavorful, so this is a great option if you have a stash in your freezer.
Why did my banana bread turn out dry?
This usually happens for one of three reasons: you used too much flour (remember to spoon and level), you overbaked it, or your bananas weren’t ripe enough. Next time, check for doneness a few minutes early and use those spotty bananas.
Can I make this into muffins instead?
Yes! Divide the batter evenly into a greased 12-cup muffin tin. Bake at 350°F for 18-22 minutes, or until a toothpick comes out clean. Muffins will bake faster than a loaf, so start checking early.
How do I know when the bananas are ripe enough?
Look for bananas that are heavily speckled with brown spots or even mostly black. They should be soft to the touch and smell sweet. If they’re still yellow with green tips, they’re not ready. You can speed up ripening by placing them in a paper bag with an apple overnight.
Can I skip the walnuts?
Of course. The bread will still be delicious without them. You can replace them with chocolate chips, pecans, or just leave them out entirely for a plain banana bread. No adjustments to the recipe are needed.
Pin This Recipe!
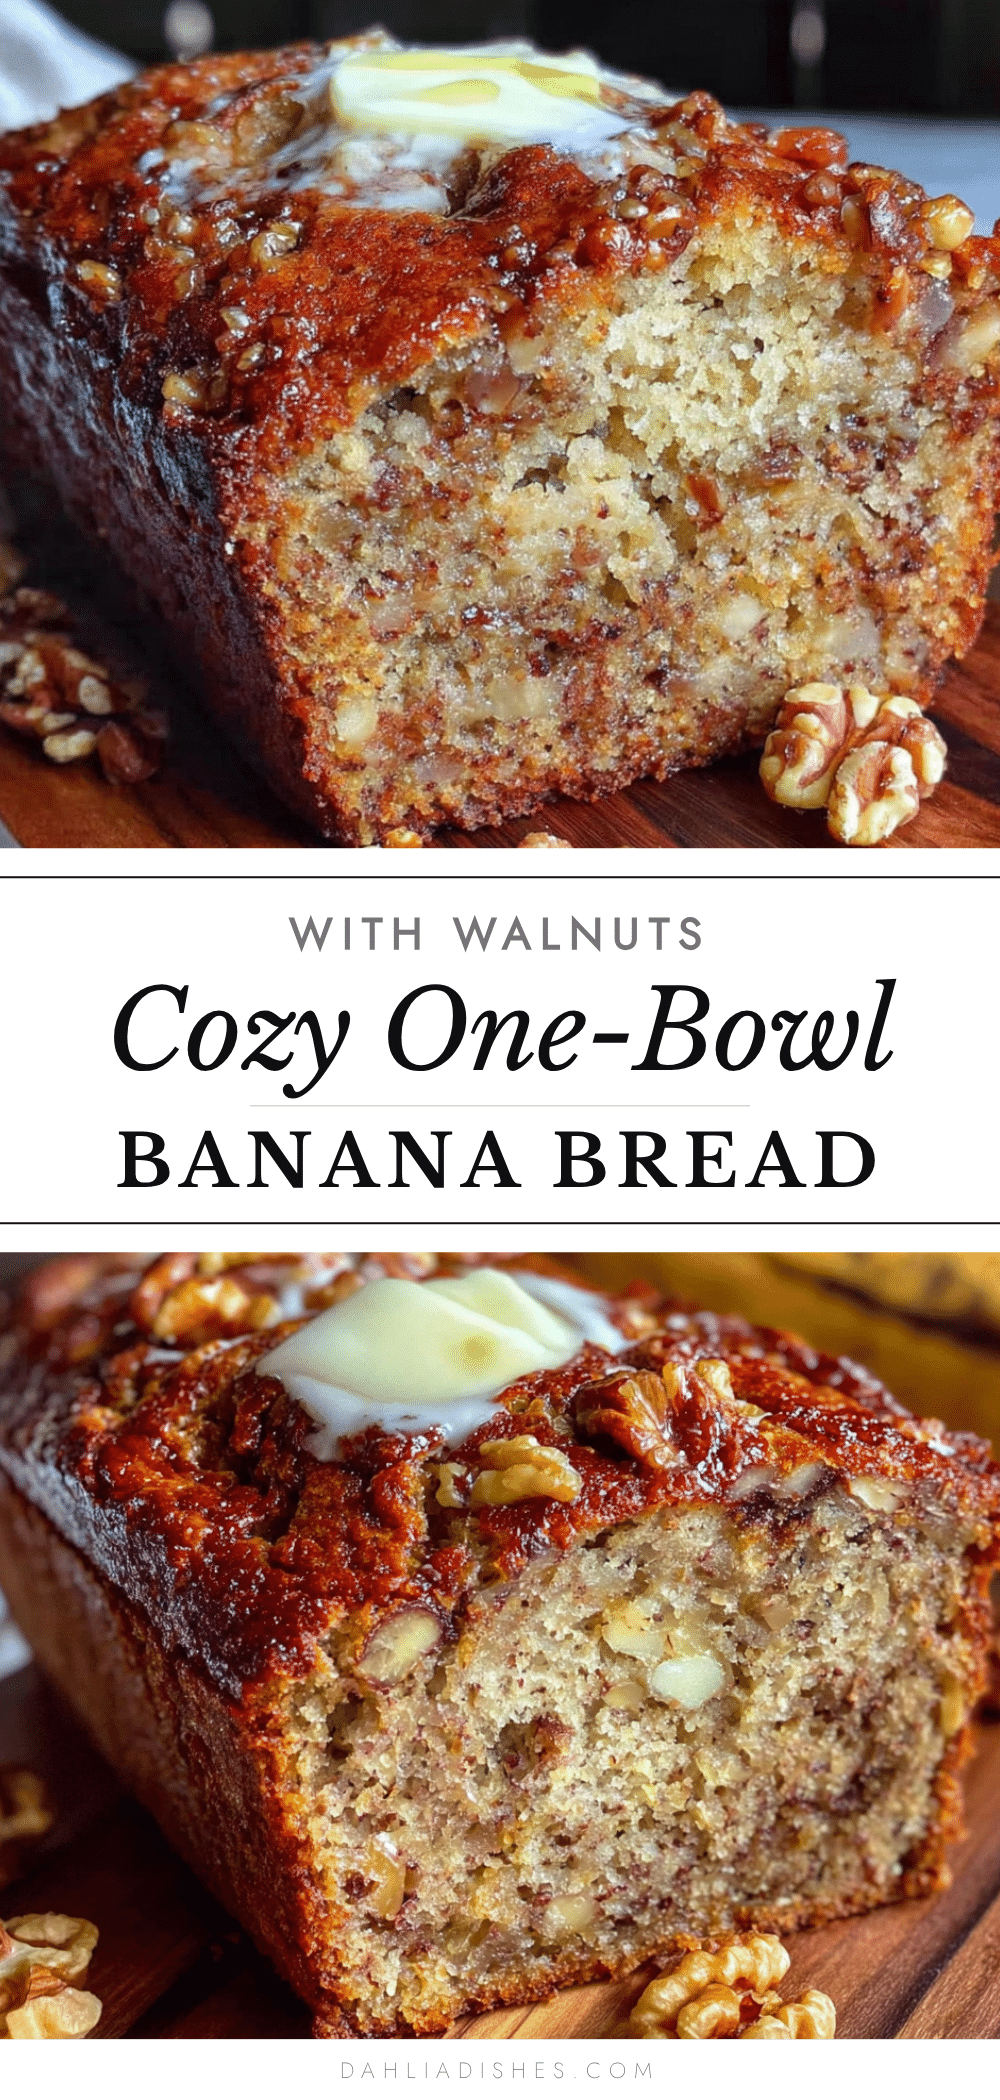
Cozy One-Bowl Banana Bread with Walnuts (No Mixer)
This one-bowl banana bread with walnuts is proof that you don’t need fancy equipment or complicated techniques to create something truly satisfying. It’s the kind of recipe that feels like a warm hug on a cold day — humble, forgiving, and absolutely delicious.
- Prep Time: 15 minutes
- Cook Time: 55 minutes
- Total Time: 1 hour 10 minutes
- Yield: 10 servings 1x
- Category: Dessert
- Cuisine: American
Ingredients
- 1/2 cup (1 stick) unsalted butter, melted
- 3/4 cup granulated sugar
- 2 large eggs, room temperature
- 3 medium ripe bananas, mashed (about 1 1/2 cups)
- 1 teaspoon vanilla extract
- 1 1/2 cups all-purpose flour
- 1 teaspoon baking soda
- 1/2 teaspoon salt
- 1 teaspoon ground cinnamon
- 1 cup walnuts, chopped
Instructions
- Preheat your oven to 350°F (175°C). Position the rack in the center. Line your 9×5-inch loaf pan with parchment paper, leaving some overhang on the long sides. Lightly grease the exposed ends.
- Melt the butter in a microwave-safe bowl in 20-second bursts until just melted. Set aside to cool slightly.
- In a large mixing bowl, mash the bananas with a fork until mostly smooth with a few small lumps remaining.
- To the mashed bananas, add the melted butter, sugar, eggs, and vanilla extract. Stir until well combined.
- Sprinkle the flour, baking soda, salt, and cinnamon over the wet mixture. Stir gently until just combined. A few streaks of flour are okay.
- Fold in the chopped walnuts with a few gentle strokes until evenly distributed. Reserve a small handful for topping if desired.
- Pour the batter into the prepared pan. Smooth the top gently. If reserved, sprinkle walnuts on top and press in lightly.
- Bake for 50-60 minutes, until a toothpick inserted into the center comes out clean or with a few moist crumbs.
- Cool in the pan for 10 minutes, then use the parchment paper to lift the bread out and transfer to a wire rack to cool completely.
Notes
Use really ripe bananas (almost black) for best flavor. Toast walnuts for 5-7 minutes at 350°F before adding for extra depth. Don’t overmix the batter to avoid a tough loaf. Let cool completely before slicing for best texture. Store at room temperature for up to 4 days or freeze for up to 3 months.
Nutrition
- Serving Size: 1 slice
- Calories: 280
- Sugar: 18
- Sodium: 220
- Fat: 14
- Saturated Fat: 6
- Carbohydrates: 36
- Fiber: 2
- Protein: 5
Keywords: banana bread, one bowl, no mixer, walnuts, easy banana bread, moist banana bread, comfort food


