Love this? Save it for later!
Share the inspiration with your friends
My friend Jenna had been giving me grief about store-bought Baileys for years. “It’s basically dessert in a bottle,” she’d say, wrinkling her nose. “All that sugar and cream. Might as well drink a milkshake.” I’d shrug and pour another splash into my coffee, perfectly content with my “milkshake” situation. She was the type who counted every ingredient and read every label—health-minded to a fault, I used to think. Then came the Christmas gift exchange two years ago. I made a batch of homemade Baileys, mostly as a joke for the group, and wrapped it in a mason jar with a little ribbon. Nothing fancy. I handed Jenna hers and waited for the critique. She took a tiny sip, then another. “Okay,” she said slowly, “this is actually… good. What’s in it?” I told her—cream, whiskey, a little coffee, some vanilla. She looked relieved. “No weird corn syrup or artificial flavors?” Nope. “And I can control the sugar?” Yep. That was the crack in the door. By the end of the night, she’d asked for the recipe. I mean, honestly, that felt better than any compliment. She still makes it every holiday season, tweaking it to be a little lighter each time. And I have to admit—her version might actually be better than my original. It’s kind of annoying, but also, it’s the whole point of this recipe. You get the creamy, boozy, cozy flavor you love, but without the heavy feeling or the ingredient list you can’t pronounce. Let me tell you, once you try making this yourself, you won’t go back to the store-bought stuff. It’s that good, and it’s that easy.
Why You’ll Love This Recipe
This homemade Baileys Irish cream isn’t just another copycat recipe. It’s a lighter, smarter version that actually tastes indulgent. I’ve tested it more times than I care to admit (someone had to drink all those test batches, right?), and it consistently wins over skeptics and cream-liqueur lovers alike.
- Quick & Easy: Comes together in under 10 minutes. No cooking, no complicated steps. Just blend, bottle, and gift.
- Simple Ingredients: You probably have most of these in your pantry right now. No weird additives or preservatives.
- Perfect for Gifting: Mason jars, a cute tag, and you’ve got a homemade holiday present that feels thoughtful and personal.
- Lighter & Healthier: Less sugar, fewer calories, and no artificial flavors. You control exactly what goes in.
- Crowd-Pleaser: Even people who “don’t like sweet drinks” end up asking for seconds. It’s dangerously drinkable.
What makes this version different? It’s the balance. Most homemade Baileys recipes are heavy on the sweetened condensed milk, which makes them cloying. This one uses a smart ratio of milk, cream, and a touch of maple syrup (or your preferred sweetener) so it’s rich but not overpowering. The coffee and chocolate notes are present but subtle, letting the Irish whiskey shine through without burning your throat. It’s the kind of thing you sip slowly, maybe over ice, maybe in your morning coffee—no judgment here. And honestly, it’s the kind of recipe that makes you feel good about giving it away, because you know exactly what’s in it. No mystery ingredients, no guilt. Just pure, creamy satisfaction.
What Ingredients You Will Need
This recipe uses simple, wholesome ingredients to deliver that signature creamy, boozy flavor without the heavy sugar load. Most are pantry staples or easy to find at any grocery store.
- Irish whiskey – 1 cup (240 ml). I prefer Jameson for its smooth, slightly sweet profile, but any decent Irish whiskey works. Avoid the really cheap stuff—you’ll taste the difference.
- Heavy cream – 1 cup (240 ml). This gives the liqueur its signature richness. For a lighter version, you can use half-and-half, but it won’t be quite as luxurious.
- Whole milk – 1 cup (240 ml). Helps thin the cream without losing body. You could use 2% milk, but avoid skim—it’ll be too watery.
- Sweetened condensed milk – 1/2 cup (120 ml). This is the traditional sweetener and thickener. For a lighter version, use a “lite” sweetened condensed milk or make your own with whole milk and a sugar substitute.
- Maple syrup – 2 tablespoons (30 ml). Adds a subtle warmth and depth that complements the whiskey. You can substitute honey or agave, but maple is my favorite.
- Instant coffee granules – 1 teaspoon. This gives the liqueur that classic coffee note. Don’t skip it—it rounds out the flavor beautifully. I recommend Nescafé Gold for a smooth taste.
- Unsweetened cocoa powder – 1 tablespoon. Adds a hint of chocolate without extra sugar. Use a high-quality brand like Ghirardelli for the best flavor.
- Vanilla extract – 1 teaspoon. Pure vanilla, not imitation. It makes a difference.
- Almond extract – 1/4 teaspoon. This is my secret ingredient. It adds a subtle nuttiness that makes people ask, “What’s in this?” Use sparingly—it’s strong.
- Salt – A tiny pinch. Just enough to balance the sweetness and enhance all the other flavors.
Substitution Guidance: For a dairy-free version, use full-fat coconut milk in place of the heavy cream and milk, and a dairy-free sweetened condensed milk alternative. For a lower-sugar option, replace the sweetened condensed milk with a combination of 1/2 cup whole milk and 3 tablespoons of a granulated monk fruit sweetener, then blend well. The texture will be slightly thinner, but the flavor is still spot-on.
Equipment Needed
You don’t need much for this recipe, which is part of its charm. Here’s what you’ll need:
- Blender – A standard countertop blender works perfectly. I’ve used my trusty Ninja for years, and it handles this job in about 30 seconds. If you don’t have a blender, a whisk and a lot of elbow grease will work, but the texture won’t be as smooth.
- Measuring cups and spoons – Accuracy matters here, especially with the extracts. Too much almond extract can ruin the whole batch.
- Fine-mesh strainer – Optional but recommended. It catches any undissolved coffee granules or cocoa powder lumps. I learned this the hard way after finding a gritty surprise in my first batch.
- Glass bottles or mason jars – For storing and gifting. I use 16-ounce swing-top bottles from Amazon—they look cute and seal tightly. Mason jars work great too, especially with a little ribbon tied around the neck.
- Funnel – Makes pouring into bottles much less messy. A small kitchen funnel is ideal.
Budget-friendly tip: Don’t run out and buy special bottles. Reuse empty wine bottles or glass juice bottles—just make sure they’re thoroughly cleaned and dried. I’ve given this in everything from repurposed kombucha bottles to old hot sauce bottles (after a very thorough wash, obviously).
Preparation Method
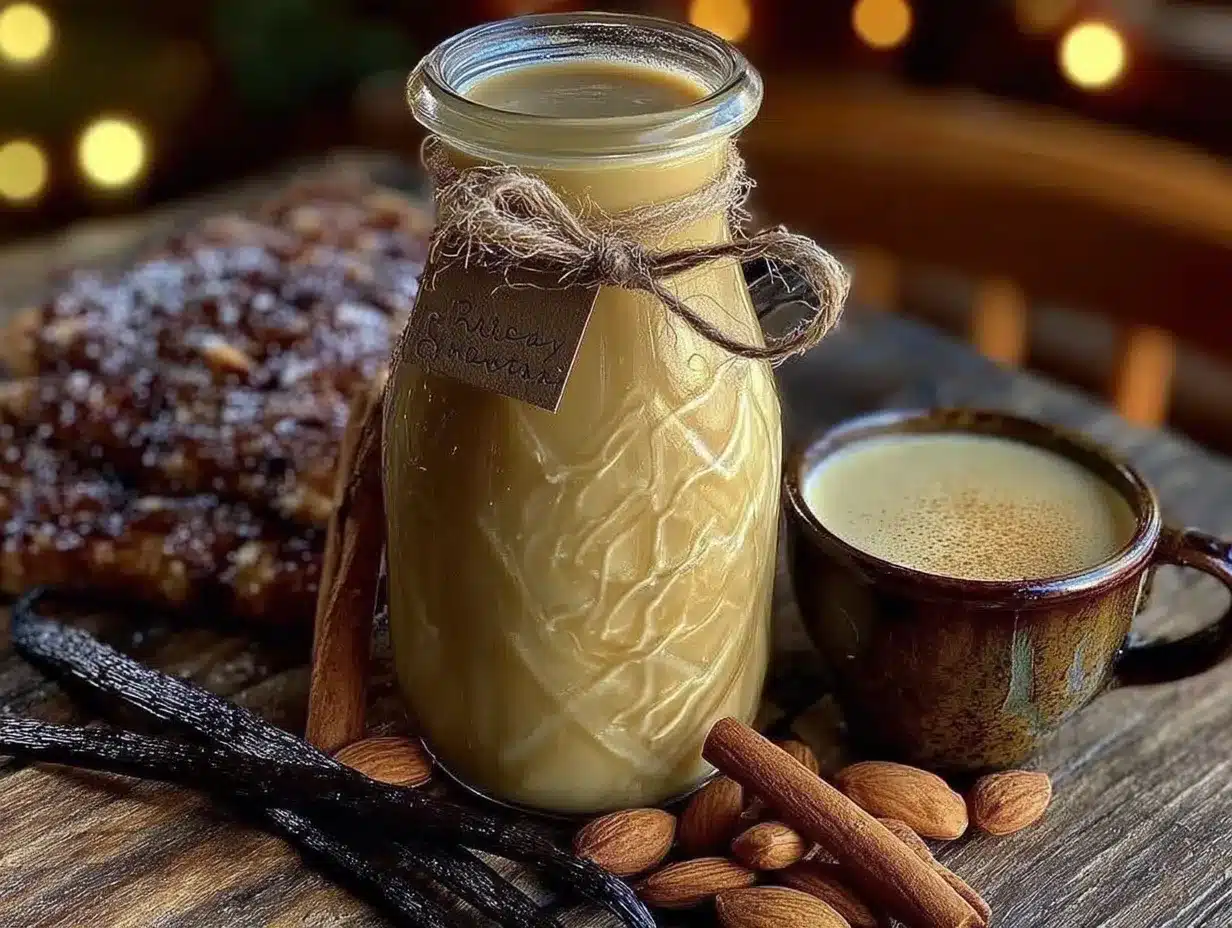
This recipe comes together in minutes, but a few small details make all the difference. Follow these steps, and you’ll have a silky, professional-tasting liqueur every time.
- Dissolve the coffee and cocoa. In a small bowl, combine the instant coffee granules and cocoa powder with 2 tablespoons of warm water. Stir until completely dissolved. This step prevents gritty bits in your final liqueur. I learned this after my first batch had little chocolate flecks floating around—still tasty, but not pretty.
- Combine the liquids. In your blender, add the heavy cream, whole milk, and sweetened condensed milk. Pour in the Irish whiskey and the dissolved coffee-cocoa mixture. Add the maple syrup, vanilla extract, almond extract, and a tiny pinch of salt.
- Blend until smooth. Start on low speed for about 10 seconds, then increase to medium-high and blend for 20-30 seconds. You should see a uniform, creamy liquid with no streaks. Don’t over-blend—you’re not making whipped cream here. Over-blending can incorporate too much air and create foam.
- Taste and adjust. Here’s the fun part. Dip a spoon in and taste it. Want it sweeter? Add another tablespoon of maple syrup. More coffee flavor? Dissolve another 1/2 teaspoon of instant coffee in a teaspoon of warm water and add it. This is your chance to customize it to your exact preference. I usually find it perfect as-is, but my sister always adds an extra splash of whiskey because she likes it stronger.
- Strain (optional but recommended). Pour the mixture through a fine-mesh strainer into a large measuring cup or directly into your bottles. This catches any tiny undissolved particles. It’s a small step that makes a big difference in texture.
- Bottle and chill. Use a funnel to pour the liqueur into your chosen bottles or jars. Seal tightly and refrigerate. The flavors need at least 2-3 hours to meld together, but overnight is even better. The liqueur will thicken slightly as it chills.
- Shake before serving. Because this is a dairy-based liqueur, it can separate slightly as it sits. A quick shake redistributes everything perfectly. This is normal and expected—don’t panic if you see a little separation.
Prep time: 10 minutes active, plus 2-3 hours chilling time. Total yield: about 3 cups, or 24 ounces. Perfect for filling one 750ml bottle or two 12-ounce mason jars.
Cooking Tips & Techniques
I’ve made this recipe more times than I can count, and I’ve definitely made my share of mistakes along the way. Here’s what I’ve learned so you don’t have to repeat my errors.
Don’t skip the coffee-cocoa dissolving step. I know it seems fussy, but trust me on this. The first time I made this, I just dumped everything in the blender and hoped for the best. The result was a liqueur with little brown specks that settled at the bottom of the bottle. It still tasted fine, but it wasn’t as smooth or pretty. Taking that extra 30 seconds makes a huge difference.
Use room-temperature ingredients. Cold cream and milk don’t blend as smoothly with the whiskey and syrups. Let everything sit out for 15-20 minutes before you start. This small step prevents the mixture from being too thick and hard to blend evenly.
Taste as you go. Everyone’s palate is different. Some people love a strong whiskey kick, others prefer a creamier, sweeter profile. The beauty of homemade is that you can adjust. I’ve made batches that were too sweet for my taste, so now I start with a little less sweetener and add more if needed. You can always add, but you can’t take away.
The almond extract trap. A little goes a long way. I once got distracted and added a full teaspoon instead of a quarter teaspoon. The result tasted like marzipan-flavored whiskey, which is not what we’re going for. Measure carefully, or skip it entirely if you’re nervous. The liqueur will still be delicious without it.
Let it rest. I know it’s tempting to drink it right away, but the flavors really do need time to come together. After a few hours in the fridge, the harsh edges of the whiskey soften, and the coffee and chocolate notes become more rounded. Overnight is ideal. Think of it as a mini-aging process.
Variations & Adaptations
This recipe is incredibly versatile. Here are a few ways to make it your own:
- Vegan version: Replace the heavy cream and whole milk with full-fat coconut milk or oat cream. Use a dairy-free sweetened condensed milk alternative (I like Nature’s Charm). The coconut version has a slight tropical note that’s actually lovely with the coffee and chocolate.
- Lower-sugar version: Swap the sweetened condensed milk for a homemade version using whole milk and monk fruit sweetener, or use a sugar-free sweetened condensed milk if you can find it. Reduce the maple syrup to 1 tablespoon. The result is still creamy and satisfying, just less sweet.
- Extra-boozy version: Increase the whiskey to 1 1/2 cups and reduce the milk by 1/4 cup. This makes a stronger liqueur that’s perfect for sipping on the rocks. My uncle loves this version—he calls it “the good stuff.”
- Mocha twist: Add an extra tablespoon of cocoa powder and an extra 1/2 teaspoon of instant coffee. This creates a richer, more chocolate-forward liqueur that’s amazing in hot chocolate.
- Spiced version: Add 1/4 teaspoon of cinnamon, a pinch of nutmeg, and a tiny pinch of cloves to the blender. This makes a wonderful holiday variation that tastes like Christmas in a glass.
- Peppermint version: Replace the vanilla extract with 1/2 teaspoon of peppermint extract. This is fantastic for gifting during the winter holidays. Just be careful—peppermint is strong, so don’t overdo it.
Serving & Storage Suggestions
This homemade Baileys is incredibly versatile. Here’s how to enjoy it and keep it fresh.
Serving suggestions: Serve it chilled, straight up over ice, or as a luxurious addition to your morning coffee. It’s also fantastic in hot chocolate—just stir a shot into a mug of warm cocoa for an instant adult treat. For a simple cocktail, try it with a splash of cold brew coffee and a dollop of whipped cream. It also makes a great dessert pour over vanilla ice cream or brownies.
Presentation for gifting: Pour into a clean glass bottle or mason jar. Add a cute tag with the name and a “best by” date. Tie a ribbon around the neck, and you’ve got a thoughtful, homemade gift that looks store-bought. I like to include a small card with serving suggestions—it adds a personal touch.
Storage instructions: Because this liqueur contains dairy, it must be refrigerated. It will keep for up to 2 weeks in the fridge. The flavors actually improve after a day or two as they meld together. Always shake the bottle before serving, as natural separation can occur.
Freezing: You can freeze this liqueur in ice cube trays for use in coffee or cocktails. The alcohol content prevents it from freezing solid, but it will become slushy. These “Baileys cubes” are amazing in iced coffee.
Reheating tip: If you’re adding it to hot coffee or hot chocolate, pour the liqueur into the cup first, then add the hot liquid. This prevents the dairy from curdling from the sudden temperature change. I learned this after a sad, curdled coffee incident. Not recommended.
Nutritional Information & Benefits
This lighter version of homemade Baileys is significantly lower in sugar and calories than the store-bought original. Here’s the estimated breakdown per 2-ounce serving:
| Nutrient | Amount |
|---|---|
| Calories | 180 |
| Total Fat | 10g |
| Saturated Fat | 6g |
| Carbohydrates | 14g |
| Sugar | 12g |
| Protein | 2g |
Health benefits: By using real ingredients, you’re avoiding the artificial flavors, preservatives, and high-fructose corn syrup found in many commercial cream liqueurs. The coffee provides a small antioxidant boost, and the cocoa powder adds a touch of magnesium and iron. Plus, because you control the sugar, you can make it fit your dietary preferences. It’s not health food, but it’s a much better choice than the store-bought alternative.
Dietary considerations: This recipe contains dairy and gluten-free whiskey (most Irish whiskeys are gluten-free, but always check the label). For a dairy-free version, see the variations section above. It’s also naturally vegetarian.
Conclusion
This homemade Baileys Irish cream has become my go-to gift for almost every occasion. It’s personal, it’s delicious, and it’s genuinely lighter than what you’d buy at the store. Every time I hand a bottle to someone, I think about Jenna’s skeptical face turning into surprise and delight. That’s the magic of homemade—you put a little bit of yourself into it, and people can taste the difference.
I hope you’ll try this recipe and make it your own. Maybe you’ll add a little more whiskey, or a different sweetener, or a pinch of cinnamon. That’s the beauty of it. And if you do make it, I’d love to hear how it turns out. Drop a comment below and let me know your favorite way to enjoy it—whether it’s in your coffee, over ice, or straight from the bottle (no judgment here). Happy gifting, and cheers to a lighter, more delicious holiday season!
Frequently Asked Questions
Can I use a different type of whiskey?
Absolutely. While Irish whiskey is traditional for its smooth, slightly sweet profile, you can experiment with bourbon for a sweeter, vanilla-forward flavor, or rye whiskey for a spicier kick. Just avoid smoky Scotch whiskies, as they can overpower the creamy base.
How long does homemade Baileys last?
Because it contains dairy, it should be refrigerated and consumed within 2 weeks. The flavors are best after the first day or two, when they’ve had time to meld together. Always shake before serving, as natural separation can occur.
Can I make this without a blender?
Yes! You can whisk everything together in a large bowl, but you’ll need to be very thorough to ensure the coffee and cocoa are fully dissolved. I recommend dissolving them in warm water first, then whisking vigorously. The texture won’t be quite as smooth as a blended version, but it will still taste great.
Can I use this in baking?
Definitely. This homemade Baileys is fantastic in cakes, brownies, and frosting. Use it as a substitute for milk or cream in recipes that call for a boozy kick. It’s especially good in chocolate cake or as a soak for trifle layers. Just remember it’s less sweet than store-bought, so you may need to adjust sugar in your recipe.
Is this recipe safe for people with gluten intolerance?
Most Irish whiskeys are distilled from grains that contain gluten, but the distillation process typically removes the gluten proteins. However, if you have celiac disease or severe gluten sensitivity, look for a certified gluten-free whiskey. The rest of the ingredients are naturally gluten-free.
Pin This Recipe!
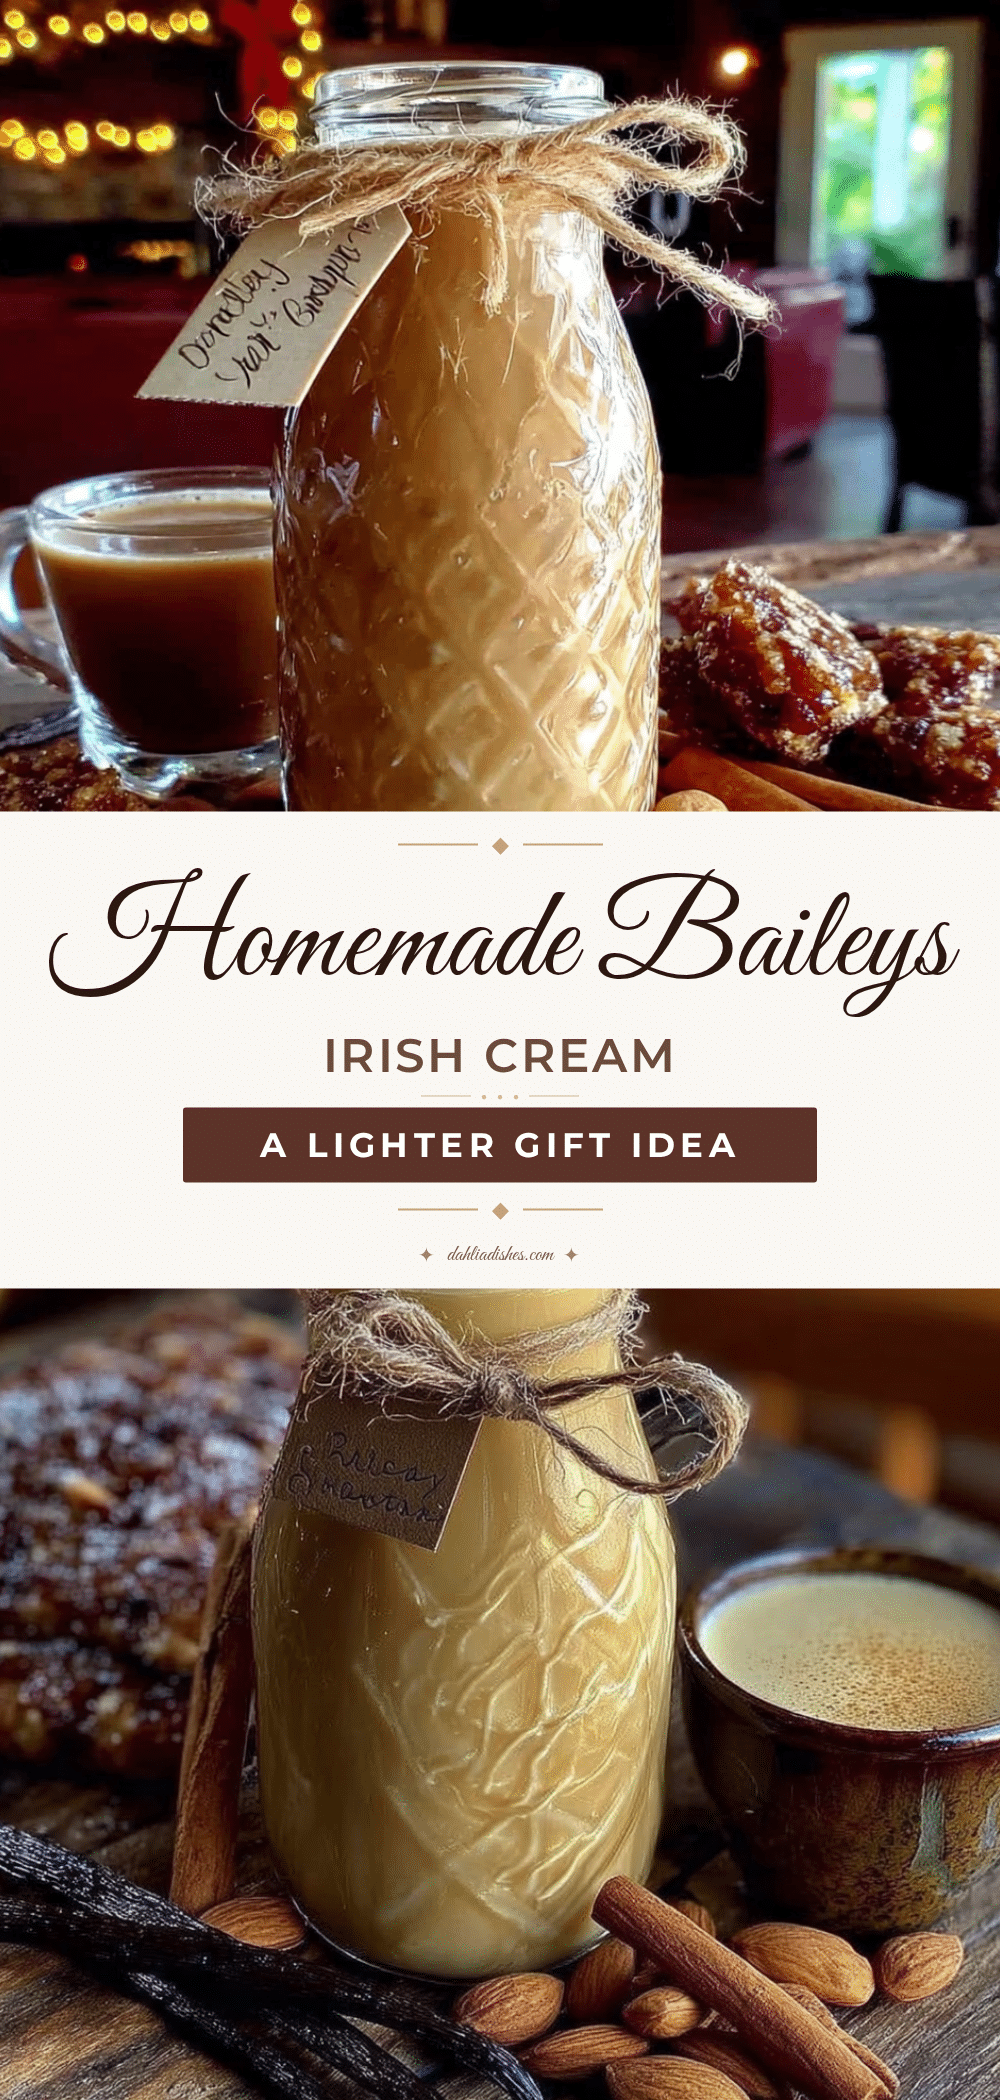
Homemade Baileys Irish Cream – Easy Lighter Gift Idea
This homemade Baileys Irish cream is a lighter, smarter version that actually tastes indulgent. It comes together in under 10 minutes with simple ingredients, making it perfect for gifting or enjoying yourself.
- Prep Time: 10 minutes
- Cook Time: 0 minutes
- Total Time: 10 minutes (plus 2-3 hours chilling time)
- Yield: 3 cups (24 ounces) 1x
- Category: Beverage
- Cuisine: Irish
Ingredients
- 1 cup (240 ml) Irish whiskey (e.g., Jameson)
- 1 cup (240 ml) heavy cream
- 1 cup (240 ml) whole milk
- 1/2 cup (120 ml) sweetened condensed milk
- 2 tablespoons (30 ml) maple syrup
- 1 teaspoon instant coffee granules
- 1 tablespoon unsweetened cocoa powder
- 1 teaspoon vanilla extract
- 1/4 teaspoon almond extract
- A tiny pinch of salt
Instructions
- Dissolve the coffee and cocoa: In a small bowl, combine the instant coffee granules and cocoa powder with 2 tablespoons of warm water. Stir until completely dissolved.
- Combine the liquids: In your blender, add the heavy cream, whole milk, and sweetened condensed milk. Pour in the Irish whiskey and the dissolved coffee-cocoa mixture. Add the maple syrup, vanilla extract, almond extract, and a tiny pinch of salt.
- Blend until smooth: Start on low speed for about 10 seconds, then increase to medium-high and blend for 20-30 seconds. You should see a uniform, creamy liquid with no streaks. Don’t over-blend.
- Taste and adjust: Dip a spoon in and taste it. Adjust sweetness, coffee flavor, or whiskey to your preference.
- Strain (optional but recommended): Pour the mixture through a fine-mesh strainer into a large measuring cup or directly into your bottles to catch any undissolved particles.
- Bottle and chill: Use a funnel to pour the liqueur into your chosen bottles or jars. Seal tightly and refrigerate for at least 2-3 hours, preferably overnight.
- Shake before serving: Because this is a dairy-based liqueur, it can separate slightly as it sits. A quick shake redistributes everything perfectly.
Notes
Don’t skip dissolving the coffee and cocoa to avoid gritty bits. Use room-temperature ingredients for smoother blending. Let the liqueur rest in the fridge for at least a few hours to meld flavors. Shake before serving as separation is normal. Store in the refrigerator for up to 2 weeks.
Nutrition
- Serving Size: 2 ounces
- Calories: 180
- Sugar: 12
- Fat: 10
- Saturated Fat: 6
- Carbohydrates: 14
- Protein: 2
Keywords: homemade Baileys, Irish cream, lighter Baileys, gift idea, easy recipe, no cook, creamy liqueur


