Love this? Save it for later!
Share the inspiration with your friends
My brother claimed he hated hot cocoa for fifteen years. Fifteen years. Every Christmas Eve, every snowy January afternoon, every time I’d curl up with a steaming mug, he’d make that face—the one that said “I’m above this.” Then last winter, I set up a little hot cocoa bar for a neighborhood gathering, nothing fancy, just some toppings and my first batch of homemade marshmallows. I found him standing at the table, three-quarters of the way through a mug, with a marshmallow mustache and this confused, almost offended look on his face. “This isn’t hot cocoa,” he said, like I’d tricked him. “This is… actually good.”
And honestly? That moment changed everything for me. I mean, I’d always loved a good cup of cocoa, but watching someone get caught in the act of enjoying something they swore they hated—that’s a special kind of satisfaction. It’s the same feeling you get when you bring out a dessert spread at a dinner party and watch everyone’s eyes go wide, or when you hand someone a mug and they take that first sip and just stop talking for a second. That’s the magic of a DIY hot cocoa bar. It’s not just about the drink—it’s about the whole experience, the way it brings people together, the way it makes a cold night feel warm and a gathering feel special.
Maybe you’ve been there, trying to figure out how to impress guests without spending hours in the kitchen. Or maybe you’re just tired of those powdered packets that taste more like chemicals than chocolate. Either way, this Ultimate DIY Hot Cocoa Bar with Homemade Marshmallows is your answer. It’s the kind of setup that makes people feel like you went all out, when really, most of the work is just setting out pretty bowls and letting guests play. And those homemade marshmallows? They’re the secret weapon. Light, fluffy, vanilla-flecked, and nothing like the rubbery store-bought kind. My brother—the former cocoa hater—now asks me when I’m making them again. That’s how you know it’s good.
Why You’ll Love This Recipe
Let me tell you why this DIY hot cocoa bar has become my go-to for every winter gathering, holiday party, and cozy night in. I’ve tested this setup at least a dozen times, tweaking the cocoa base, perfecting the marshmallow recipe, and figuring out which toppings people actually use versus which ones just look pretty. Here’s what makes it work:
- Stress-Free Hosting: Everything can be prepped ahead of time. The cocoa base, the marshmallows, the toppings—make them all the day before. When guests arrive, you just heat the cocoa and set out the bowls. That’s it. You get to actually enjoy your own party.
- Simple Ingredients, Stunning Results: The cocoa base uses basic pantry staples—cocoa powder, sugar, milk, a little vanilla. The marshmallows need gelatin, sugar, and corn syrup. Nothing fancy, but the result tastes like something from a fancy café.
- Perfect for Any Gathering: Whether it’s a holiday open house, a birthday party, a book club meeting, or just a snowy Saturday with friends, this bar works. It scales up easily for a crowd and feels special even for a small group.
- Crowd-Pleaser Guaranteed: I’ve served this to kids, grandparents, picky eaters, and even my brother. Everyone finds something to love. The customization means even the fussiest guest can build their perfect cup.
- Unbelievably Delicious: The homemade marshmallows are the star—soft, pillowy, with a real vanilla flavor that melts into the cocoa. The base itself is rich and chocolatey, not too sweet, with a depth that comes from using real cocoa powder and a pinch of salt.
What sets this apart from every other hot cocoa bar you’ve seen? It’s the marshmallows. Seriously. Most people have never had a homemade marshmallow, and the first bite is always a revelation. They’re not just for floating on top—they’re for eating on their own, for dipping in chocolate, for toasting over a candle if you’re feeling fancy. And the cocoa base? I’ve perfected the ratio so it’s rich without being heavy, creamy without being gloppy. This isn’t just another version of hot cocoa. It’s the version that makes people close their eyes after the first sip.
What Ingredients You Will Need
This recipe uses simple, wholesome ingredients to deliver that rich, comforting cocoa flavor and those light-as-air marshmallows. Most of these are probably already in your pantry, which makes this even better for last-minute hosting.
For the Hot Cocoa Base
- Unsweetened cocoa powder, ½ cup (40g) – I prefer Dutch-processed for a smoother, less acidic flavor, but natural cocoa works perfectly too. Ghirardelli or Droste are my go-to brands.
- Granulated sugar, ½ cup (100g) – Adds just enough sweetness without overpowering the chocolate. You can adjust this up or down depending on your crowd.
- Salt, ¼ teaspoon – A tiny pinch makes the chocolate flavor pop. Don’t skip it.
- Whole milk, 4 cups (960ml) – For the creamiest texture. You can use 2% or even oat milk in a pinch, but whole milk really makes it luxurious.
- Heavy cream, 1 cup (240ml) – Adds richness and a velvety mouthfeel. For a lighter version, use all milk.
- Vanilla extract, 2 teaspoons – Pure vanilla, not imitation. It rounds out the chocolate flavor beautifully.
- Semi-sweet chocolate chips, ½ cup (85g) – Optional, but highly recommended for extra depth and a glossy finish. I use Guittard or Ghirardelli.
For the Homemade Marshmallows
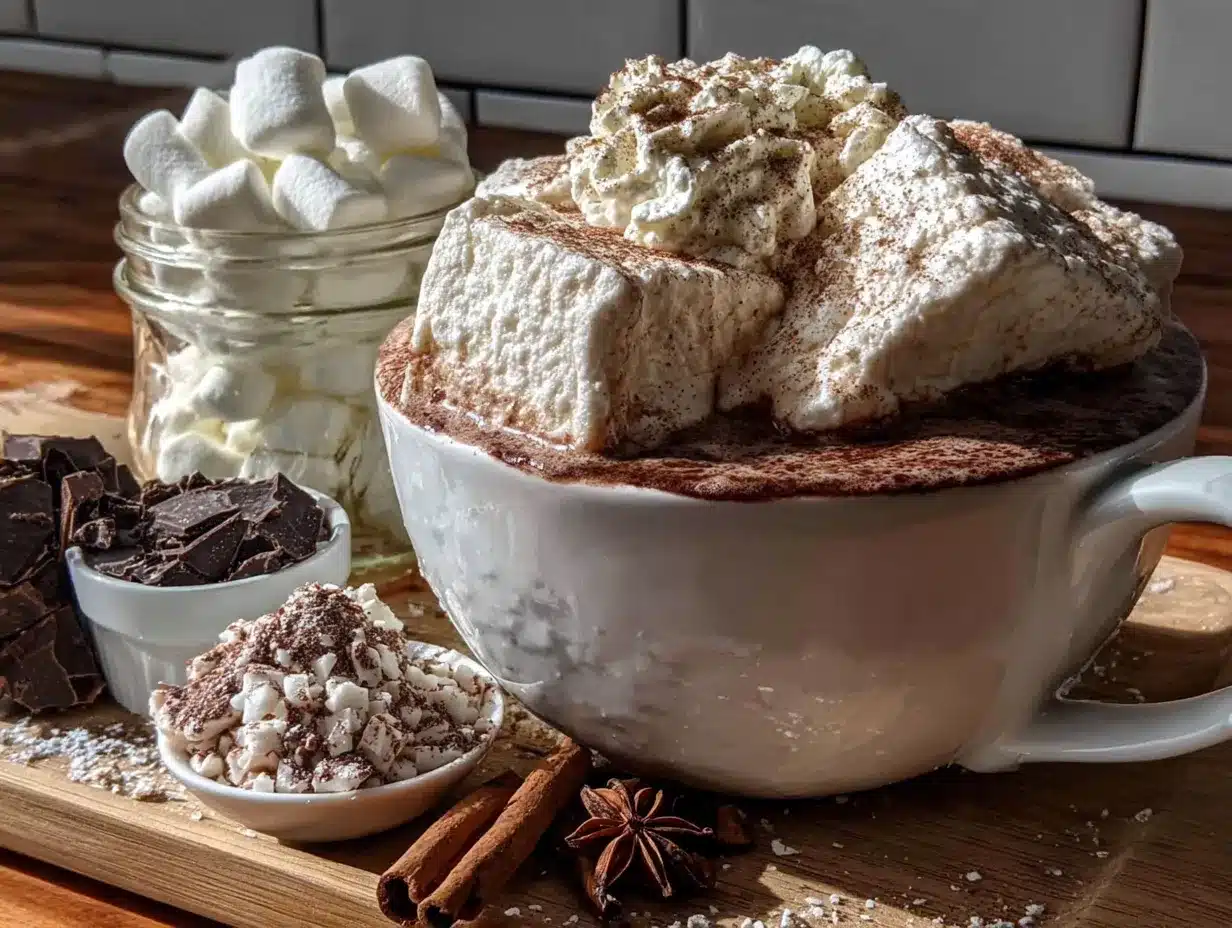
- Unflavored gelatin, 3 tablespoons (about 3 packets) – This is what gives marshmallows their structure. Knox is the most common brand and works perfectly.
- Cold water, ½ cup (120ml) – For blooming the gelatin. Use cold tap water, not warm.
- Granulated sugar, 1½ cups (300g) – The base of the marshmallow. Don’t substitute with a liquid sweetener.
- Light corn syrup, ¾ cup (180ml) – This prevents crystallization and gives marshmallows their soft, chewy texture. No substitutes here.
- Salt, ¼ teaspoon – Balances the sweetness.
- Vanilla extract, 2 teaspoons – Again, pure vanilla. You can also scrape a vanilla bean pod for specks.
- Powdered sugar, for dusting – About ½ cup, mixed with a little cornstarch if you want extra non-stick power.
- Cornstarch, for dusting – Optional but helps keep marshmallows from sticking together.
For the Toppings Bar
- Whipped cream – Homemade is best, but store-bought works in a pinch. Stabilize it with a little powdered sugar so it holds up.
- Chocolate shavings or curls – Use a vegetable peeler on a chocolate bar for pretty curls.
- Crushed candy canes – For that peppermint twist. Crush them in a bag with a rolling pin.
- Caramel sauce – Store-bought is fine, or make your own if you’re feeling ambitious.
- Mini chocolate chips – White, dark, or milk chocolate all work.
- Sprinkles – Festive ones for holidays, or classic rainbow for everyday.
- Cinnamon sticks – For stirring, not just garnish. They infuse a warm spice flavor.
- Sea salt flakes – A tiny sprinkle on top of the whipped cream is incredible.
- Mini marshmallows – Store-bought, for comparison purposes. Or just use your homemade ones.
- Peppermint sticks – For stirring and flavoring.
Equipment Needed
You don’t need a fancy kitchen to pull this off. Here’s what you’ll need, along with some tips from my own trial and error.
- Large saucepan or Dutch oven – For the cocoa base. A heavy-bottomed pot prevents scorching. I use my 4-quart Le Creuset, but any sturdy pot works.
- Whisk – A good balloon whisk is essential for smoothing out the cocoa powder. A flat whisk works too, but balloon is easier.
- Stand mixer or hand mixer – For the marshmallows. A stand mixer is ideal because it frees up your hands, but a hand mixer works if you’re patient. You’ll be beating for about 10-12 minutes.
- Candy thermometer – Absolutely necessary for the marshmallows. You need to get the sugar syrup to exactly 240°F (115°C). I’ve ruined batches by guessing. Get a reliable one.
- 9×13-inch baking pan – For setting the marshmallows. Glass or metal both work. Line it with parchment paper that hangs over the edges for easy removal.
- Sifter or fine-mesh strainer – For dusting the powdered sugar mixture evenly over the marshmallows.
- Small bowls and ramekins – For the toppings. I like using different sizes and shapes for visual interest. Mix and match from your cabinet.
- Mugs or cups – Have a variety on hand. Clear glass mugs show off the layers, while ceramic keeps the cocoa warmer longer.
- Ladle or large serving spoon – For serving the cocoa. A small ladle works best for portion control.
- Pizza cutter or sharp knife – For cutting the marshmallows. A pizza cutter dusted with powdered sugar makes clean cuts without sticking. A chef’s knife works too, but the pizza cutter is faster.
If you don’t have a candy thermometer, you can try the cold water test—drop a little syrup into cold water and see if it forms a firm ball—but I don’t recommend it for beginners. A thermometer is cheap and takes the guesswork out. Also, if you don’t have a stand mixer, you can use a hand mixer, but you’ll need to hold it steady for a while. I’ve done it, and it works, but your arm will get tired.
Preparation Method
Make the Homemade Marshmallows (Day Before)
- Prepare your pan. Line a 9×13-inch baking pan with parchment paper, leaving a 2-inch overhang on the long sides. Lightly grease the paper with a little butter or non-stick spray. Then sift a generous layer of the powdered sugar-cornstarch mixture (about 2 tablespoons) over the bottom. Set aside.
- Bloom the gelatin. In the bowl of your stand mixer (or a large heatproof bowl if using a hand mixer), pour ½ cup cold water. Sprinkle the 3 tablespoons of gelatin evenly over the surface. Don’t stir—just let it sit for about 10 minutes. It will look like a firm, wobbly mass. That’s what you want.
- Make the sugar syrup. In a medium saucepan, combine 1½ cups granulated sugar, ¾ cup light corn syrup, ¼ teaspoon salt, and ¼ cup water. Stir gently to combine, then place over medium heat. Attach your candy thermometer to the side of the pan, making sure the tip is submerged in the syrup but not touching the bottom of the pan.
- Cook the syrup. Bring the mixture to a boil without stirring. Once it boils, let it continue cooking until the thermometer reads 240°F (115°C). This takes about 8-10 minutes. Watch it carefully—if it goes over 245°F, the marshmallows will be too firm. I’ve made that mistake, and they came out more like chewy candies than fluffy marshmallows.
- Combine syrup and gelatin. As soon as the syrup reaches 240°F, remove it from the heat. Turn your mixer to low speed and slowly pour the hot syrup into the bloomed gelatin. Be careful—the syrup is extremely hot, and splashing can burn you. Pour in a thin, steady stream down the side of the bowl.
- Whip the marshmallow. Once all the syrup is added, increase the mixer speed to medium-high. Whip for about 10-12 minutes, until the mixture is thick, glossy, and white. It should hold stiff peaks and feel warm but not hot. Add the 2 teaspoons of vanilla extract during the last minute of whipping.
- Pour and set. Scrape the marshmallow mixture into your prepared pan using a lightly greased spatula. Spread it evenly—it will be sticky and thick. Don’t worry about making it perfectly smooth; the powdered sugar layer will hide imperfections. Sift another generous layer of the powdered sugar mixture over the top. Let it sit uncovered at room temperature for at least 6 hours, or overnight. Do not refrigerate—the marshmallows need to set at room temperature.
- Cut and store. Once set, turn the marshmallows out onto a cutting board dusted with powdered sugar. Peel off the parchment paper. Use a pizza cutter or sharp knife dusted with powdered sugar to cut into squares. Toss each square in the powdered sugar mixture to coat all sides. Store in an airtight container at room temperature for up to 2 weeks—if they last that long.
Make the Hot Cocoa Base
- Combine dry ingredients. In a large saucepan, whisk together ½ cup cocoa powder, ½ cup sugar, and ¼ teaspoon salt. Make sure there are no lumps. I like to sift the cocoa powder first because it tends to clump.
- Add the milk and cream. Slowly pour in 4 cups whole milk and 1 cup heavy cream, whisking constantly to combine. The mixture should look smooth and dark.
- Heat gently. Place the saucepan over medium heat. Cook, whisking occasionally, until the mixture is hot and steaming, about 5-7 minutes. Do not let it boil—boiling can cause the milk to scorch and the cocoa to become grainy. You want it just below a simmer, with tiny bubbles around the edge.
- Add chocolate and vanilla. Once hot, remove from heat and stir in ½ cup semi-sweet chocolate chips (if using) and 2 teaspoons vanilla extract. Whisk until the chocolate is completely melted and the cocoa is smooth and glossy.
- Keep warm. Transfer the cocoa to a slow cooker on the “warm” setting for serving, or keep it in the saucepan and reheat gently as needed. If it thickens upon standing, just whisk in a splash of milk.
Set Up the Hot Cocoa Bar
- Arrange your mugs. Place a stack of mugs at one end of the table. If you have a variety, mix them up for visual interest.
- Set out the cocoa. Place the slow cooker or serving pot next to the mugs, with a ladle.
- Display the toppings. Arrange your small bowls of toppings in a row or cluster. Group similar items together—sweet toppings in one area, crunchy ones in another. I like to put the homemade marshmallows front and center because they’re the showstopper.
- Add labels. Small tent cards or chalkboard labels help guests know what’s what. It’s especially helpful if you have multiple types of chocolate or unique toppings like sea salt flakes.
- Include serving utensils. Place small spoons or tongs in each bowl. For the marshmallows, I use a small pair of tongs or a slotted spoon.
- Provide napkins and stirrers. Have napkins nearby, along with cinnamon sticks or peppermint sticks for stirring. It’s a small touch that makes a big difference.
Cooking Tips & Techniques
I’ve learned a few things the hard way so you don’t have to. Here are my best tips for success.
Don’t rush the marshmallows. The first time I made them, I tried to speed up the whipping process by using high heat on the syrup. Bad idea. The syrup went past 240°F before I noticed, and the marshmallows came out tough and chewy. Be patient. Use a thermometer, and don’t walk away from the stove while the syrup is cooking. That 10 minutes of attention is worth it.
Humidity is the enemy of marshmallows. If it’s a rainy or humid day, your marshmallows might not set properly. The sugar syrup can absorb moisture from the air, making them sticky or even runny. I try to make mine on a dry day, or at least run the air conditioner or dehumidifier in the kitchen. If you’re in a humid climate, you can increase the cooking temperature to 242°F to compensate.
Keep the cocoa warm without scorching. A slow cooker on the “warm” setting is ideal for serving. But if you’re keeping it in a saucepan, use the lowest heat possible and stir occasionally. I’ve definitely scorched a batch by walking away and forgetting about it. The burnt smell is impossible to fix, so set a timer if you need to.
Make the marshmallows a day ahead. They need at least 6 hours to set, but overnight is better. Plus, it’s one less thing to do on the day of your gathering. The cocoa base can also be made a day ahead—just reheat it gently, whisking in a little extra milk if it’s thickened.
Scale the recipe for a crowd. This recipe makes about 8-10 servings of cocoa and about 24 large marshmallows. For a bigger party, double the cocoa base and make a double batch of marshmallows. The marshmallow recipe fits in a standard stand mixer, but if you double it, you’ll need to do it in two batches or use a larger commercial mixer.
Let guests customize. The beauty of a bar setup is that everyone builds their own perfect cup. Some people want a simple cocoa with just a marshmallow. Others will pile on whipped cream, chocolate shavings, crushed candy canes, and caramel sauce. Don’t judge—just enjoy watching them experiment.
Variations & Adaptations
This recipe is endlessly adaptable. Here are some of my favorite variations.
Dairy-Free Hot Cocoa: Substitute the whole milk with oat milk or almond milk, and use full-fat coconut cream instead of heavy cream. The coconut cream adds a subtle tropical note that pairs surprisingly well with chocolate. Oat milk gives the creamiest texture of all the non-dairy options. Just avoid skim or watery milks—they’ll make the cocoa thin.
Spiced Hot Cocoa: Add 1 teaspoon of ground cinnamon, ½ teaspoon of ground nutmeg, and a pinch of cayenne pepper to the dry cocoa ingredients. The cayenne adds a gentle warmth that builds as you drink. I love this version for cold winter nights when I want something extra cozy. You can also add a star anise or two while the cocoa heats, then remove it before serving.
Peppermint Hot Cocoa: Add ½ teaspoon of peppermint extract to the finished cocoa base, along with the vanilla. Top with crushed candy canes and a dollop of whipped cream. This is the ultimate holiday version. Just be careful with the peppermint extract—a little goes a long way, and too much can taste like toothpaste.
White Hot Cocoa: Skip the cocoa powder and instead melt 12 ounces of high-quality white chocolate into the milk and cream mixture. Add 1 teaspoon of vanilla extract. This version is incredibly rich and sweet, so I like to balance it with a pinch of salt and a splash of almond extract. Top with fresh raspberries or freeze-dried raspberry powder for a pretty pink contrast.
Mocha Hot Cocoa: Add 2 tablespoons of instant espresso powder or instant coffee granules to the dry cocoa ingredients. The coffee doesn’t make it taste like coffee—it just deepens the chocolate flavor and adds a subtle bitterness that balances the sweetness. This is my personal favorite for morning gatherings.
Flavored Marshmallows: You can easily customize the marshmallows. Add 1 teaspoon of peppermint extract instead of vanilla for peppermint marshmallows. Or add ½ teaspoon of almond extract and a drop of pink food coloring for a pretty blush color. For a grown-up version, add 2 tablespoons of bourbon or rum along with the vanilla—just note that alcohol can affect the set, so don’t add more than that.
Serving & Storage Suggestions
Serving Temperature: Serve the hot cocoa piping hot, but not boiling. I aim for about 160°F (71°C)—hot enough to warm you up, but not so hot that it burns your tongue. The marshmallows should be at room temperature. If you’re toasting them, do it over a candle or a small kitchen torch just before serving.
Presentation Tips: For a beautiful bar, use a mix of heights and textures. Place the slow cooker on a trivet or a small riser to give it prominence. Arrange the toppings in bowls of varying sizes—small ramekins for sprinkles, larger bowls for marshmallows. Add a few sprigs of fresh mint or rosemary for greenery. A string of fairy lights draped behind the table adds a magical touch for evening gatherings.
What to Serve Alongside: A hot cocoa bar pairs beautifully with cookies, brownies, or biscotti. I like to set out a plate of shortbread cookies and a bowl of fresh fruit for balance. If you’re hosting a brunch, add some savory options like quiche or breakfast sandwiches to round out the spread.
Storage Instructions: Store leftover cocoa in an airtight container in the refrigerator for up to 3 days. Reheat gently on the stovetop or in the microwave, whisking in a splash of milk to restore the creamy texture. Store the marshmallows in an airtight container at room temperature for up to 2 weeks. Do not refrigerate—they’ll get sticky and lose their texture. If they start to dry out, add a slice of bread to the container to add moisture.
Freezing Marshmallows: You can freeze homemade marshmallows for up to 3 months. Place them in a single layer on a baking sheet and freeze until solid, then transfer to a freezer bag. Thaw at room temperature for about 30 minutes before serving. They’ll be slightly less fluffy but still delicious.
Flavor Development: The cocoa base actually tastes better the next day, as the flavors meld together. If you’re making it ahead, I recommend making it a day in advance and reheating gently. The marshmallows are best fresh, but they’ll keep well for about a week.
Nutritional Information & Benefits
Let’s be honest—this is a treat, not a health food. But there are some redeeming qualities. Here’s a rough estimate per serving (1 cup of cocoa with 1 marshmallow and a dollop of whipped cream):
- Calories: Approximately 350-400
- Fat: 18-22g (mostly from cream and chocolate)
- Carbohydrates: 45-50g
- Protein: 6-8g
- Fiber: 2-3g
- Sugar: 35-40g
Health Benefits: Cocoa powder is rich in antioxidants called flavonoids, which can support heart health and reduce inflammation. The milk provides calcium and vitamin D, while the gelatin in marshmallows contains collagen, which is good for skin and joints. Of course, these benefits come with a fair amount of sugar and fat, so this is best enjoyed as an occasional indulgence rather than a daily habit.
Dietary Considerations: This recipe contains dairy and gelatin. For a dairy-free version, use oat milk and coconut cream. For a vegan version, you’ll need to skip the marshmallows or use a store-bought vegan version—homemade marshmallows require gelatin, which is animal-derived. The cocoa base is naturally gluten-free, but check your cocoa powder and chocolate chips to be sure.
Allergens: This recipe contains milk and may contain traces of soy (in chocolate chips). The marshmallows contain gelatin. If you’re serving a crowd, I recommend labeling the toppings clearly so guests with allergies can make informed choices.
My Personal Take: I don’t believe in demonizing food. This hot cocoa bar is about joy and connection, not nutrition. It’s okay to indulge sometimes, especially when you’re sharing it with people you love. The homemade marshmallows mean you’re eating real food, not processed chemicals, and that counts for something.
Conclusion
This Ultimate DIY Hot Cocoa Bar with Homemade Marshmallows has become a winter tradition in my house, and I hope it becomes one in yours too. It’s the kind of recipe that feels special without being stressful, that impresses guests without requiring hours of work, that brings people together around a table with warm mugs and happy smiles. My brother, the former cocoa hater, now asks me every December when I’m setting up the bar. He even helps me make the marshmallows—though he eats more than he cuts.
What I love most about this setup is how customizable it is. You can make it as simple or as elaborate as you want. You can stick with the classic toppings or go wild with flavored syrups and gourmet chocolates. You can serve it at a holiday party, a birthday celebration, or just a quiet night in. The marshmallows alone are worth the effort—they’re so much better than anything you can buy, and once you’ve had them, you’ll never go back.
So go ahead, set up that bar. Invite your friends, your family, your neighbors. Let them build their perfect cups. Watch their faces light up when they taste that first sip. And when someone tells you they don’t like hot cocoa, just smile and hand them a mug. Trust me—they’ll come around.
I’d love to hear how your hot cocoa bar turns out! Drop a comment below and tell me what toppings you used, or share a photo of your setup. And if you come up with a creative variation, I want to hear about that too. Happy sipping!
Frequently Asked Questions
Can I make the marshmallows without a candy thermometer?
Technically, yes, but I don’t recommend it for beginners. You can use the cold water test—drop a small amount of the hot syrup into a bowl of cold water. If it forms a firm, pliable ball that holds its shape, it’s ready. But the temperature needs to be exactly 240°F (115°C), and the cold water test is imprecise. A candy thermometer is inexpensive and takes the guesswork out. Trust me, it’s worth the investment.
How far in advance can I make the marshmallows?
You can make them up to 2 weeks ahead. Store them in an airtight container at room temperature, layered between sheets of parchment paper dusted with the powdered sugar mixture. If you’re making them for a party, I recommend making them 2-3 days ahead so they’re perfectly set but still fresh. They also freeze beautifully for up to 3 months.
My marshmallows turned out too sticky. What went wrong?
Sticky marshmallows usually mean one of two things: either the humidity was too high when you made them, or you didn’t dust them thoroughly enough with the powdered sugar mixture. If it’s humid, try increasing the cooking temperature to 242°F (117°C) next time. For the dusting, make sure every side is coated generously. If your marshmallows are already made and sticky, toss them in more powdered sugar mixture—it should help.
Can I use a different type of milk for the cocoa base?
Absolutely. Whole milk gives the creamiest texture, but you can use 2%, oat milk, almond milk, or coconut milk. Just keep in mind that lower-fat milks will produce a thinner cocoa, and some non-dairy milks can separate when heated. Oat milk is my favorite non-dairy option because it’s naturally creamy and doesn’t separate. If using almond milk, look for the “barista” version, which is formulated to hold up better to heat.
What’s the best way to reheat leftover cocoa?
The best method is on the stovetop over low heat, whisking occasionally. Add a splash of milk to thin it out if it’s thickened. You can also reheat individual servings in the microwave—heat in 30-second intervals, stirring between each, until hot. Avoid boiling the cocoa, as it can cause the milk to curdle or the chocolate to separate. Leftover cocoa keeps in the refrigerator for up to 3 days.
Pin This Recipe!
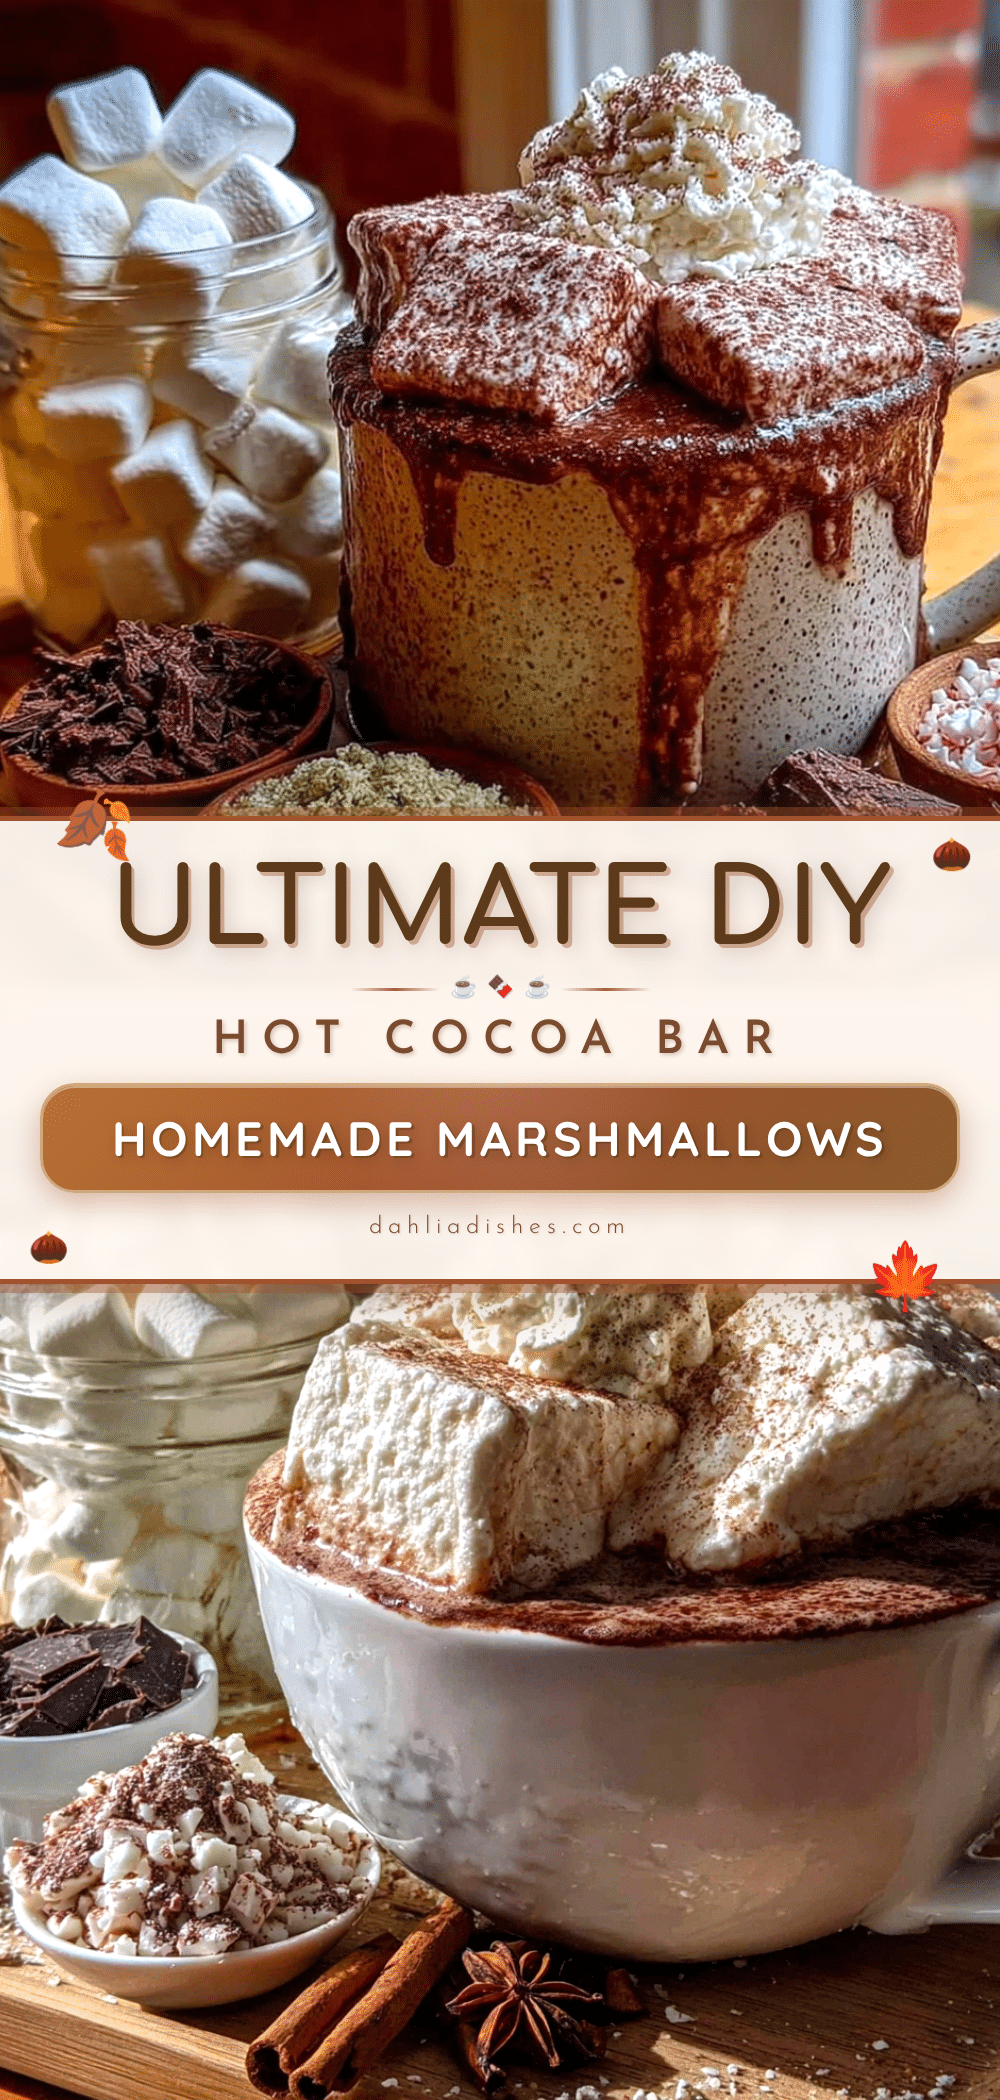
Ultimate DIY Hot Cocoa Bar with Homemade Marshmallows
Create a stunning hot cocoa bar with rich, creamy cocoa and light, fluffy homemade marshmallows. Perfect for winter gatherings, this setup lets guests customize their drinks with a variety of toppings.
- Prep Time: 30 minutes
- Cook Time: 20 minutes
- Total Time: 8 hours (includes setting time for marshmallows)
- Yield: 8-10 servings 1x
- Category: Beverage
- Cuisine: American
Ingredients
- ½ cup (40g) unsweetened cocoa powder (Dutch-processed preferred)
- ½ cup (100g) granulated sugar
- ¼ teaspoon salt
- 4 cups (960ml) whole milk
- 1 cup (240ml) heavy cream
- 2 teaspoons vanilla extract
- ½ cup (85g) semi-sweet chocolate chips (optional)
- 3 tablespoons unflavored gelatin (about 3 packets)
- ½ cup (120ml) cold water
- 1½ cups (300g) granulated sugar
- ¾ cup (180ml) light corn syrup
- ¼ teaspoon salt
- 2 teaspoons vanilla extract
- ½ cup powdered sugar (for dusting)
- Cornstarch (for dusting, optional)
- Whipped cream (for serving)
- Chocolate shavings or curls (for serving)
- Crushed candy canes (for serving)
- Caramel sauce (for serving)
- Mini chocolate chips (for serving)
- Sprinkles (for serving)
- Cinnamon sticks (for serving)
- Sea salt flakes (for serving)
- Mini marshmallows (for serving, optional)
- Peppermint sticks (for serving)
Instructions
- Prepare the pan: Line a 9×13-inch baking pan with parchment paper, leaving a 2-inch overhang. Lightly grease the paper and sift a generous layer of the powdered sugar-cornstarch mixture over the bottom.
- Bloom the gelatin: In the bowl of a stand mixer, pour ½ cup cold water and sprinkle 3 tablespoons gelatin evenly over the surface. Let sit for 10 minutes without stirring.
- Make the sugar syrup: In a medium saucepan, combine 1½ cups granulated sugar, ¾ cup light corn syrup, ¼ teaspoon salt, and ¼ cup water. Attach a candy thermometer and bring to a boil over medium heat without stirring. Cook until the thermometer reads 240°F (115°C), about 8-10 minutes.
- Combine syrup and gelatin: Remove syrup from heat. Turn mixer to low and slowly pour the hot syrup into the bloomed gelatin in a thin, steady stream down the side of the bowl.
- Whip the marshmallow: Increase mixer speed to medium-high and whip for 10-12 minutes until thick, glossy, and white. Add 2 teaspoons vanilla extract during the last minute.
- Pour and set: Scrape the marshmallow mixture into the prepared pan and spread evenly. Sift another generous layer of the powdered sugar mixture over the top. Let sit uncovered at room temperature for at least 6 hours or overnight.
- Cut and store: Turn marshmallows out onto a cutting board dusted with powdered sugar. Peel off parchment. Cut into squares using a pizza cutter or sharp knife dusted with powdered sugar. Toss each square in the powdered sugar mixture. Store in an airtight container at room temperature for up to 2 weeks.
- Make the hot cocoa base: In a large saucepan, whisk together ½ cup cocoa powder, ½ cup sugar, and ¼ teaspoon salt. Slowly pour in 4 cups whole milk and 1 cup heavy cream, whisking constantly.
- Heat gently: Place saucepan over medium heat and cook, whisking occasionally, until hot and steaming (about 5-7 minutes). Do not let it boil.
- Add chocolate and vanilla: Remove from heat and stir in ½ cup semi-sweet chocolate chips (if using) and 2 teaspoons vanilla extract. Whisk until smooth and glossy.
- Keep warm: Transfer cocoa to a slow cooker on the ‘warm’ setting or keep in the saucepan and reheat gently as needed.
- Set up the hot cocoa bar: Arrange mugs, the cocoa pot with a ladle, and small bowls of toppings. Group similar toppings together. Add labels and serving utensils. Provide napkins and stirrers like cinnamon sticks or peppermint sticks.
Notes
Make marshmallows a day ahead for best results. Humidity can affect marshmallow setting; on humid days, increase syrup temperature to 242°F. Cocoa base can be made ahead and reheated. For dairy-free, use oat milk and coconut cream. For vegan, use store-bought vegan marshmallows.
Nutrition
- Serving Size: 1 cup cocoa with 1 m
- Calories: 375
- Sugar: 38
- Sodium: 180
- Fat: 20
- Saturated Fat: 12
- Carbohydrates: 48
- Fiber: 3
- Protein: 7
Keywords: hot cocoa, hot chocolate, DIY bar, homemade marshmallows, winter, holiday, party, toppings bar


