Love this? Save it for later!
Share the inspiration with your friends
My sister-in-law had claimed to hate gravy for twenty-three years. Twenty-three years of dry turkey, dry mashed potatoes, dry everything—because she’d push her plate away from the communal gravy boat like it was radioactive. And then last Thanksgiving, I caught her standing over the stove at 11 p.m., spoon in hand, eating gravy straight from the pot. She froze when she saw me, spoon halfway to her mouth, and just said, “This one’s different.”
Here’s the thing—I wasn’t even trying to convert her. I was just tired. Tired of the store-bought stuff that tastes like salty paste, tired of lumpy, floury disasters that take forever to whisk. I wanted something quick, honest, and real. Something I could throw together while the turkey rested, using nothing but what was already in the pan and my pantry. Honestly, I was winging it. But that late-night spoonful changed everything.
Maybe you’ve been there. You’re juggling a hot turkey, a hungry crowd, and a dozen side dishes, and the gravy is somehow the most stressful part. It shouldn’t be. This quick homemade turkey gravy from pan drippings is the fix you need—no fuss, no fancy techniques, just rich, silky, crave-worthy gravy in under ten minutes. And yes, it even wins over self-proclaimed gravy haters.
Why You’ll Love This Recipe
Let me be real with you—I’ve tested this recipe through six Thanksgivings, two Christmas dinners, and one random Tuesday when I roasted a chicken just to make gravy. Every single time, it delivered. Here’s why this quick turkey gravy from pan drippings stands out from every other recipe you’ll find online:
- Ready in Under 10 Minutes : While your turkey rests, this gravy comes together with zero stress. No simmering for an hour, no constant whisking. Just five minutes of active work and you’re done.
- Uses What You Already Have : You need pan drippings, butter, flour, broth, and salt. That’s it. No cream, no wine, no weird thickeners. If you’ve got a pantry, you’ve got this.
- Perfect for Weeknight Thanksgiving Leftovers : This isn’t just a holiday recipe. Make it for Tuesday night turkey sandwiches, leftover mashed potatoes, or even roasted chicken any day of the week.
- Foolproof and Silky Every Time : No lumps, no graininess. The secret is whisking the fat-to-flour ratio just right, and I’ll show you exactly how.
- Unbelievably Rich Flavor : The pan drippings carry all that roasted turkey goodness—the browned bits, the rendered fat, the concentrated umami. This gravy tastes like you spent hours on it.
Here’s what makes this recipe different from the rest: most gravy recipes tell you to use a fat separator and carefully skim off the oil. I say skip it. Leaving some fat in the drippings actually gives you a richer, more flavorful gravy. Plus, it saves you a step and a dirty dish. You’re welcome.
This is the kind of gravy that makes you close your eyes after the first bite. It’s comfort food at its finest—fast, forgiving, and packed with soul-soothing satisfaction. Perfect for impressing your in-laws without breaking a sweat, or turning a simple weeknight dinner into something memorable.
What Ingredients You Will Need
This quick turkey gravy from pan drippings uses simple, honest ingredients to deliver bold flavor without the fuss. Most of these are pantry staples you already have on hand, which is exactly what you want when you’re juggling a holiday meal or a busy weeknight dinner.
For the Gravy Base
- Pan drippings from roasted turkey : About 1/4 to 1/3 cup. This is the liquid left in your roasting pan after you’ve removed the turkey. Don’t strain it—those browned bits are pure flavor.
- Unsalted butter : 3 tablespoons. I use Kerrygold for its richness, but any unsalted butter works. Salted butter will make the gravy too salty since the drippings already contain salt.
- All-purpose flour : 3 tablespoons. This creates the roux that thickens your gravy. For a gluten-free version, use a 1:1 gluten-free flour blend or cornstarch slurry instead.
- Low-sodium chicken or turkey broth : 2 cups. I prefer Swanson or Kitchen Basics for consistent flavor. Low-sodium is key here—you can always add salt later, but you can’t take it out.
- Salt and black pepper : To taste. Start with 1/4 teaspoon salt and 1/8 teaspoon pepper, then adjust.
Optional but Recommended Add-Ins
- Fresh thyme or sage : 1 teaspoon chopped. Adds an herby note that pairs beautifully with turkey. Use dried herbs if that’s what you have—just use half the amount.
- Garlic powder : 1/4 teaspoon. Not enough to taste garlic, just enough to deepen the savory flavor.
- Worcestershire sauce : A few dashes. This adds umami and depth without making the gravy taste like steak sauce. Trust me on this one.
A quick note on ingredient selection: if your pan drippings look too greasy, don’t panic. The fat will separate as the gravy cooks, and you can skim off any excess with a spoon. But honestly, a little fat in the gravy is what makes it taste so good. My family always fights over who gets the last spoonful of the fatty bits at the bottom of the pot.
For substitutions, you can use ghee instead of butter for a dairy-free option, or swap the broth with vegetable broth if you’re making this with a roasted chicken instead of turkey. The flavor will be slightly different, but still delicious.
Equipment Needed
You don’t need fancy equipment for this quick turkey gravy from pan drippings. Here’s what you’ll actually use:
- Roasting pan : The one you cooked your turkey in. Those browned bits stuck to the bottom are gold.
- Medium saucepan or skillet : I use a 2-quart saucepan. A wide skillet works too—more surface area means faster reduction.
- Whisk : A flat whisk works best for getting into the corners of the pan, but a balloon whisk is fine too.
- Measuring cups and spoons : For the broth and flour.
- Fine-mesh strainer : Optional but recommended if you want a perfectly smooth gravy. I skip it when I’m in a hurry, and nobody notices.
- Fat separator : Optional. I honestly never use mine—I just spoon off excess fat if needed.
If you don’t have a whisk, a fork works in a pinch. Just go slow and break up any lumps as you go. I’ve made this gravy with a wooden spoon before, and it turned out fine—just takes a little more elbow grease.
Preparation Method
This is where the magic happens. Follow these steps, and you’ll have silky, rich quick turkey gravy from pan drippings in less time than it takes to carve the bird.
Step 1: Collect Your Pan Drippings
Once you’ve transferred your roasted turkey to a cutting board to rest, tilt the roasting pan and pour the drippings into a liquid measuring cup or bowl. Let it sit for a minute or two so the fat rises to the top. You should have about 1/4 to 1/3 cup of drippings. If you have more, that’s fine—just adjust the flour and butter accordingly (equal parts fat and flour). If you have less, supplement with melted butter to reach 1/4 cup.
Step 2: Make the Roux
Place your saucepan over medium heat and add 3 tablespoons of butter. Let it melt completely, then add 3 tablespoons of flour. Whisk constantly for 1 to 2 minutes. The mixture should bubble gently and turn a light golden color. You’re looking for a paste-like consistency that smells nutty and toasty. Don’t walk away here—burnt roux tastes bitter and will ruin your gravy.
Step 3: Add the Drippings
Pour the reserved pan drippings into the roux, whisking continuously. The mixture will seize up and look clumpy at first—don’t panic. Keep whisking, and it will smooth out as the fat incorporates. This takes about 30 seconds of steady whisking. If it looks too thick, you’re doing it right.
Step 4: Whisk in the Broth
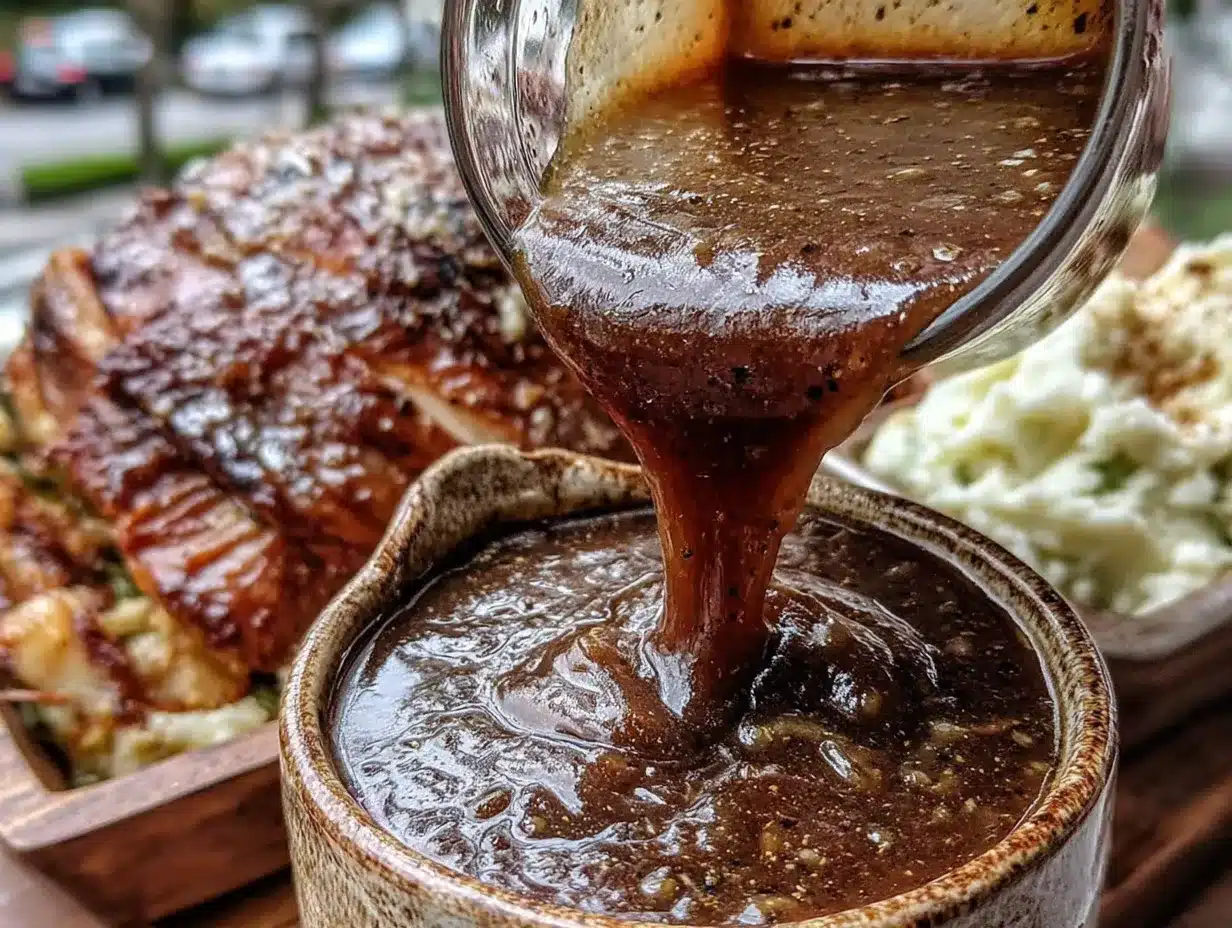
Slowly pour in 2 cups of low-sodium chicken or turkey broth while whisking constantly. Start with a thin stream, then increase as the gravy comes together. Keep whisking until the mixture is smooth and begins to thicken, about 3 to 4 minutes. The gravy should coat the back of a spoon—if it’s too thin, let it simmer another minute. If it’s too thick, add a splash more broth.
Step 5: Season and Finish
Reduce the heat to low. Add salt and pepper to taste—start with 1/4 teaspoon salt and 1/8 teaspoon pepper. If using fresh herbs, garlic powder, or Worcestershire sauce, stir them in now. Taste and adjust seasoning. Remember, the drippings already contain salt from the turkey, so go easy at first.
Step 6: Strain (Optional) and Serve
For a perfectly smooth gravy, pour it through a fine-mesh strainer into a serving boat or bowl. I usually skip this step for weeknight dinners, but for holidays, it gives that restaurant-quality finish. Serve immediately while hot.
A quick note on timing: if your turkey is resting for 20 to 30 minutes, you have plenty of time to make this gravy. Start it about 10 minutes before you’re ready to carve, so it’s hot and ready when the turkey hits the table.
Cooking Tips & Techniques
After making this quick turkey gravy from pan drippings more times than I can count, I’ve learned a few things the hard way. Here are my best tips to save you from my mistakes.
Don’t Skim All the Fat : I know every recipe tells you to remove the fat, but here’s the truth—some fat in the drippings gives the gravy body and richness. If your drippings look like they’re 50% fat, spoon off half and leave the rest. You’ll thank me later.
Whisk Like You Mean It : Lumpy gravy happens when you stop whisking or add liquid too fast. Keep that whisk moving in a figure-eight pattern, and pour the broth in a slow, steady stream. If you do get lumps, don’t panic—just pour the gravy through a strainer and nobody will ever know.
Low and Slow for Thickening : Once you’ve added all the liquid, let the gravy simmer gently—not boil. Boiling can break the emulsion and make the gravy greasy. A gentle bubble is all you need.
Make It Ahead : You can make this gravy up to 3 days in advance. Store it in an airtight container in the fridge. When reheating, add a splash of broth or water to thin it out, and whisk over medium-low heat until smooth. I’ve done this for Christmas dinner before, and nobody could tell it wasn’t fresh.
My Biggest Failure : One year, I got distracted by a screaming toddler and let my roux burn. The gravy tasted like scorched toast. Now I set a timer for the roux stage—2 minutes max. Learn from my mistake, please.
Variations & Adaptations
This quick turkey gravy from pan drippings is incredibly versatile. Here are some ways to switch it up based on what you have or who you’re feeding.
Dietary Variations
- Gluten-Free : Swap the all-purpose flour with a 1:1 gluten-free flour blend. You can also use a cornstarch slurry—mix 2 tablespoons cornstarch with 1/4 cup cold broth, then whisk it in at the end instead of making a roux.
- Dairy-Free : Use ghee or a plant-based butter alternative. I’ve used Miyoko’s vegan butter with great results.
- Low-Sodium : Use unsalted butter and no-salt-added broth. Skip the added salt until the very end, and go easy.
Flavor Twists
- Herb-Infused : Add 1 teaspoon of fresh chopped rosemary or sage along with the broth. The herbs bloom in the hot liquid and infuse the gravy beautifully.
- Mushroom Gravy : Sauté 1 cup of sliced mushrooms in the butter before adding the flour. This adds an earthy depth that’s incredible with turkey or chicken.
- Smoky Gravy : Add 1/2 teaspoon of smoked paprika along with the flour. It gives the gravy a subtle campfire flavor that pairs perfectly with roasted meats.
Method Adaptations
- No Pan Drippings? : Use 1/4 cup melted butter and 2 cups of broth. Add 1 teaspoon of Better than Bouillon roasted chicken base for depth. It won’t be exactly the same, but it’s surprisingly good in a pinch.
- Slow Cooker Version : Make the roux on the stovetop, then transfer everything to a slow cooker on warm. This works great for buffets or large gatherings.
I once made a smoky mushroom version for a Friendsgiving, and it disappeared before the turkey did. Seriously—people were spooning it over everything, including the salad. Don’t judge until you try it.
Serving & Storage Suggestions
This quick turkey gravy from pan drippings is best served hot, straight from the pot. But here’s how to handle leftovers and make the most of every drop.
Serving Temperature : Gravy should be served warm—not boiling, not lukewarm. If it sits for more than 10 minutes, give it a quick reheat over low heat, whisking occasionally. I keep mine in a small saucepan on the stove with the burner on the lowest setting.
What to Serve It With : Obviously, roasted turkey. But this gravy is also incredible on mashed potatoes, stuffing, biscuits, roasted vegetables, and even open-faced turkey sandwiches. My kids pour it over their green beans, and honestly, I don’t stop them.
Storage Instructions : Store leftover gravy in an airtight container in the refrigerator for up to 5 days. The gravy will thicken as it cools—that’s normal. To reheat, transfer to a saucepan and add a tablespoon of broth or water. Whisk over medium-low heat until smooth and hot.
Freezing : Gravy freezes beautifully for up to 3 months. Pour it into a freezer-safe bag or container, leaving some headroom for expansion. Thaw overnight in the fridge, then reheat as directed. I always make a double batch and freeze half for future weeknight dinners.
Flavor Development : Here’s a secret—this gravy actually tastes better the next day. The flavors meld and deepen overnight. So if you’re planning a big meal, make the gravy a day ahead. Your future self will thank you.
Nutritional Information & Benefits
This quick turkey gravy from pan drippings is surprisingly light for something so rich. Here’s the breakdown per 1/4 cup serving:
| Nutrient | Amount |
|---|---|
| Calories | 85 |
| Total Fat | 6g |
| Saturated Fat | 3.5g |
| Cholesterol | 15mg |
| Sodium | 280mg (varies by broth) |
| Total Carbohydrates | 5g |
| Protein | 2g |
Health Benefits : Turkey drippings contain collagen and gelatin from the bones and skin, which are great for joint health and digestion. The butter provides vitamin A, and the broth adds electrolytes. This isn’t health food, but it’s not junk either—it’s real food made from real ingredients.
Dietary Considerations : This recipe can be made gluten-free, dairy-free, and low-sodium with simple swaps. It’s naturally low in sugar and contains no artificial additives. If you’re watching your sodium, use no-salt-added broth and skip the added salt.
Allergen Note : This recipe contains dairy (butter) and gluten (flour) in its standard form. See the variations section for allergy-friendly alternatives.
Conclusion
This quick turkey gravy from pan drippings is proof that you don’t need hours or fancy techniques to make something incredible. It’s fast, forgiving, and packed with the kind of deep, savory flavor that makes everyone at the table go quiet for a moment. Whether you’re feeding a holiday crowd or just making Tuesday night turkey sandwiches feel special, this gravy delivers every single time.
I love this recipe because it respects your time without sacrificing taste. It’s the kind of thing you can make without thinking, even when the kitchen is chaos and the turkey is resting and someone is asking you where the good wine is. You’ve got this.
Make it your own—add fresh herbs, a splash of sherry, or a pinch of cayenne. And when you do, come back and tell me about it in the comments. I read every single one, and honestly, your variations might just inspire my next batch.
Go make that gravy. You deserve it.
Frequently Asked Questions
Can I make this gravy without pan drippings?
Yes! If you don’t have drippings, use 1/4 cup melted butter and 2 cups of broth. Add 1 teaspoon of Better than Bouillon roasted chicken base for depth. It won’t be identical, but it’s delicious in a pinch.
How do I fix lumpy gravy?
Don’t panic—just pour the gravy through a fine-mesh strainer into a clean pot. Press it through with a spoon to get all the smooth liquid. Alternatively, use an immersion blender to smooth it out right in the pot.
Can I freeze leftover gravy?
Absolutely. Pour cooled gravy into a freezer-safe bag or container and freeze for up to 3 months. Thaw overnight in the fridge, then reheat over low heat, whisking in a splash of broth if needed.
Why is my gravy too thin?
Your gravy might need more time to simmer. Let it bubble gently for 2 to 3 more minutes to allow the flour to fully thicken. If it’s still thin, mix 1 tablespoon cornstarch with 2 tablespoons cold water and whisk it in.
Can I make this gravy ahead of time?
Yes, up to 3 days in advance. Store it in an airtight container in the fridge. When reheating, add a splash of broth or water and whisk over medium-low heat until smooth. It actually tastes better the next day!
Pin This Recipe!
Quick & Easy Turkey Gravy from Pan Drippings

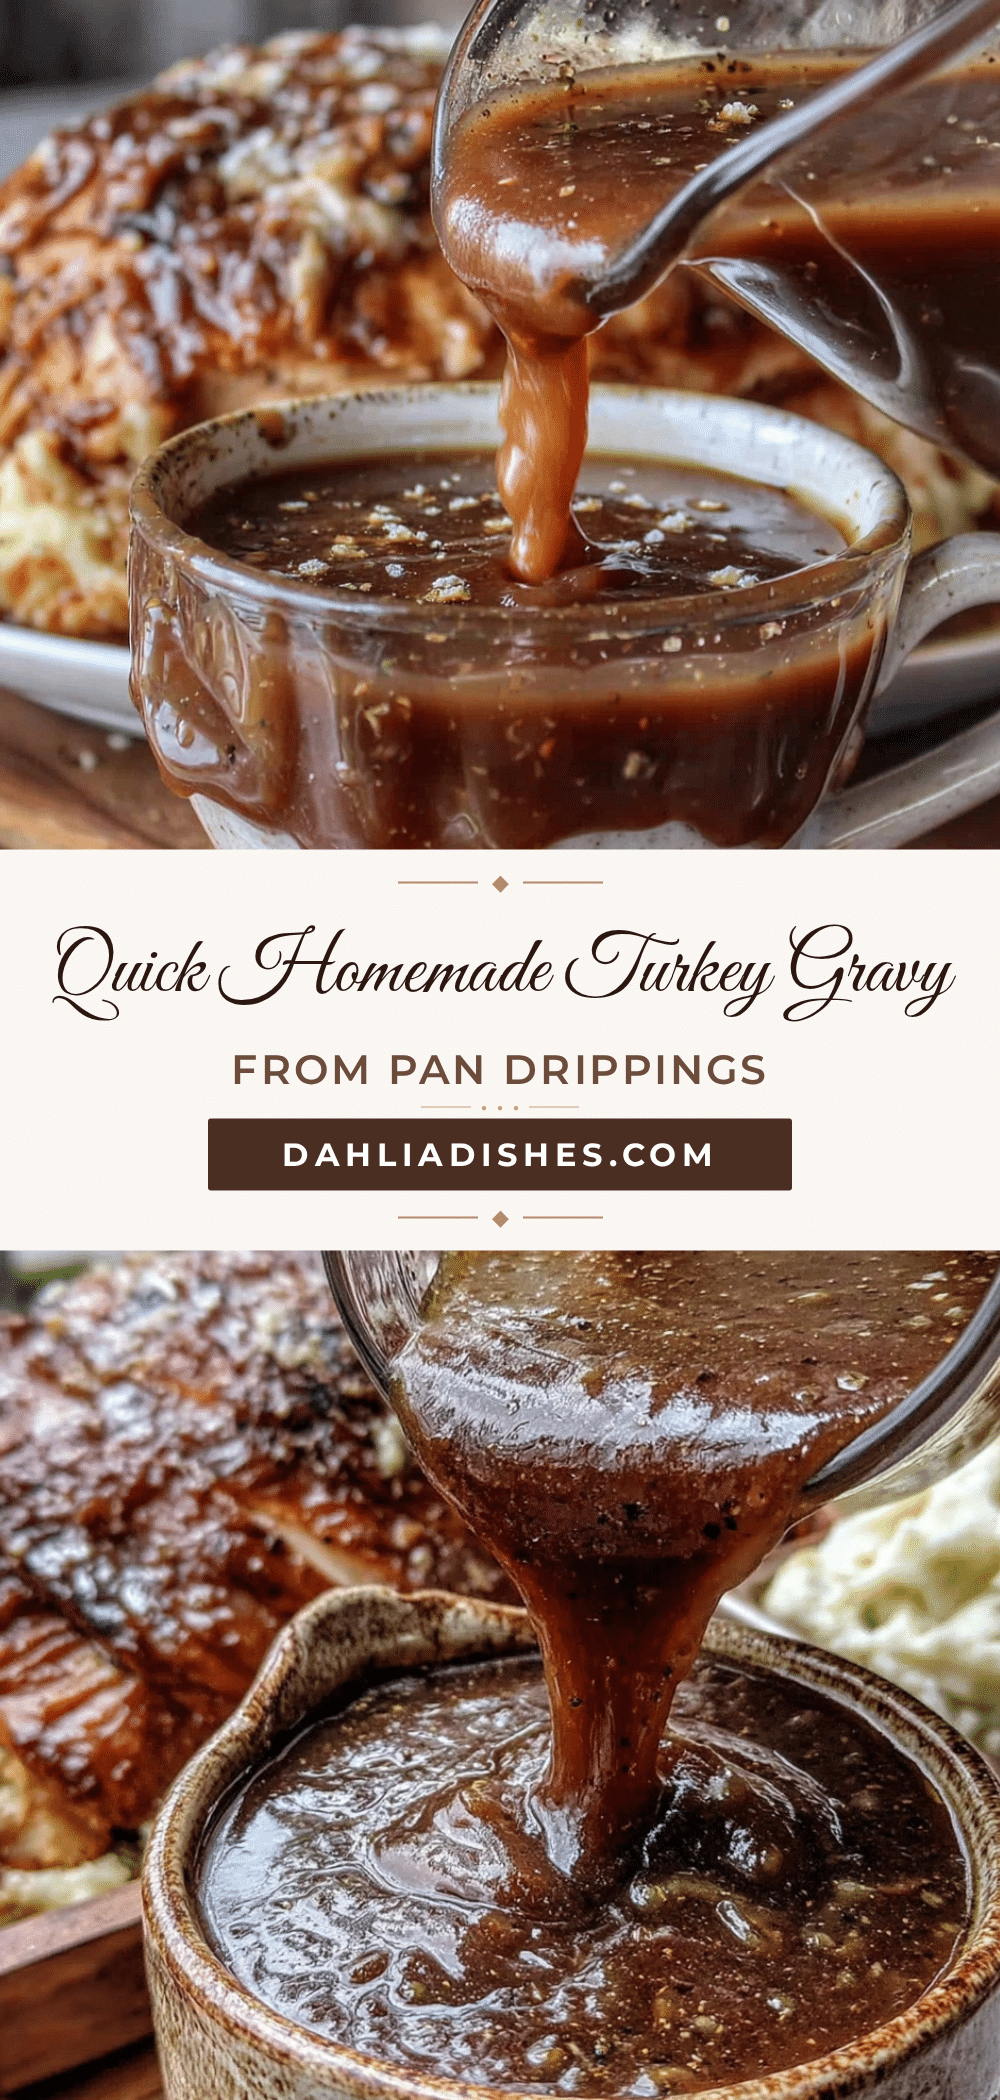
This quick homemade turkey gravy from pan drippings is the fix you need—no fuss, no fancy techniques, just rich, silky, crave-worthy gravy in under ten minutes. It even wins over self-proclaimed gravy haters.
- Prep Time: 5 minutes
- Cook Time: 5 minutes
- Total Time: 10 minutes
- Yield: 8 servings 1x
- Category: Sauce
- Cuisine: American
Ingredients
- 1/4 to 1/3 cup pan drippings from roasted turkey
- 3 tablespoons unsalted butter
- 3 tablespoons all-purpose flour
- 2 cups low-sodium chicken or turkey broth
- 1/4 teaspoon salt (or to taste)
- 1/8 teaspoon black pepper (or to taste)
- 1 teaspoon fresh thyme or sage, chopped (optional)
- 1/4 teaspoon garlic powder (optional)
- A few dashes Worcestershire sauce (optional)
Instructions
- Once you’ve transferred your roasted turkey to a cutting board to rest, tilt the roasting pan and pour the drippings into a liquid measuring cup or bowl. Let it sit for a minute or two so the fat rises to the top. You should have about 1/4 to 1/3 cup of drippings.
- Place your saucepan over medium heat and add 3 tablespoons of butter. Let it melt completely, then add 3 tablespoons of flour. Whisk constantly for 1 to 2 minutes until the mixture bubbles gently and turns a light golden color, forming a paste-like consistency that smells nutty and toasty.
- Pour the reserved pan drippings into the roux, whisking continuously. The mixture will seize up and look clumpy at first—keep whisking until it smooths out, about 30 seconds.
- Slowly pour in 2 cups of low-sodium chicken or turkey broth while whisking constantly. Start with a thin stream, then increase as the gravy comes together. Keep whisking until the mixture is smooth and begins to thicken, about 3 to 4 minutes. The gravy should coat the back of a spoon.
- Reduce the heat to low. Add salt and pepper to taste—start with 1/4 teaspoon salt and 1/8 teaspoon pepper. If using fresh herbs, garlic powder, or Worcestershire sauce, stir them in now. Taste and adjust seasoning.
- For a perfectly smooth gravy, pour it through a fine-mesh strainer into a serving boat or bowl. Serve immediately while hot.
Notes
Don’t skim all the fat from the drippings—some fat gives the gravy body and richness. Whisk constantly to avoid lumps. For make-ahead, store in an airtight container in the fridge for up to 3 days; reheat with a splash of broth. Gravy freezes well for up to 3 months.
Nutrition
- Serving Size: 1/4 cup
- Calories: 85
- Sodium: 280
- Fat: 6
- Saturated Fat: 3.5
- Carbohydrates: 5
- Protein: 2
Keywords: turkey gravy, pan drippings gravy, quick gravy, homemade gravy, Thanksgiving gravy, easy gravy recipe


