Love this? Save it for later!
Share the inspiration with your friends
My neighbor Mark asked why I couldn’t just press the pie dough directly into the mini tart pans instead of chilling it first. I started to explain why that wouldn’t work—something about gluten relaxation and butter temperature—then stopped. He was holding a beer in one hand and a rolling pin in the other, looking at me like I was overcomplicating a Tuesday night. So I shrugged and said, “Alright, let’s try it your way.”
I was certain I’d end up with a tough, shrunken mess. Honestly, I was already planning how to salvage the situation with a store-bought crust and a sheepish apology. But you know what? The dough pressed in beautifully. It didn’t shrink. It didn’t turn into a hockey puck. It baked up flaky and tender, and Mark just nodded like he’d known all along. That moment stuck with me—not because I love being wrong (I don’t), but because it reminded me that sometimes the rules we follow so carefully in the kitchen are more like suggestions.
These mini pumpkin pies from scratch are the result of that night. They’re cozy, they’re cute, and they have a crust that stays crisp without any pre-baking fuss. Maybe you’ve been there—standing over a pie, watching the bottom turn sad and soggy, wondering where you went wrong. I’ve been there too, more times than I care to admit. That’s why I keep coming back to this method. It works. And it makes your kitchen smell like fall in the best possible way.
Why You’ll Love This Recipe
Let me tell you why these mini pumpkin pies from scratch have become my go-to for everything from Thanksgiving to random Tuesday cravings. I’ve tested this recipe more times than I can count, tweaking and adjusting until every single element felt right. The crust? It’s been approved by a pastry chef friend who initially scoffed at the “no chill” method. The filling? I landed on a spice blend that took about six tries to perfect—cardamom was the secret, by the way.
- Quick & Easy: From start to oven in about 25 minutes. No chilling the dough, no pre-baking the crust. These are perfect for when you need a dessert that looks impressive but doesn’t eat up your whole afternoon.
- Simple Ingredients: Butter, flour, sugar, canned pumpkin, eggs, and spices. That’s it. No cream cheese in the crust, no weird stabilizers in the filling. Everything you probably already have in your pantry.
- Perfect for Cozy Evenings: There’s something about the smell of pumpkin and cinnamon baking that makes a gray November day feel manageable. These little pies are made for curling up on the couch with a blanket and a cup of tea.
- Crowd-Pleaser: I brought a batch to a potluck last month and watched three different people ask for the recipe before I’d even finished my first slice. Kids love the size, and adults appreciate not having to commit to a full slice of pie.
- Unbelievably Delicious: The crust stays crisp because of the press-in method—no soggy bottom, no sad textures. And the filling is creamy without being heavy, spiced without being overwhelming. It’s the kind of dessert that makes you close your eyes after the first bite.
What makes this different from every other pumpkin pie recipe out there is the technique. Pressing the dough in while it’s still soft creates a crust that bakes up tender and flaky, even without the traditional chill-and-roll method. Plus, the mini size means they bake faster and come out perfectly every time. No cracked tops, no undercooked centers. Just pure, cozy pumpkin pie goodness in a portable package.
What Ingredients You Will Need
This recipe uses simple, wholesome ingredients to create that classic pumpkin pie flavor with a crust that actually stays crisp. Most of these are pantry staples, which makes these mini pumpkin pies from scratch perfect for spontaneous baking sessions.
For the Crust
- All-purpose flour, 1 ½ cups (180g) — I use King Arthur Flour for consistent results, but any brand works fine. Spoon and level your flour; don’t scoop straight from the bag or you’ll end up with a dry dough.
- Unsalted butter, ½ cup (113g), cold and cut into small cubes — Cold butter is key here, even though we’re not chilling the dough. The little bits of butter create steam pockets as they melt, giving you those flaky layers.
- Granulated sugar, 1 tablespoon (12g) — Just a touch of sweetness in the crust to balance the savory notes of the butter.
- Salt, ¼ teaspoon — Don’t skip this. Salt makes the crust taste like something instead of just bland flour and butter.
- Ice water, 3-4 tablespoons (45-60ml) — Start with 3 tablespoons and add more only if the dough feels too dry. The goal is a dough that holds together when pinched but isn’t sticky.
For the Pumpkin Filling
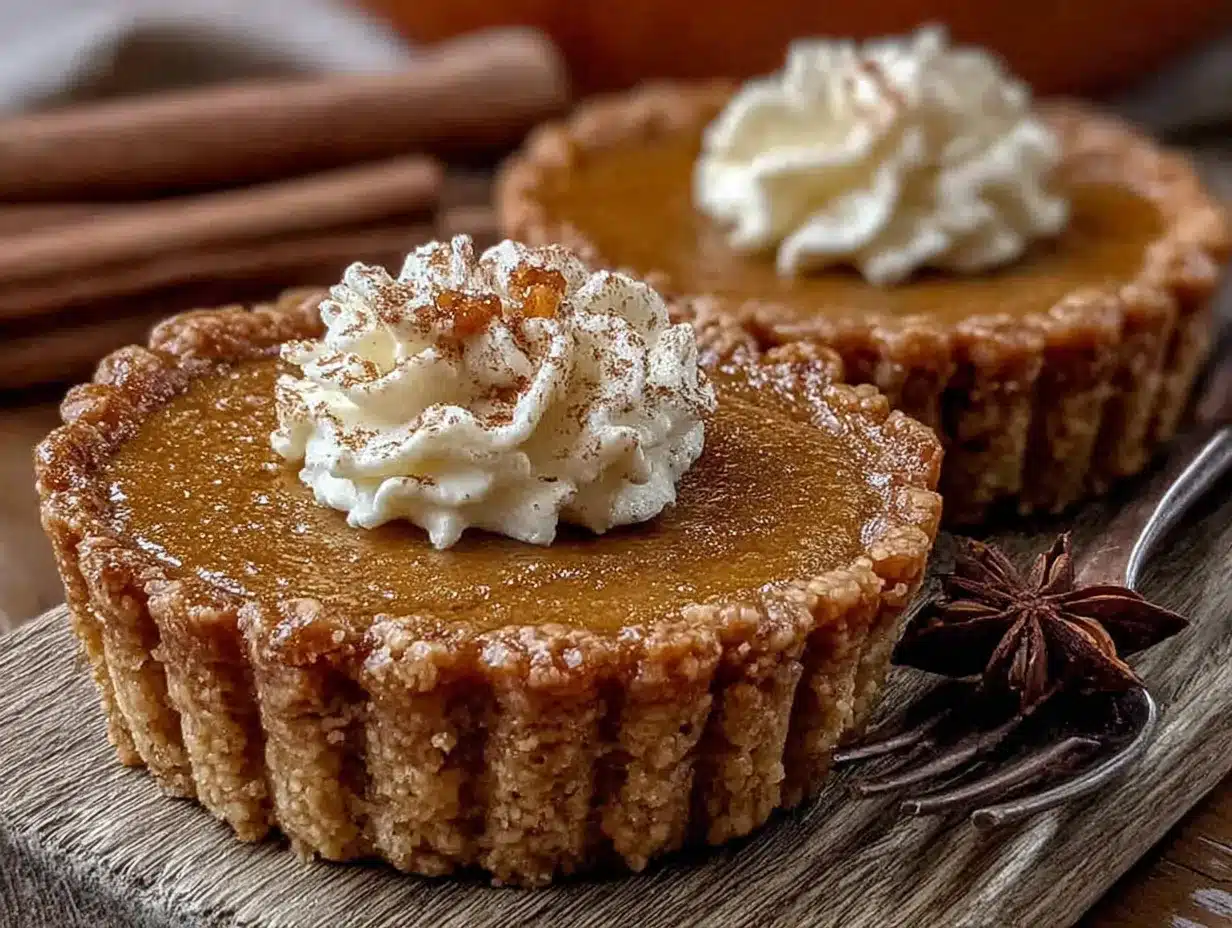
- Canned pumpkin puree, 1 cup (240g) — Make sure you’re getting pure pumpkin, not pumpkin pie filling. Libby’s is my go-to because it’s consistently thick and not watery. If you’re using homemade pumpkin puree, you’ll need to strain it through cheesecloth first to remove excess moisture.
- Sweetened condensed milk, ¾ cup (240g) — This is what gives the filling that silky, creamy texture. Eagle Brand is the classic choice. For a less sweet version, you can use evaporated milk plus an extra 2 tablespoons of sugar, but the texture won’t be quite as luxurious.
- Large egg, 1 — Room temperature is best. If you forgot to take it out of the fridge, place it in a bowl of warm water for 5 minutes.
- Egg yolk, 1 — The extra yolk adds richness and helps the filling set up beautifully without being too firm.
- Vanilla extract, 1 teaspoon — Pure vanilla is worth the splurge here. Imitation works in a pinch, but the flavor won’t be as warm and complex.
- Ground cinnamon, 1 teaspoon — The backbone of pumpkin pie spice. I prefer Vietnamese cinnamon for its stronger, sweeter flavor.
- Ground ginger, ½ teaspoon — Adds a little warmth and bite. Freshly ground is nice if you have it, but pre-ground works perfectly.
- Ground nutmeg, ¼ teaspoon — Freshly grated is amazing here, but I won’t judge you for using the jarred stuff.
- Ground cloves, ⅛ teaspoon — A little goes a long way. Too much and your filling will taste like holiday potpourri.
- Ground cardamom, ¼ teaspoon — This is my secret ingredient. It adds a subtle floral note that makes the filling taste more complex without being identifiable.
Equipment Needed
You don’t need a fancy kitchen to make these mini pumpkin pies from scratch. Here’s what you’ll actually use:
- Mini tart pans (4-inch size) — I have a set of six that I picked up at a kitchen supply store for about twelve dollars. You can also use a mini muffin tin if that’s what you have, though the pies will be smaller and you’ll need to adjust the baking time. The tart pans give you that classic pie shape with the fluted edges, which makes them look extra special.
- Mixing bowls — One medium bowl for the crust, one small bowl for the filling. Nothing fancy needed.
- Pastry cutter or two forks — For cutting the butter into the flour. I use a pastry cutter because it’s faster, but forks work just fine. You could even use your fingertips if you work quickly so the butter doesn’t warm up too much.
- Measuring cups and spoons — For accurate measurements. Baking is a science, even when the recipe is forgiving.
- Whisk — For combining the filling ingredients until smooth.
- Baking sheet — Place the tart pans on a baking sheet for easy transfer in and out of the oven. It also catches any filling that might bubble over.
- Cooling rack — Let the pies cool completely before serving. I learned this the hard way after serving warm pies that fell apart on the plate.
Preparation Method
Alright, let’s make these mini pumpkin pies from scratch. I’ve broken this down into clear steps with all the little details that make a difference.
Step 1: Make the Crust Dough
In a medium mixing bowl, whisk together the flour, sugar, and salt. Add the cold butter cubes and use your pastry cutter (or two forks) to cut the butter into the flour until the mixture looks like coarse meal with some pea-sized butter pieces remaining. Don’t overdo it—those little butter chunks are what create flakiness.
Sprinkle 3 tablespoons of ice water over the mixture and stir with a fork until the dough starts to come together. If it seems dry, add the remaining tablespoon of water, one teaspoon at a time. The dough should hold together when you squeeze a handful but shouldn’t be sticky or wet. It will look a little shaggy, and that’s exactly right.
Step 2: Press the Dough into the Pans
Divide the dough into 6 equal portions (about 2 ounces each). Working with one portion at a time, press the dough evenly into the bottom and up the sides of your mini tart pans. Don’t worry about making it perfect—the rustic edges are part of the charm. Just make sure there are no thin spots or holes. If the dough cracks, just press it back together. This is the beauty of the press-in method; it’s incredibly forgiving.
Place the filled tart pans on a baking sheet and pop them in the freezer for 10 minutes while you make the filling. This little chill helps the butter firm up so the crust holds its shape better during baking.
Step 3: Make the Pumpkin Filling
In a small bowl, whisk together the pumpkin puree, sweetened condensed milk, egg, egg yolk, vanilla extract, and all the spices until smooth. The mixture should be thick and creamy, like a milkshake. Give it a taste—it should be spiced enough to be fragrant but not so strong that it overpowers the pumpkin. Adjust the spices if needed, but remember that flavors will mellow slightly during baking.
Step 4: Fill and Bake
Preheat your oven to 375°F (190°C). Remove the tart pans from the freezer and divide the filling evenly among them, filling each about three-quarters full. The filling will puff up slightly as it bakes, so leave a little room at the top.
Bake for 18-22 minutes, or until the edges of the filling are set and the centers jiggle just slightly when you gently shake the pan. A toothpick inserted near the center should come out mostly clean with just a few moist crumbs. The crust should be golden brown around the edges.
Let the pies cool on the baking sheet for 10 minutes, then transfer to a wire rack to cool completely. The filling will continue to set as it cools, so don’t worry if it looks a little wobbly right out of the oven.
Cooking Tips & Techniques
After making these mini pumpkin pies from scratch more times than I can count, I’ve collected a few tips that make a real difference.
Don’t overwork the dough. I know I said this before, but it’s worth repeating. Overmixing develops gluten, which makes the crust tough. You want to see little flecks of butter in the dough—that’s a good sign. The first time I made this recipe, I kept mixing until the dough was perfectly uniform, and the crust came out dense and bread-like. Learn from my mistake.
Blind baking isn’t necessary. This is the whole point of the recipe, right? The press-in method creates a crust that bakes up crisp without pre-baking because the dough is thin enough to cook through during the baking time. Just make sure you’re not pressing the dough too thick—about ⅛ inch is perfect.
Room temperature ingredients matter. The egg and egg yolk should be at room temperature so they incorporate smoothly into the filling. Cold eggs can cause the condensed milk to seize up, leaving you with a lumpy filling. Trust me, I’ve been there, and it’s not pretty.
Watch the timing. These mini pies bake faster than a full-sized pie, so keep an eye on them after the 18-minute mark. Ovens vary, and your pies might be done a few minutes earlier or later than mine. The jiggle test is more reliable than the timer.
Let them cool completely. I know it’s tempting to dig in while they’re still warm, but the filling needs time to set. If you cut into them too soon, you’ll end up with a runny mess. Patience, my friend. It’s worth the wait.
Variations & Adaptations
One of the best things about these mini pumpkin pies from scratch is how easy they are to adapt. Here are a few variations I’ve tried and loved:
Gluten-Free Version: Substitute the all-purpose flour with a 1:1 gluten-free baking flour blend that contains xanthan gum. I’ve had good results with Bob’s Red Mill. The texture will be slightly more crumbly, but the flavor is still fantastic.
Dairy-Free Option: Use vegan butter sticks (like Miyoko’s) in the crust and swap the sweetened condensed milk for a dairy-free version. You can find coconut-based sweetened condensed milk at most grocery stores now. The filling will be slightly less rich, but still delicious.
Spice It Up: Add a pinch of cayenne pepper or chipotle powder to the filling for a sweet-and-spicy twist. I tried this last fall on a whim, and it was surprisingly good—the heat plays nicely with the sweetness of the condensed milk.
Maple Pumpkin: Replace the vanilla extract with maple syrup and add an extra tablespoon of maple syrup to the filling. The maple flavor pairs beautifully with the pumpkin and spices. Just reduce the condensed milk by a tablespoon to keep the consistency right.
Mini Pumpkin Cheesecake: For a richer version, swap half the pumpkin puree for cream cheese. Beat 4 ounces of softened cream cheese with ¼ cup of sugar, then add the remaining filling ingredients. Bake as directed. It’s decadent and absolutely worth the extra calories.
Serving & Storage Suggestions
These mini pumpkin pies from scratch are best served at room temperature, but they’re also delicious slightly chilled. I like to let them cool completely, then pop them in the fridge for about 30 minutes before serving. The filling firms up just enough to make clean slices.
For serving, a dollop of whipped cream is the classic choice. I make my own by whipping heavy cream with a little powdered sugar and vanilla—it takes two minutes and tastes so much better than the canned stuff. A sprinkle of cinnamon on top adds a nice finishing touch. If you’re feeling fancy, drizzle with caramel sauce or add a few candied pecans.
These pies pair beautifully with coffee, tea, or a glass of cold milk. They’re also wonderful alongside a scoop of vanilla ice cream for an extra-indulgent dessert.
For storage, keep the pies in an airtight container in the refrigerator for up to 5 days. The crust will soften slightly over time, but they’ll still be delicious. To reheat, pop them in a 300°F (150°C) oven for 5-7 minutes to crisp up the crust again. You can also microwave them for about 15 seconds, though the crust won’t be as crisp.
These pies freeze beautifully. Wrap each one individually in plastic wrap, then place them in a freezer-safe bag. They’ll keep for up to 3 months. Thaw in the refrigerator overnight and reheat as directed.
Nutritional Information & Benefits
Each mini pumpkin pie (based on 6 servings) contains approximately 320 calories, 15g fat, 42g carbohydrates, and 6g protein. The exact numbers will vary depending on your specific ingredients and portion sizes.
Pumpkin is packed with vitamin A, which is great for eye health and immune function. It’s also a good source of fiber, which helps with digestion and keeps you feeling full. The spices in this recipe—cinnamon, ginger, nutmeg, and cloves—are all known for their anti-inflammatory properties. So yes, you can totally justify having a second pie for health reasons.
For those watching their sugar intake, you can reduce the sweetened condensed milk by a couple of tablespoons and add an extra tablespoon of pumpkin puree to compensate. The pies won’t be as sweet, but they’ll still be delicious. For a lower-calorie option, use a sugar substitute like monk fruit sweetener in the crust and a sugar-free condensed milk alternative.
These pies are vegetarian and can easily be made gluten-free or dairy-free with the substitutions mentioned above. They contain eggs and dairy in the standard version, so keep that in mind for any guests with allergies.
Conclusion
These mini pumpkin pies from scratch have become a staple in my kitchen for a reason. They’re simple enough for a weeknight baking session but special enough for holiday gatherings. The crust stays crisp, the filling is creamy and perfectly spiced, and the mini size means everyone gets their own little pie—no fighting over the last slice.
I love how adaptable this recipe is. You can play with the spices, swap in different crusts, or add your own toppings. It’s the kind of recipe that invites creativity while still delivering reliable results every time. Whether you’re making them for Thanksgiving, a cozy fall dinner, or just because Tuesday feels like it needs a little something special, these pies deliver.
I’d love to hear how yours turn out. Did you try a variation? Add your own twist? Drop a comment below and let me know. And if you’re looking for more cozy fall recipes, check out my homemade apple cider and easy pumpkin soup—they pair perfectly with these pies for a full autumn feast.
Happy baking, friends. May your crusts stay crisp and your pumpkin pies be perfectly spiced.
Frequently Asked Questions
Can I use a different type of pan?
Absolutely! If you don’t have mini tart pans, you can use a regular muffin tin. Just grease the cups well and press the dough in as directed. The baking time might be slightly shorter, so start checking at 15 minutes. You can also use a 9-inch pie pan for a single large pie—just double the filling recipe and bake for 35-40 minutes.
Why is my crust soggy?
A soggy crust usually means the dough was pressed too thick, or the filling was too wet. Make sure you’re pressing the dough to about ⅛ inch thickness. If your pumpkin puree seems watery, you can strain it through a fine-mesh sieve or cheesecloth before mixing the filling. Also, don’t skip the freezer step—it helps the crust firm up before baking.
Can I make these ahead of time?
Yes! These pies are actually better the next day—the flavors have time to meld and develop. Bake them a day ahead, let them cool completely, and store them in the refrigerator. Bring them to room temperature before serving, or reheat them gently in the oven.
How do I know when the pies are done?
The edges of the filling should be set and slightly puffed, while the center should jiggle just a little when you shake the pan. A toothpick inserted near the center should come out mostly clean with a few moist crumbs. The crust should be golden brown. If the edges are browning too quickly, tent the pies with foil for the last few minutes of baking.
Can I freeze the unbaked pies?
You can freeze the unbaked crusts for up to 3 months. Just press the dough into the pans, wrap them tightly in plastic wrap, and freeze. When you’re ready to bake, fill them directly from frozen and add 2-3 minutes to the baking time. I don’t recommend freezing the filled unbaked pies, as the texture of the filling can change during thawing.
Pin This Recipe!
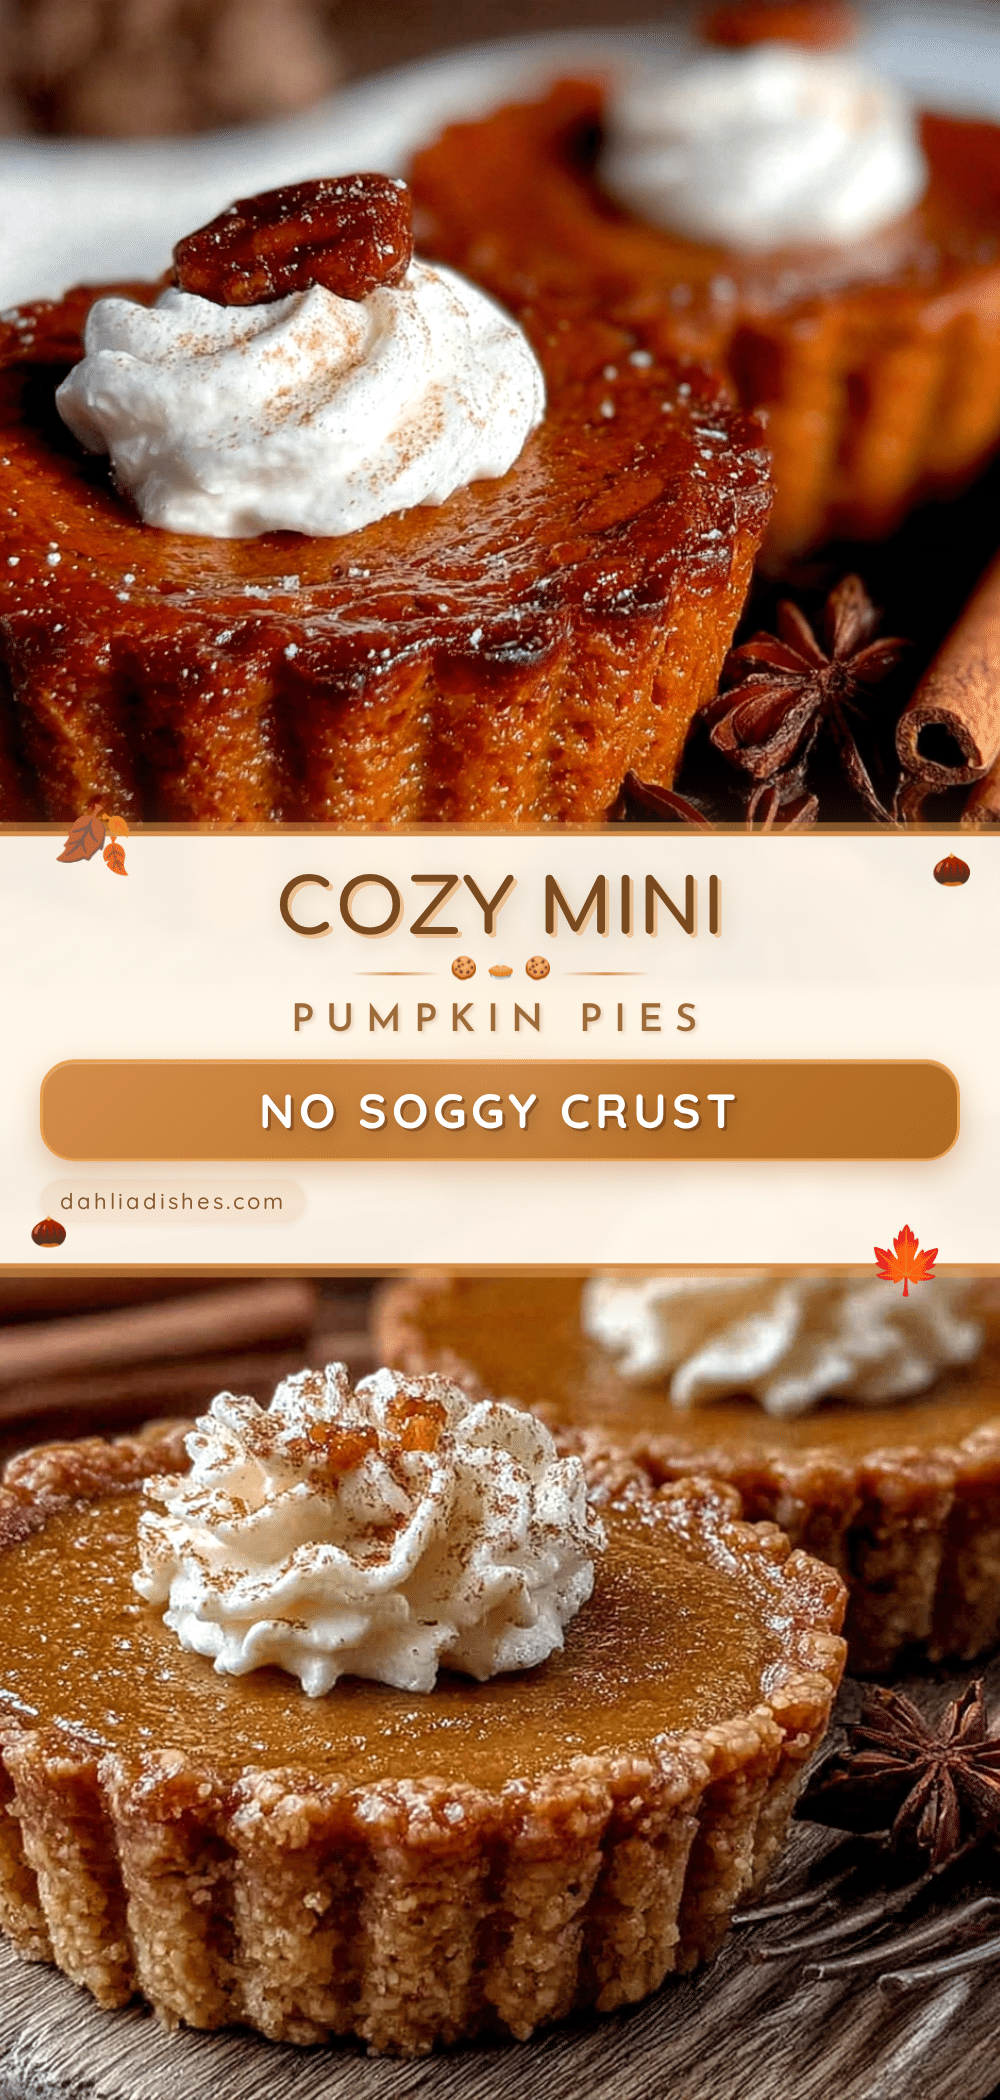
Mini Pumpkin Pies from Scratch: No Soggy Crust, Easy Recipe
These mini pumpkin pies from scratch feature a press-in crust that stays crisp without pre-baking, and a creamy, perfectly spiced filling. They’re quick, easy, and perfect for cozy fall evenings or holiday gatherings.
- Prep Time: 25 minutes
- Cook Time: 20 minutes
- Total Time: 45 minutes
- Yield: 6 servings 1x
- Category: Dessert
- Cuisine: American
Ingredients
- 1 ½ cups (180g) all-purpose flour
- ½ cup (113g) unsalted butter, cold and cut into small cubes
- 1 tablespoon (12g) granulated sugar
- ¼ teaspoon salt
- 3–4 tablespoons (45-60ml) ice water
- 1 cup (240g) canned pumpkin puree
- ¾ cup (240g) sweetened condensed milk
- 1 large egg, room temperature
- 1 egg yolk, room temperature
- 1 teaspoon vanilla extract
- 1 teaspoon ground cinnamon
- ½ teaspoon ground ginger
- ¼ teaspoon ground nutmeg
- ⅛ teaspoon ground cloves
- ¼ teaspoon ground cardamom
Instructions
- In a medium mixing bowl, whisk together the flour, sugar, and salt. Add the cold butter cubes and use a pastry cutter or two forks to cut the butter into the flour until the mixture looks like coarse meal with some pea-sized butter pieces remaining.
- Sprinkle 3 tablespoons of ice water over the mixture and stir with a fork until the dough starts to come together. If it seems dry, add the remaining tablespoon of water, one teaspoon at a time. The dough should hold together when squeezed but not be sticky.
- Divide the dough into 6 equal portions (about 2 ounces each). Press each portion evenly into the bottom and up the sides of mini tart pans (4-inch size). Place the filled tart pans on a baking sheet and freeze for 10 minutes.
- In a small bowl, whisk together the pumpkin puree, sweetened condensed milk, egg, egg yolk, vanilla extract, cinnamon, ginger, nutmeg, cloves, and cardamom until smooth.
- Preheat the oven to 375°F (190°C). Remove the tart pans from the freezer and divide the filling evenly among them, filling each about three-quarters full.
- Bake for 18-22 minutes, until the edges of the filling are set and the centers jiggle slightly when shaken. Let cool on the baking sheet for 10 minutes, then transfer to a wire rack to cool completely.
Notes
Don’t overwork the dough to avoid a tough crust. The press-in method eliminates the need for blind baking. Room temperature eggs ensure smooth filling. Let pies cool completely before serving to allow the filling to set. For a gluten-free version, use a 1:1 gluten-free flour blend. For dairy-free, use vegan butter and dairy-free sweetened condensed milk.
Nutrition
- Serving Size: 1 mini pie
- Calories: 320
- Sugar: 24
- Sodium: 220
- Fat: 15
- Saturated Fat: 9
- Carbohydrates: 42
- Fiber: 3
- Protein: 6
Keywords: mini pumpkin pies, pumpkin pie from scratch, no soggy crust, easy pumpkin pie, mini tart, fall dessert, Thanksgiving dessert


