Love this? Save it for later!
Share the inspiration with your friends
It was 11:47 PM on a random Wednesday in late March, and I was craving birthday cake. Not the kind with layers and frosting and all that piping work—I mean the essence of birthday cake. That sweet, celebratory, sprinkle-covered happiness you only get once a year. Except I didn’t have cake mix in the pantry. I didn’t have eggs, actually. But I had butter, flour, sugar, and a half-empty jar of rainbow sprinkles from my daughter’s party three months ago. And I had this weird, tired idea: what if I just made cookies that tasted like the best part of a birthday party? So I started mixing, and honestly, I was too sleepy to overthink it. I threw things together without measuring perfectly, used vanilla extract that was probably past its prime, and pressed sprinkles into dough with my fingers at 12:15 AM. The kitchen was quiet except for the hum of the oven. When they came out—golden, soft, studded with little pops of color—I ate two standing over the counter. And I thought, this is what spring birthdays should taste like. Maybe you’ve been there too, wanting something sweet but not wanting to make a whole production out of it. These cookies became my go-to for every spring celebration since, and I think they’re about to become yours too.
Why You’ll Love This Recipe
I’ve tested these birthday cake cookies about six times to get them just right. The first batch was too flat. The second was too cakey. The third? That was the one where I finally figured out the balance between soft-baked and chewy. Here’s why I think you’ll feel the same way I do about this recipe:
- Quick & Easy: From mixing bowl to cooling rack in under 25 minutes. Perfect for last-minute spring gatherings or when that craving hits late at night.
- Simple Ingredients: No boxed cake mix required here. You probably have everything in your kitchen right now—butter, sugar, flour, eggs, vanilla, and sprinkles.
- Perfect for Spring Celebrations: Birthdays, Easter brunches, baby showers, garden parties—these cookies fit every occasion on your spring calendar.
- Crowd-Pleaser: Kids go crazy for the sprinkles. Adults love the nostalgic birthday cake flavor. Everyone reaches for seconds.
- Unbelievably Delicious: The texture is this magical middle ground—soft in the center, slightly crisp at the edges, with little bursts of sweetness from the sprinkles in every bite.
What makes this recipe different from all the other birthday cake cookie recipes out there? It’s the technique. I use a combination of granulated and brown sugar to get that chewy texture, plus a tiny splash of almond extract that makes the flavor taste unmistakably like birthday cake. It’s not just another cookie—it’s the cookie that makes people close their eyes after the first bite and say, “Oh, that’s good.”
What Ingredients You Will Need
This recipe uses simple, everyday ingredients to create something that tastes anything but ordinary. The magic happens when these basic pantry staples come together with the right technique.
- Unsalted butter, softened (1 cup / 2 sticks) — I always use unsalted so I can control the salt level. Let it sit out for about 30 minutes before starting.
- Granulated sugar (¾ cup / 150g) — Adds sweetness and helps with spreading.
- Light brown sugar (½ cup / 100g), packed — This is the secret to chewy cookies. The molasses in brown sugar keeps them soft.
- Large egg (1), room temperature — Cold eggs can make the butter seize up. Pop it in warm water for 5 minutes if you forgot to take it out.
- Vanilla extract (2 teaspoons) — Pure vanilla makes a difference here. I like Nielsen-Massey for its bold flavor.
- Almond extract (½ teaspoon) — Trust me on this one. A tiny bit gives that classic birthday cake taste. Don’t skip it.
- All-purpose flour (2 cups / 240g) — Spoon and level your flour. Scooping directly from the bag packs in too much.
- Baking soda (½ teaspoon) — Helps the cookies spread just the right amount.
- Baking powder (½ teaspoon) — Adds a little lift for that soft, tender texture.
- Salt (½ teaspoon) — Balances the sweetness. I use fine sea salt.
- Rainbow sprinkles (½ cup / 80g) — Use the classic long sprinkles (jimmies), not the round ones. They hold their color better in the oven.
- Extra sprinkles (¼ cup / 40g) for rolling — Because more sprinkles is always better.
Ingredient tips from my kitchen: For the best texture, use sprinkles labeled “jimmies” rather than nonpareils (the tiny round ones). The jimmies keep their color and don’t bleed into the dough. I’ve tested this with Wilton and Sweetapolita brands, and both work beautifully. If you’re making these for a spring baby shower, try pastel sprinkles instead of rainbow—they look gorgeous against the golden cookie.
Equipment Needed
You don’t need fancy equipment for these birthday cake cookies, which is part of why I love them. Here’s what you’ll need:
- Large mixing bowl — Any medium-to-large bowl works. I use a ceramic one because it doesn’t slide around.
- Hand mixer or stand mixer — A hand mixer is fine. I’ve made these with a whisk when my mixer was broken, and it works—it’s just a better arm workout.
- Rubber spatula — For scraping down the bowl and folding in sprinkles.
- Baking sheets (2) — Light-colored aluminum sheets give the most even browning. Dark sheets can over-brown the bottoms.
- Parchment paper — Non-stick and makes cleanup a breeze. Silicone baking mats work too.
- Cookie scoop (about 2 tablespoons) — For uniform cookies. A regular spoon works, but a scoop makes them look professional.
- Cooling rack — Lets air circulate so the bottoms don’t get soggy.
Budget-friendly tip: If you don’t have a cookie scoop, use two spoons—one to scoop and one to push the dough onto the sheet. Your cookies will still turn out perfectly.
Preparation Method
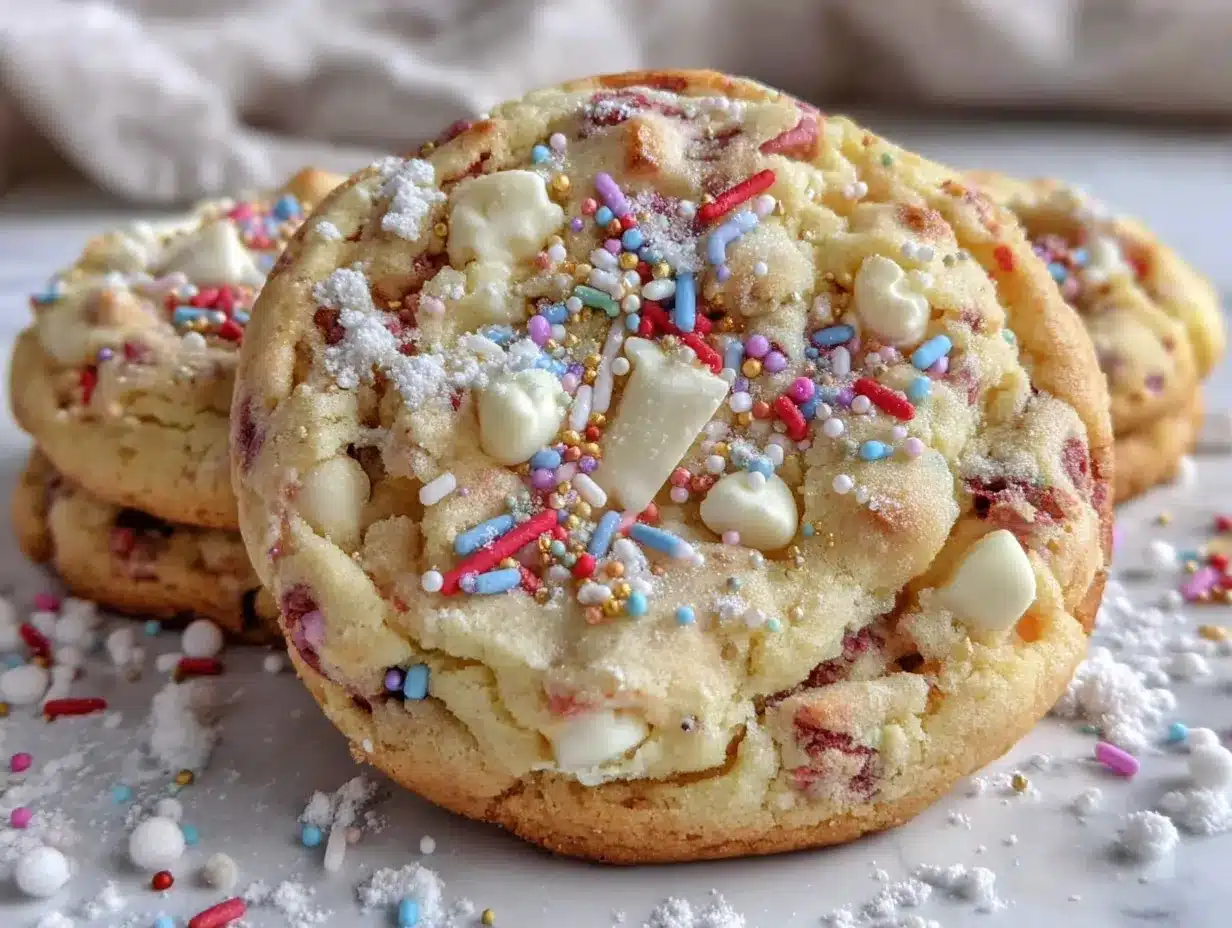
Let me walk you through this step by step. I’ve made these cookies so many times that I’ve got the rhythm down, and I’ll share all the little details that make the difference between good cookies and unforgettable ones.
- Preheat your oven to 350°F (175°C). Line two baking sheets with parchment paper. This gives the sheets time to heat evenly while you mix the dough.
- Cream the butter and sugars together. In a large bowl, beat the softened butter, granulated sugar, and brown sugar together on medium speed for about 2-3 minutes. You’re looking for a light, fluffy texture—pale yellow and smooth. Scrape down the sides of the bowl with your spatula halfway through. Don’t rush this step; proper creaming adds air that makes the cookies tender.
- Add the egg and extracts. Crack the egg into the butter mixture, then add the vanilla and almond extracts. Beat on low speed until just combined—about 30 seconds. The dough might look a little curdled at this point, and that’s totally normal. It comes together once the flour goes in.
- Mix the dry ingredients separately. In a medium bowl, whisk together the flour, baking soda, baking powder, and salt. This ensures the leavening agents are evenly distributed so you don’t get one cookie that rises like a muffin and another that’s flat.
- Combine wet and dry ingredients. Gradually add the flour mixture to the butter mixture, mixing on low speed. Stop as soon as you no longer see streaks of flour—overmixing develops gluten and makes cookies tough. The dough should be soft and slightly sticky.
- Fold in the sprinkles. Using your rubber spatula, gently fold in ½ cup of sprinkles. Fold just until they’re distributed. If you overmix, the sprinkles can bleed their color into the dough, giving you grayish cookies instead of cheerful ones.
- Chill the dough (optional but recommended). Cover the bowl and refrigerate for 30 minutes. This step firms up the butter, which prevents the cookies from spreading too much in the oven. If you’re in a hurry, you can skip it—the cookies will just be slightly flatter.
- Scoop and roll. Scoop rounded tablespoons of dough (about 2 tablespoons each) and roll them into balls between your palms. Then roll each ball in the extra ¼ cup of sprinkles, pressing gently so they stick. Place them 2 inches apart on the prepared baking sheets.
- Bake for 10-12 minutes. The cookies should look set around the edges but still soft and slightly underdone in the center. They’ll continue baking on the hot sheet after you pull them out. For softer cookies, bake for 10 minutes. For slightly crispier edges, go to 12 minutes.
- Cool on the baking sheet for 5 minutes. This is crucial—moving them too early can break them apart. After 5 minutes, transfer to a wire rack to cool completely. The kitchen will smell like a bakery at this point, and I won’t judge you if you sneak one warm.
My personal tip: I like to press a few extra sprinkles onto the tops of the cookies right when they come out of the oven. They stick to the warm surface and make the cookies look extra festive—like you spent way more effort than you actually did.
Cooking Tips & Techniques
After making these birthday cake cookies more times than I can count, I’ve learned a few things the hard way. Let me save you some trouble:
Don’t overbake them. This is the number one mistake I see. The cookies might look underdone at 10 minutes, but I promise they’re not. They set as they cool. Overbaked cookies turn into crunchy discs instead of soft, chewy clouds of birthday goodness.
Room temperature ingredients matter. I know it’s annoying to wait for butter and eggs to warm up, but cold butter doesn’t cream properly, and cold eggs can make the mixture look curdled. Leave your butter out for 30 minutes and drop your egg in a bowl of warm water for 5 minutes. It makes a real difference.
Measure flour correctly. Here’s the thing about flour—scooping your measuring cup directly into the bag packs it down, and you can end up with 30-40 extra grams of flour. That makes dry, dense cookies. Instead, spoon the flour into your measuring cup and level it off with a knife. It takes an extra 10 seconds and saves your cookies.
One batch I ruined by using old baking soda. I didn’t check the expiration date, and my cookies came out flat and dense. Now I test my baking soda by dropping a little into vinegar—if it fizzes, it’s good. If not, time for a fresh box.
Multitasking tip: While the first batch bakes, scoop the second batch onto the other prepared sheet. That way, as soon as the first batch comes out, the second goes in. Your kitchen stays warm and your cookies keep coming.
Variations & Adaptations
One of the best things about this recipe is how flexible it is. Here are some ways I’ve adapted it for different occasions and dietary needs:
- Gluten-Free Version: Substitute the all-purpose flour with a 1:1 gluten-free baking flour blend. I’ve used King Arthur Measure for Measure and Bob’s Red Mill 1-to-1 with great results. The texture is slightly more tender but still delicious.
- Spring Floral Twist: Replace the rainbow sprinkles with edible dried lavender buds and a teaspoon of lemon zest. The floral-lemon combination is perfect for a spring tea party or Mother’s Day brunch.
- Chocolate Birthday Cake Cookies: Reduce the flour to 1¾ cups and add ¼ cup unsweetened cocoa powder. Use chocolate sprinkles instead of rainbow. It’s like a birthday brownie in cookie form.
- Vegan Adaptation: Use vegan butter (I like Miyoko’s) and a flax egg (1 tablespoon ground flaxseed mixed with 3 tablespoons water, let sit for 5 minutes). The texture is slightly more cake-like but still wonderful.
- Funfetti Cookie Sandwiches: Bake the cookies slightly smaller (1 tablespoon of dough each), let them cool, then sandwich a scoop of vanilla buttercream between two cookies. Roll the edges in extra sprinkles. These are showstoppers at birthday parties.
My favorite variation: For Easter, I swap the rainbow sprinkles for pastel ones and add a teaspoon of orange zest to the dough. The citrus brightens up the whole cookie and makes it feel perfectly springy.
Serving & Storage Suggestions
These birthday cake cookies are best enjoyed slightly warm, when the edges are still a little soft and the sprinkles add a tiny crunch. But they’re pretty fantastic at room temperature too.
Serving ideas: Arrange them on a cake stand for a birthday party, or stack them in a mason jar tied with a ribbon for a spring gift. They pair beautifully with a glass of cold milk, a cup of vanilla tea, or even a scoop of vanilla ice cream for an extra-decadent dessert.
Storage instructions: Store cookies in an airtight container at room temperature for up to 5 days. Place a slice of bread in the container—it absorbs excess moisture and keeps the cookies soft. Replace the bread slice every couple of days if the cookies last that long (they usually don’t in my house).
Freezer instructions: You can freeze the baked cookies for up to 3 months. Layer them between sheets of parchment paper in a freezer-safe container. Thaw at room temperature for about 20 minutes. Or freeze the unbaked dough balls on a baking sheet, then transfer to a freezer bag. Bake from frozen, adding 2-3 minutes to the baking time.
Flavor development note: These cookies actually taste even better the next day. The flavors meld together overnight, and the texture becomes perfectly soft and chewy. If you can resist eating them all on day one, you’re in for a treat on day two.
Nutritional Information & Benefits
Let’s be real—these are celebration cookies, not health food. But here’s the nutritional breakdown per cookie (based on 24 cookies):
- Calories: Approximately 160
- Fat: 8g
- Carbohydrates: 21g
- Protein: 2g
- Sugar: 13g
Health highlights: While these are an indulgent treat, the butter provides vitamin A for eye health, and the eggs offer protein and B vitamins. The sprinkles? Well, they bring joy, and I think that counts for something.
Dietary considerations: This recipe contains gluten, dairy, and eggs. For gluten-free or vegan options, see the variations section above. The almond extract is optional but adds that signature birthday cake flavor—skip it if you have a nut allergy and add extra vanilla instead.
My perspective: I believe in enjoying treats in moderation. These cookies are meant for celebrations—birthdays, spring gatherings, Tuesday nights that feel like they need a little extra color. One cookie with a cup of tea is a perfectly balanced way to celebrate.
Frequently Asked Questions
Can I use a boxed cake mix for this recipe?
You can, but the texture will be more cake-like than cookie-like. This recipe is designed to give you that perfect chewy cookie texture that a cake mix just can’t replicate. Stick with the recipe—it’s worth it.
Why did my sprinkles bleed color into the dough?
This usually happens when you overmix the sprinkles into the dough or use the wrong type of sprinkles. Use jimmies (the long, rod-shaped sprinkles) rather than nonpareils (the tiny round ones). Fold them in gently and stop as soon as they’re distributed.
Can I make these cookies ahead of time?
Absolutely. You can make the dough up to 3 days ahead and keep it refrigerated. Or freeze the baked cookies for up to 3 months. They’re perfect for party prep.
How do I keep the cookies soft?
Store them in an airtight container with a slice of bread. The bread absorbs excess moisture and releases it slowly, keeping the cookies soft for days. Replace the bread every 2-3 days.
Can I double this recipe?
Yes! This recipe doubles beautifully. Just make sure your mixing bowl is big enough, and bake in batches to avoid overcrowding the oven. You might need to add an extra minute or two to the baking time for larger batches.
Conclusion
These birthday cake cookies have become my signature spring treat, and I think they deserve a spot in your kitchen too. They’re quick enough for a Tuesday night craving, festive enough for a birthday party, and so delicious that people will ask for the recipe every single time. The best part? They start with simple ingredients you probably already have, and they come together in under 30 minutes. That’s the kind of recipe I love—one that makes you look like a hero without hours of work.
I hope you make these cookies for your next spring celebration. Maybe you’ll add a different sprinkle color or try the lemon zest variation. Maybe you’ll double the batch so you have extras to share. Whatever you do, I’d love to hear about it. Drop a comment below and tell me how your cookies turned out—did you add anything special? Did someone ask for the recipe? I read every comment, and I love hearing about your kitchen victories.
Happy spring baking, friend. Go make something that tastes like celebration.
Pin This Recipe!
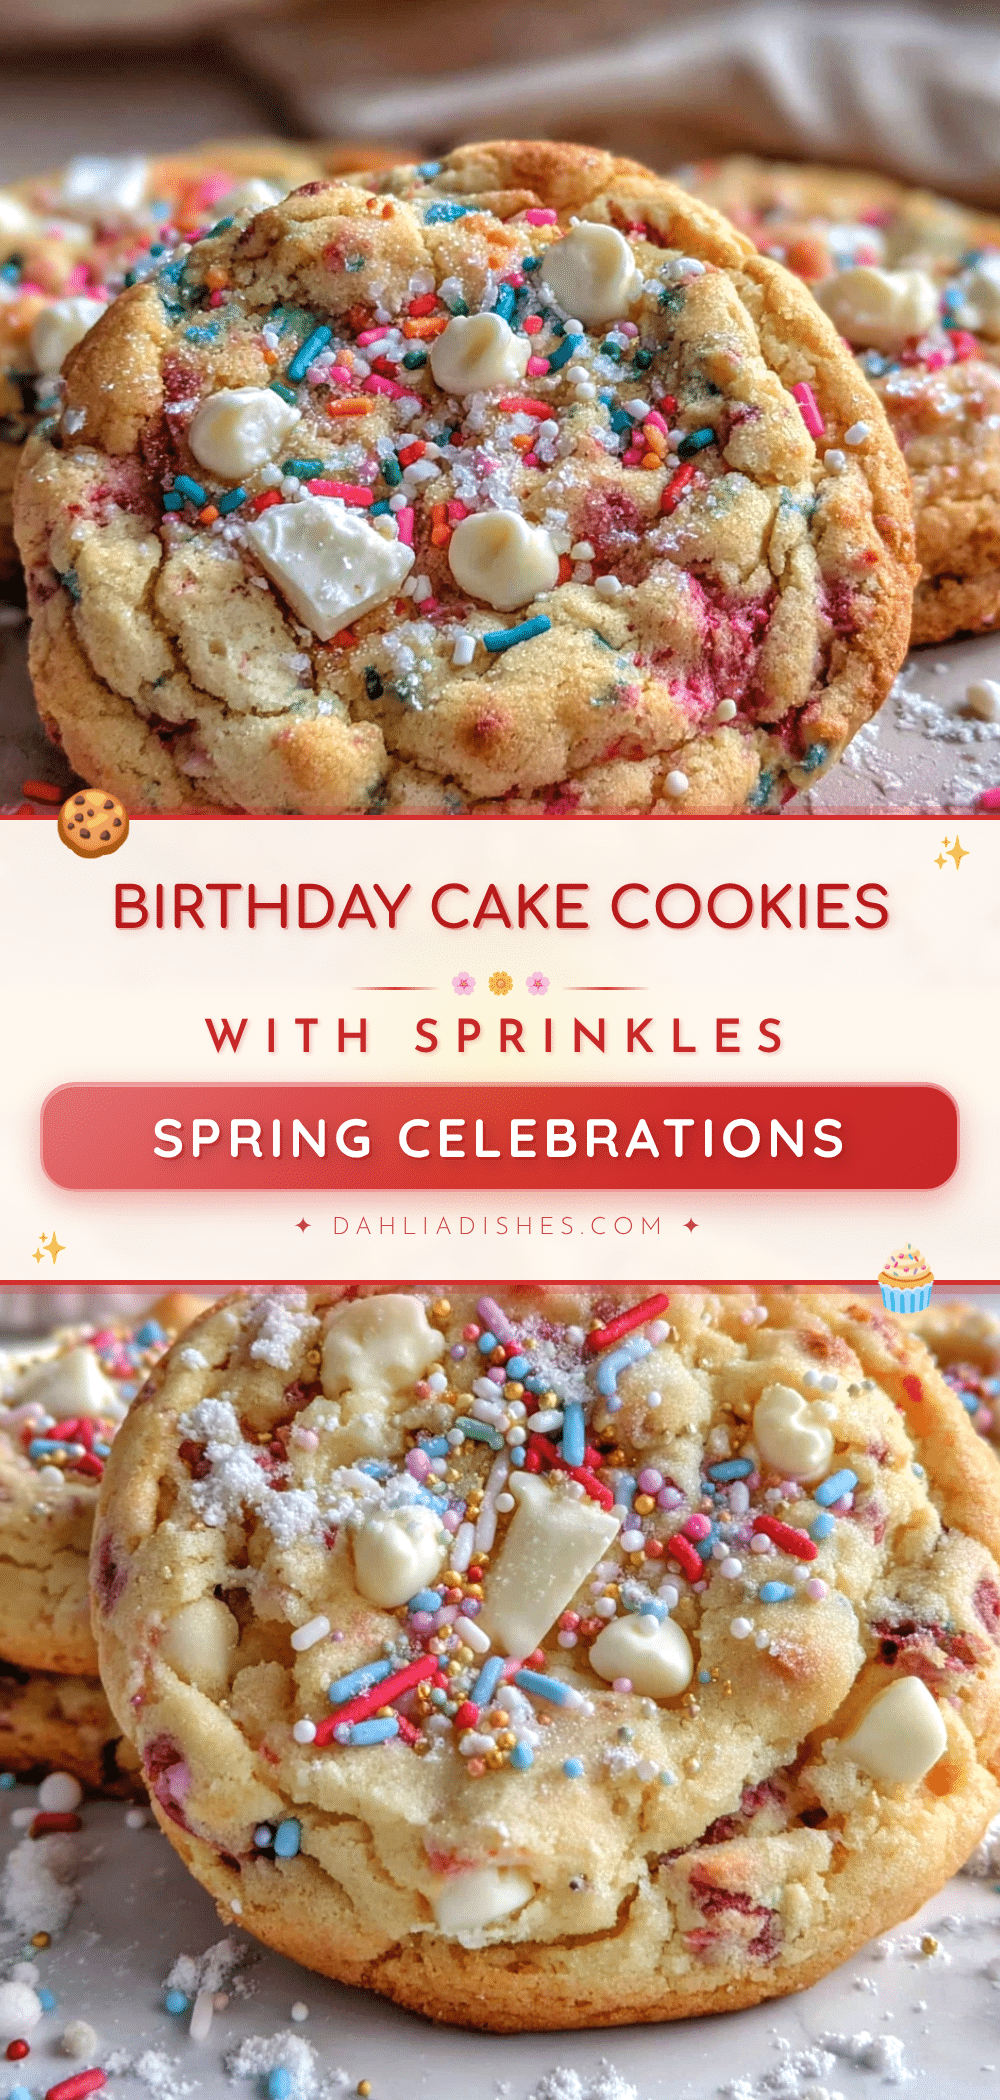
Best Birthday Cake Cookies Recipe – Easy Spring Treat

These soft, chewy birthday cake cookies are studded with rainbow sprinkles and taste like the best part of a birthday party. Made with simple pantry ingredients, they come together in under 25 minutes and are perfect for spring celebrations.
- Prep Time: 15 minutes
- Cook Time: 10-12 minutes
- Total Time: 25 minutes (plus optional 30 minutes chilling)
- Yield: 24 cookies 1x
- Category: Dessert
- Cuisine: American
Ingredients
- 1 cup (2 sticks) unsalted butter, softened
- ¾ cup (150g) granulated sugar
- ½ cup (100g) light brown sugar, packed
- 1 large egg, room temperature
- 2 teaspoons vanilla extract
- ½ teaspoon almond extract
- 2 cups (240g) all-purpose flour
- ½ teaspoon baking soda
- ½ teaspoon baking powder
- ½ teaspoon fine sea salt
- ½ cup (80g) rainbow sprinkles (jimmies)
- ¼ cup (40g) extra rainbow sprinkles for rolling
Instructions
- Preheat your oven to 350°F (175°C). Line two baking sheets with parchment paper.
- In a large bowl, beat the softened butter, granulated sugar, and brown sugar together on medium speed for 2-3 minutes until light and fluffy. Scrape down the sides of the bowl halfway through.
- Add the egg, vanilla extract, and almond extract. Beat on low speed until just combined, about 30 seconds.
- In a medium bowl, whisk together the flour, baking soda, baking powder, and salt.
- Gradually add the flour mixture to the butter mixture, mixing on low speed until no streaks of flour remain. Do not overmix.
- Using a rubber spatula, gently fold in ½ cup of sprinkles until just distributed.
- Cover the bowl and refrigerate the dough for 30 minutes (optional but recommended).
- Scoop rounded tablespoons of dough (about 2 tablespoons each) and roll into balls. Roll each ball in the extra ¼ cup of sprinkles, pressing gently so they stick. Place 2 inches apart on the prepared baking sheets.
- Bake for 10-12 minutes, until edges are set but centers are still soft. For softer cookies, bake 10 minutes; for crispier edges, bake 12 minutes.
- Cool on the baking sheet for 5 minutes, then transfer to a wire rack to cool completely.
Notes
For best results, use jimmies (long sprinkles) instead of nonpareils to prevent color bleeding. Chilling the dough for 30 minutes helps prevent spreading. Press extra sprinkles onto warm cookies for a festive look. Store in an airtight container with a slice of bread to keep soft for up to 5 days. Cookies taste even better the next day.
Nutrition
- Serving Size: 1 cookie
- Calories: 160
- Sugar: 13
- Sodium: 95
- Fat: 8
- Saturated Fat: 5
- Carbohydrates: 21
- Protein: 2
Keywords: birthday cake cookies, spring cookies, sprinkle cookies, funfetti cookies, easy cookie recipe, soft cookies, chewy cookies


