Love this? Save it for later!
Share the inspiration with your friends
I was standing in line at the hardware store on a Tuesday afternoon, holding a bag of lightbulbs and a new paintbrush, when the woman behind me started talking about candy. Not just any candy, mind you. She was describing this peppermint bark fudge she’d made for her son’s teacher appreciation week, and the way she said it—with this little laugh, like she’d gotten away with something—made me turn around. She was maybe sixty-five, wearing a faded flannel shirt and holding a bag of birdseed, and she looked like the last person on earth who’d be giving dessert advice. But there she was, telling me you could make peppermint bark fudge in five minutes flat, and honestly, I almost didn’t believe her.
“No boiling sugar?” I asked, probably a little too loud. “No candy thermometer?”
She shook her head. “Just melt, stir, and stick it in the fridge. My husband thought I’d spent all afternoon on it.” She winked at me and walked off toward the gardening section, leaving me standing there with a bag of lightbulbs and a sudden, urgent need to make fudge.
So I went home, dug through my pantry, and gave it a shot. And let me tell you—she was right. This quick 5-minute peppermint bark fudge is the kind of recipe that makes you feel like a kitchen wizard with almost zero effort. It’s creamy, it’s crunchy, it’s got that perfect hit of peppermint, and it comes together so fast you’ll be eating it before you’ve even finished cleaning up. Maybe you’ve been there, staring at a holiday dessert list and wondering how you’re going to get it all done. This is your answer.
Why You’ll Love This Recipe
I’ve tested this peppermint bark fudge more times than I care to admit—once at 11 PM on a Wednesday, once while my toddler was “helping,” and once when I realized I’d forgotten to buy a gift for a cookie exchange the next morning. Every single time, it worked. No sugar crystals, no grainy texture, no fuss. Here’s why this one’s a keeper:
- Quick & Easy: From start to fridge in under five minutes. No candy thermometer, no boiling, no complicated steps. You don’t even need to turn on the stove if you’re using a microwave.
- Simple Ingredients: Four main ingredients. That’s it. You probably have most of them in your pantry right now, especially if you’ve done any holiday baking this season.
- Perfect for the Holidays: This is the recipe you bring to cookie exchanges, office parties, and teacher gifts. It looks fancy, tastes incredible, and nobody has to know it took you five minutes.
- Crowd-Pleaser: Kids love the crunch. Adults love the nostalgia. And people who claim they “don’t like peppermint” have been converted at my kitchen table. I’m not kidding.
- Unbelievably Delicious: The texture is the real star here—creamy white chocolate fudge studded with crunchy peppermint pieces, with a dark chocolate layer on top that adds just the right amount of richness.
What makes this different from every other peppermint bark recipe out there? It’s the texture, honestly. Most bark recipes give you a thin, brittle layer of chocolate that shatters when you bite into it. This one is thick and fudgy, with that satisfying chew that good fudge should have. And because we’re using sweetened condensed milk instead of a traditional sugar syrup, there’s zero risk of crystallization or graininess. It’s foolproof, even for beginner bakers.
This isn’t just good—it’s the kind of dessert that makes you close your eyes after the first bite. The kind where you immediately start planning who you’re going to give it to, even before you’ve finished cutting the squares. It’s comfort food, holiday tradition, and last-minute lifesaver all rolled into one.
What Ingredients You Will Need
This recipe uses simple, pantry-friendly ingredients to create that signature peppermint bark flavor without any fuss. Here’s what you’ll need:
- White chocolate chips (2 cups / 340g) – Use a good-quality brand like Ghirardelli or Guittard for the creamiest texture. Stay away from white melting wafers, which don’t melt as smoothly and can leave a waxy finish.
- Sweetened condensed milk (1 can / 14 oz / 397g) – This is what gives the fudge its signature creamy texture. Don’t substitute evaporated milk or regular milk—it won’t set properly.
- Butter (2 tablespoons / 28g, unsalted) – Adds richness and helps the fudge set with a smooth, silky texture. Salted butter works too, just reduce any added salt.
- Vanilla extract (1 teaspoon) – Pure vanilla extract makes a noticeable difference here. The imitation stuff can leave a chemical aftertaste.
- Peppermint extract (½ teaspoon, plus more to taste) – Start with ½ teaspoon, then taste. Some brands are stronger than others, and you don’t want it to taste like toothpaste.
- Crushed peppermint candies (½ cup / about 8 candy canes, crushed) – You can buy pre-crushed peppermint pieces, but crushing your own candy canes gives you more control over the texture. I like a mix of fine dust and small chunks.
- Semi-sweet chocolate chips (½ cup / 85g) – For the top layer. You can use dark chocolate if you prefer a less sweet finish.
- Coconut oil or vegetable shortening (1 teaspoon, optional) – Helps the chocolate layer set with a nice shine and makes it easier to cut cleanly.
Ingredient Selection Tips: For the white chocolate, look for chips that contain cocoa butter, not just palm oil. You can tell by reading the ingredient list—cocoa butter should be listed first. For the peppermint candies, the classic red-and-white striped candy canes work best, but you can also use starlight mints or even peppermint hard candies. Just make sure they’re real peppermint, not spearmint.
Substitution Guidance: If you need a dairy-free version, use dairy-free white chocolate chips and a can of coconut sweetened condensed milk. The texture will be slightly different—a little softer—but still delicious. For a gluten-free option, this recipe is naturally gluten-free as long as your chocolate chips and peppermint candies are certified gluten-free. Some brands add wheat starch to their white chocolate, so check the label.
Equipment Needed
You don’t need much for this recipe, which is part of the beauty:
- 8×8-inch baking pan – Glass or metal both work. Line it with parchment paper for easy removal.
- Parchment paper – Don’t skip this. It makes lifting the fudge out of the pan so much easier.
- Medium microwave-safe bowl – For melting the white chocolate. Glass or ceramic works best.
- Small microwave-safe bowl – For melting the semi-sweet chocolate topping.
- Rubber spatula – For stirring. A wooden spoon works too, but a spatula gets into the corners better.
- Ziploc bag and rolling pin – For crushing the candy canes. You can also use a food processor, but the bag method is more satisfying and easier to clean.
- Sharp knife – For cutting the fudge into squares. A chef’s knife or a large santoku works well.
Budget-Friendly Alternatives: If you don’t have an 8×8 pan, a 9×9 pan will work—your fudge will just be slightly thinner. No microwave? You can melt everything in a double boiler on the stove. Just be careful not to overheat the chocolate. And if you don’t have a rolling pin, a heavy skillet or even a wine bottle works for crushing candy canes.
Preparation Method
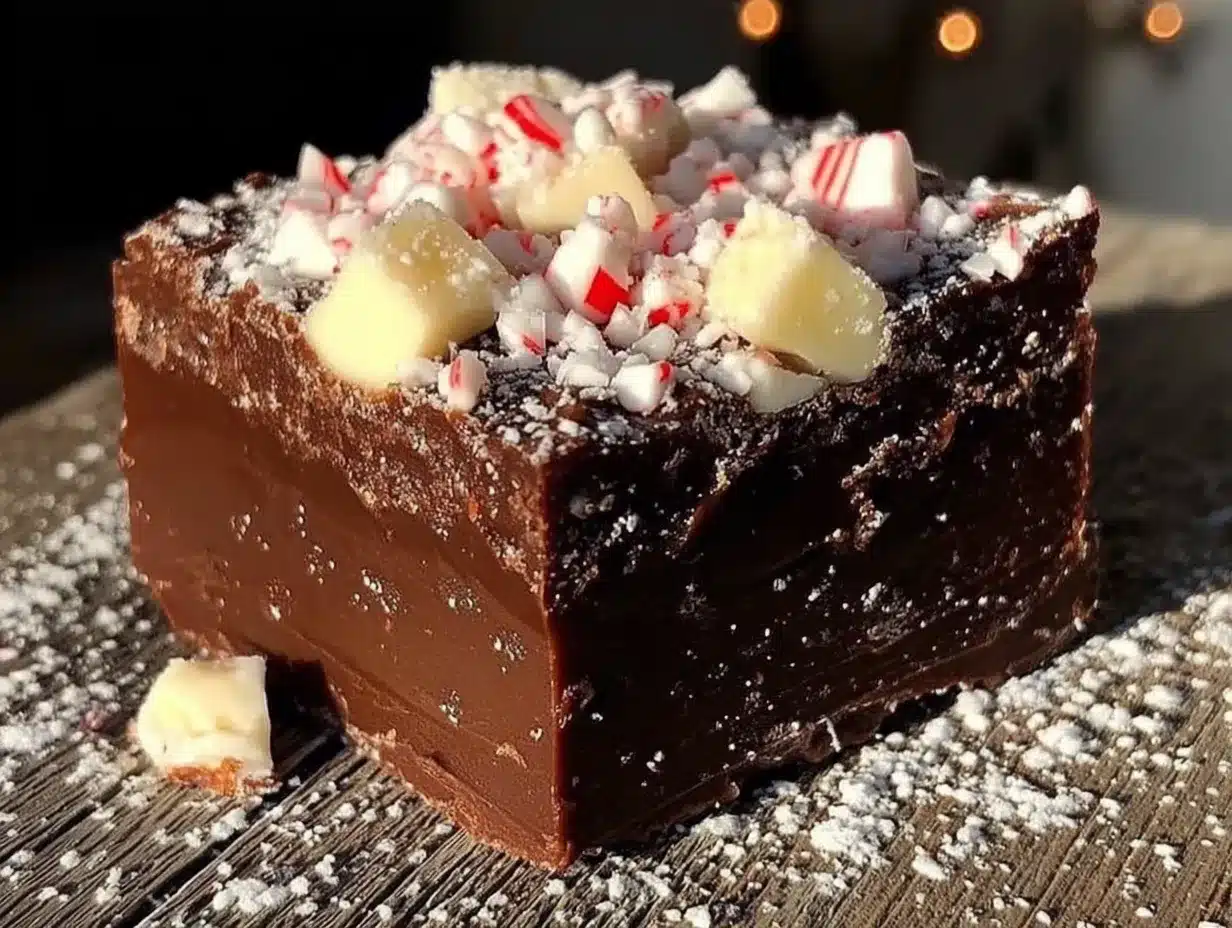
This is where the magic happens. Follow these steps, and you’ll have perfect peppermint bark fudge every single time.
- Prep your pan. Line your 8×8-inch baking pan with parchment paper, leaving a couple inches of overhang on two opposite sides. This creates “handles” that make it easy to lift the fudge out later. If your parchment paper keeps curling up, butter the pan slightly to help it stick.
- Crush your candy canes. Place 8-10 candy canes in a Ziploc bag and seal it, removing as much air as possible. Use a rolling pin to crush them into a mix of fine dust and small chunks. You want some bigger pieces for texture, but not so big that they’ll be hard to bite through. Set aside about 2 tablespoons for sprinkling on top later.
- Melt the white chocolate base. In your medium microwave-safe bowl, combine the white chocolate chips, sweetened condensed milk, and butter. Microwave in 30-second intervals, stirring well after each interval, until everything is smooth and fully melted. This usually takes about 1½ to 2 minutes total. Don’t rush this—overheating white chocolate can make it seize up and turn grainy.
- Add the flavorings. Stir in the vanilla extract and peppermint extract. Taste the mixture (carefully—it’s hot!) and add more peppermint extract if you want a stronger flavor. I usually end up using about ¾ teaspoon total. Then fold in the crushed peppermint candies, reserving that 2 tablespoons for the top.
- Pour into the pan. Scrape the mixture into your prepared pan and spread it into an even layer using your rubber spatula. It’ll be thick and a little sticky—that’s normal. Try to get it as level as you can, especially in the corners.
- Make the chocolate topping. In your small microwave-safe bowl, combine the semi-sweet chocolate chips and coconut oil (if using). Microwave in 20-second intervals, stirring after each, until smooth. This usually takes about 40-60 seconds. Be careful not to overheat—chocolate burns easily.
- Add the chocolate layer. Pour the melted chocolate over the white chocolate layer and spread it evenly with your spatula. Work quickly—the white chocolate layer is still warm and you want to get the chocolate spread before it starts to set. Sprinkle the reserved crushed peppermint on top.
- Chill until set. Place the pan in the refrigerator for at least 2 hours, or until the fudge is firm to the touch. If you’re in a hurry, you can pop it in the freezer for about 45 minutes, but keep an eye on it—freezer times vary.
- Cut and serve. Once the fudge is fully set, lift it out of the pan using the parchment paper handles. Place it on a cutting board and use a sharp knife to cut it into squares. I usually go for 1-inch squares, but you can make them bigger or smaller depending on your crowd. Wipe the knife clean between cuts for the neatest edges.
Sensory Cues: When you’re melting the white chocolate mixture, it should look glossy and smooth, not grainy or separated. The finished fudge should feel firm but not rock-hard when you press it gently. When you cut into it, you should hear a clean snap from the chocolate layer, and the fudge underneath should be creamy and slightly soft.
Troubleshooting: If your white chocolate mixture seizes up (turns grainy and stiff), you probably overheated it. Try stirring in a tablespoon of warm cream or a teaspoon of vegetable oil to bring it back together. If your fudge doesn’t set after 2 hours in the fridge, it might be too warm in your kitchen. Give it another hour, or try the freezer for 15 minutes. And if your chocolate topping cracks when you cut it, your knife might be too dull or your fudge might be too cold. Let it sit at room temperature for 5 minutes before cutting.
Cooking Tips & Techniques
I’ve made this peppermint bark fudge at least two dozen times, and I’ve learned a few things the hard way. Here’s what I wish someone had told me:
Don’t overmix the white chocolate. I know it’s tempting to keep stirring until it’s perfectly smooth, but overmixing can actually cause the fats to separate. Stir just until everything comes together, then stop. Trust me—I once stirred for a full minute trying to get it “extra smooth” and ended up with a greasy mess.
Use a kitchen scale if you have one. Measuring chocolate chips by volume can be inconsistent. If you have a scale, weigh your white chocolate chips (340g) and your semi-sweet chips (85g). It makes a noticeable difference in the final texture.
Crush your candy canes strategically. I like to crush them in stages—start with a few gentle whacks to get some big pieces, then crush more finely for the rest. That way you get a variety of textures throughout the fudge. Also, crush them right before you use them. Crushed peppermint absorbs moisture from the air and can get sticky if left out too long.
Timing is everything. The white chocolate mixture cools down fast, so have your pan ready and your chocolate topping melted before you start. I like to melt the white chocolate first, then melt the semi-sweet chocolate while the white chocolate is cooling slightly. That way everything is ready at the same time.
My biggest failure: I once tried to speed things up by putting the fudge in the freezer for an hour instead of the fridge. The chocolate layer cracked, the fudge was unevenly set, and the whole thing tasted fine but looked terrible. Lesson learned: patience pays off with this recipe. The fridge is your friend.
Variations & Adaptations
This recipe is surprisingly flexible. Here are some variations I’ve tried and loved:
Dark Chocolate Peppermint Bark Fudge: Swap the white chocolate for dark chocolate chips and use 1 teaspoon of peppermint extract instead of ½ teaspoon. The bitterness of the dark chocolate balances beautifully with the sweet peppermint. This version is my husband’s favorite.
Vegan Peppermint Bark Fudge: Use dairy-free white chocolate chips and a can of coconut sweetened condensed milk. The texture will be slightly softer, so I recommend chilling it for at least 3 hours. Also, make sure your peppermint candies are vegan—some brands use confectioner’s glaze that isn’t plant-based.
Cookies and Cream Peppermint Bark Fudge: Crush 10-12 Oreo cookies (or gluten-free chocolate sandwich cookies) and fold them into the white chocolate mixture along with the peppermint candies. The cookies add a nice crunch and a chocolatey contrast. This one disappears fastest at parties.
Peppermint Mocha Fudge: Add 1 tablespoon of instant coffee granules to the white chocolate mixture before melting. The coffee enhances the chocolate flavor without making it taste like coffee. Top with a sprinkle of sea salt for a sweet-salty finish.
Nutty Peppermint Bark Fudge: Fold in ½ cup of toasted, chopped almonds or pecans along with the peppermint candies. The nuts add a savory element that balances the sweetness. I’ve also used pistachios for a pretty green color contrast.
Serving & Storage Suggestions
This peppermint bark fudge is best served cold or at room temperature. I prefer it straight from the fridge—the texture is firmer and the peppermint flavor is more pronounced. If you’re serving it at a party, arrange the squares on a platter and let them sit out for about 10 minutes before serving. That takes the chill off without making them too soft.
Presentation Ideas: For holiday parties, arrange the fudge on a white platter and sprinkle a few extra crushed peppermint pieces around the edges. You can also stack them in a small mason jar with a ribbon tied around the lid for a cute gift. If you’re feeling fancy, drizzle a little melted white chocolate over the top before cutting.
Storage: Keep the fudge in an airtight container in the refrigerator for up to 2 weeks. Layer the squares between sheets of parchment or wax paper to prevent them from sticking together. If you live in a humid climate, add a silica gel packet to the container to absorb excess moisture—it helps prevent the peppermint pieces from getting sticky.
Freezer Instructions: This fudge freezes beautifully. Place the squares in a single layer on a baking sheet and freeze for 1 hour, then transfer to a freezer-safe container or Ziploc bag. They’ll keep for up to 3 months. Thaw in the refrigerator overnight before serving. Don’t thaw at room temperature—the chocolate layer can sweat and get blotchy.
How Flavors Develop: The peppermint flavor actually gets stronger after a day or two in the fridge. If you’re making this for a specific event, I recommend making it 24 hours in advance. The texture also firms up nicely, making it easier to cut clean squares.
Nutritional Information & Benefits
Here’s the nutritional breakdown for one 1-inch square (based on 64 squares per batch):
- Calories: 85
- Total Fat: 4.5g
- Saturated Fat: 3g
- Cholesterol: 8mg
- Sodium: 20mg
- Total Carbohydrates: 11g
- Dietary Fiber: 0g
- Sugars: 10g
- Protein: 1g
Health Benefits: While this is definitely a treat, there are a few redeeming qualities. Peppermint has been shown to aid digestion and can help relieve headaches—so consider this medicinal! The dark chocolate topping contains antioxidants called flavonoids, which are good for heart health. And the white chocolate provides calcium from the milk solids. I mean, it’s still candy, but it’s candy with a few small perks.
Dietary Considerations: This recipe is naturally gluten-free and can be made vegan with simple substitutions. It contains dairy and soy (from the chocolate chips), so it’s not suitable for those with allergies. The sugar content is high, so enjoy in moderation—one or two squares is plenty for a satisfying treat.
My Personal Take: I don’t believe in demonizing dessert. This fudge is part of holiday tradition for our family, and I think there’s something to be said for the joy it brings. A little bit of something sweet, made with care and shared with people you love—that’s good for the soul, even if it’s not the most nutritious thing you’ll eat today.
Conclusion
So there you have it—a peppermint bark fudge that comes together in five minutes, uses ingredients you probably already have, and tastes like you spent all afternoon on it. That woman at the hardware store was right: this recipe is a game-changer for anyone who wants to make something impressive without the stress.
I love this recipe because it reminds me that the best things don’t have to be complicated. Sometimes the most memorable desserts come from the simplest ingredients and the most unexpected sources. Whether you’re making it for a holiday party, a teacher gift, or just because you’re craving something sweet, this fudge delivers every single time.
Now I want to hear from you! Have you tried making this peppermint bark fudge? Did you add your own twist? Drop a comment below and let me know how it turned out. And if you loved it, share this recipe with a friend who needs a last-minute dessert idea. Trust me—they’ll thank you.
Happy cooking, and may your holidays be filled with chocolate, peppermint, and a little bit of magic.
Frequently Asked Questions
Can I use white chocolate melting wafers instead of chips?
You can, but I don’t recommend it. Melting wafers are designed to hold their shape and often contain less cocoa butter, which can result in a waxy texture. White chocolate chips with real cocoa butter melt more smoothly and give you that creamy, fudgy texture you’re looking for.
Why did my fudge turn out grainy?
Grainy fudge usually means the white chocolate was overheated. White chocolate is delicate—it seizes up when it gets too hot. Always microwave in short bursts and stir thoroughly between each interval. If it does seize, try stirring in a tablespoon of warm cream or vegetable oil to bring it back together.
Can I use peppermint oil instead of peppermint extract?
Yes, but be careful—peppermint oil is much more concentrated than extract. Start with just ¼ teaspoon and taste before adding more. Too much peppermint oil can make your fudge taste medicinal. I find extract gives a more balanced flavor for this recipe.
How do I get clean cuts without the chocolate cracking?
Let the fudge sit at room temperature for 5-10 minutes before cutting. Use a sharp knife and wipe it clean between each cut. If the chocolate layer is still cracking, your fudge might be too cold—let it warm up just a bit more before trying again.
Can I double this recipe?
Absolutely! Double all the ingredients and use a 9×13-inch pan instead of an 8×8. The baking time stays the same—just make sure you have a large enough bowl for melting the white chocolate mixture. You might need to microwave it in slightly longer intervals since there’s more volume.
Pin This Recipe!
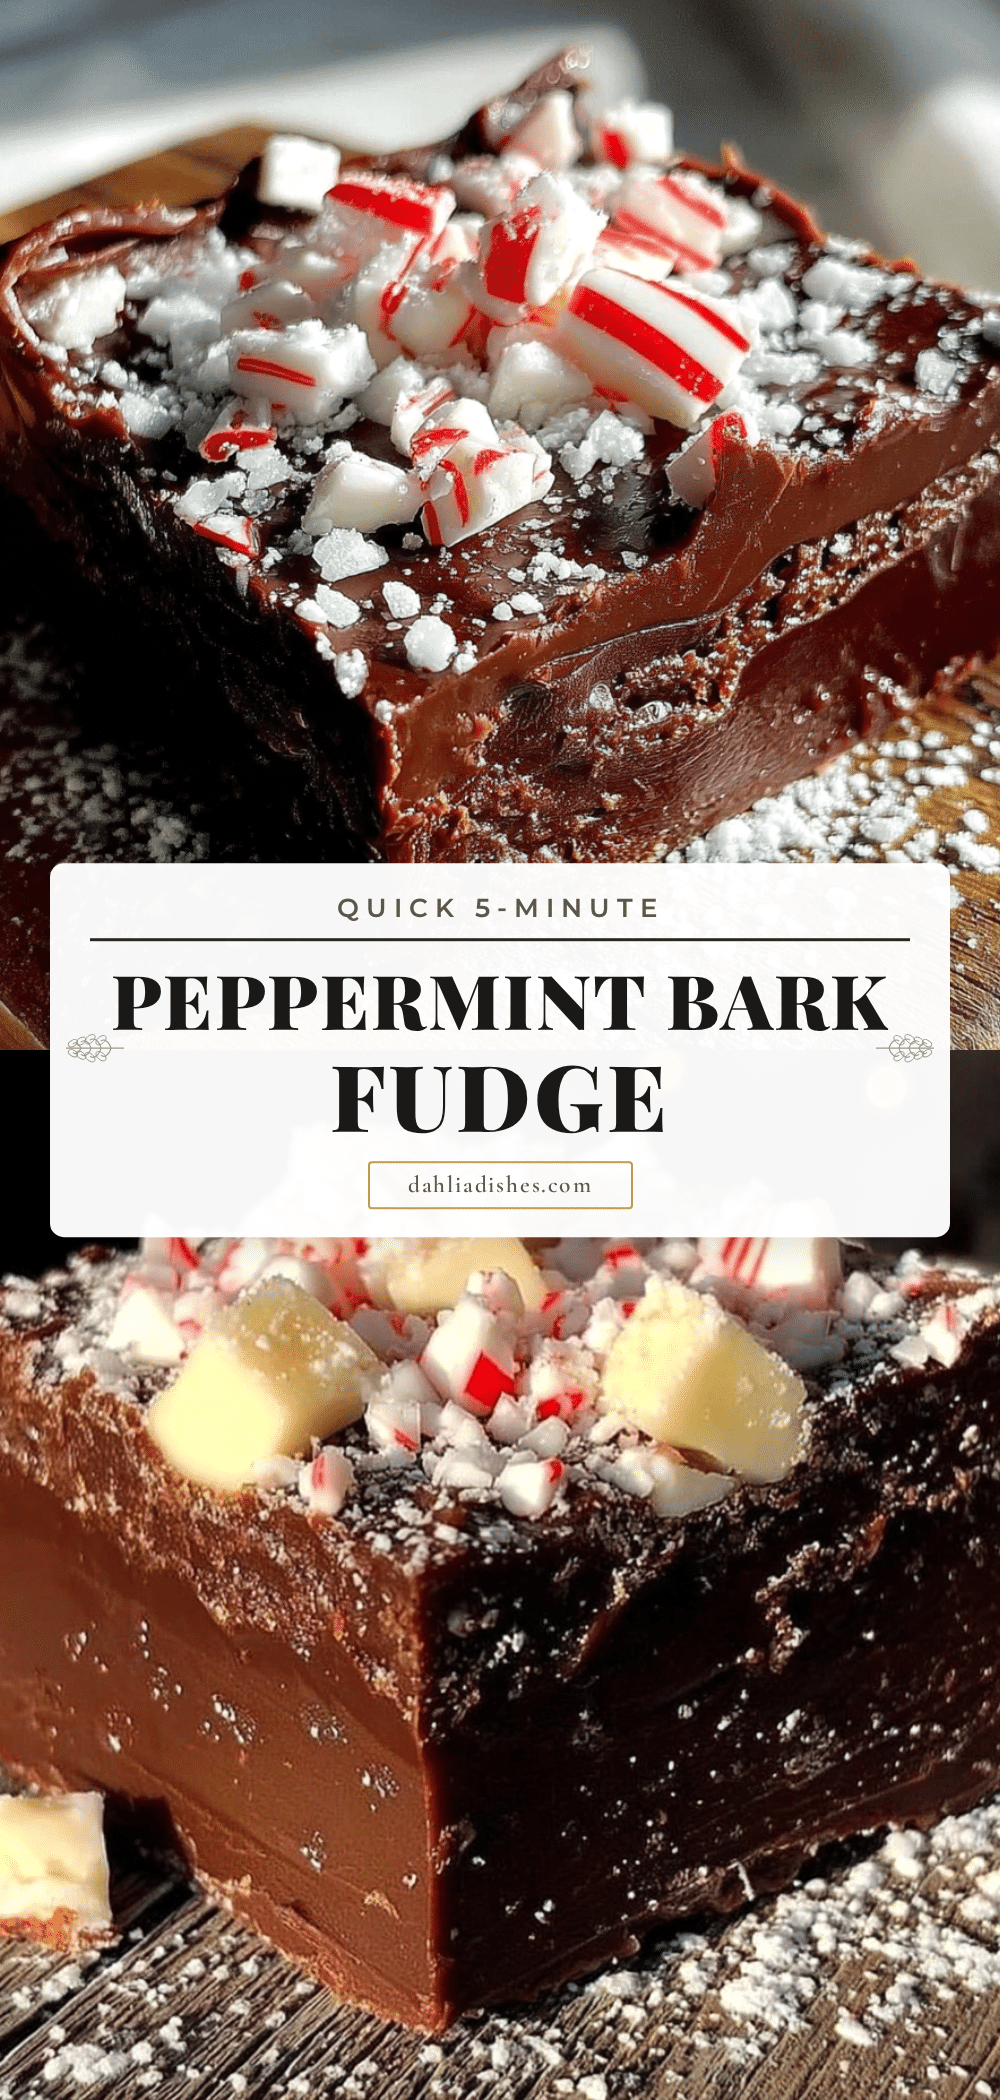
Easy 5-Minute Peppermint Bark Fudge Recipe

This quick 5-minute peppermint bark fudge is creamy, crunchy, and has that perfect hit of peppermint. It comes together so fast you’ll be eating it before you’ve even finished cleaning up.
- Prep Time: 5 minutes
- Cook Time: 5 minutes
- Total Time: 2 hours 10 minutes (includes chilling)
- Yield: 64 servings 1x
- Category: Dessert
- Cuisine: American
Ingredients
- 2 cups (340g) white chocolate chips
- 1 can (14 oz / 397g) sweetened condensed milk
- 2 tablespoons (28g) unsalted butter
- 1 teaspoon vanilla extract
- ½ teaspoon peppermint extract (plus more to taste)
- ½ cup crushed peppermint candies (about 8 candy canes)
- ½ cup (85g) semi-sweet chocolate chips
- 1 teaspoon coconut oil or vegetable shortening (optional)
Instructions
- Line an 8×8-inch baking pan with parchment paper, leaving overhang on two opposite sides.
- Crush 8-10 candy canes in a Ziploc bag with a rolling pin into a mix of fine dust and small chunks. Set aside 2 tablespoons for topping.
- In a medium microwave-safe bowl, combine white chocolate chips, sweetened condensed milk, and butter. Microwave in 30-second intervals, stirring after each, until smooth (about 1½ to 2 minutes total).
- Stir in vanilla extract and peppermint extract. Taste and add more peppermint extract if desired. Fold in crushed peppermint candies (reserving 2 tablespoons).
- Pour mixture into prepared pan and spread evenly with a rubber spatula.
- In a small microwave-safe bowl, combine semi-sweet chocolate chips and coconut oil (if using). Microwave in 20-second intervals, stirring after each, until smooth (about 40-60 seconds).
- Pour melted chocolate over white chocolate layer and spread evenly. Sprinkle reserved crushed peppermint on top.
- Refrigerate for at least 2 hours, or until firm. (For faster setting, freeze for about 45 minutes.)
- Lift fudge out of pan using parchment handles. Cut into 1-inch squares with a sharp knife, wiping knife clean between cuts.
Notes
For best results, use good-quality white chocolate chips with cocoa butter. Crush candy canes just before using to prevent stickiness. The peppermint flavor intensifies after a day in the fridge. If fudge doesn’t set after 2 hours, chill longer or freeze briefly. For clean cuts, let fudge sit at room temperature for 5-10 minutes before cutting.
Nutrition
- Serving Size: 1 square
- Calories: 85
- Sugar: 10
- Sodium: 20
- Fat: 4.5
- Saturated Fat: 3
- Carbohydrates: 11
- Protein: 1
Keywords: peppermint bark, fudge, 5-minute fudge, holiday dessert, easy fudge, peppermint fudge, white chocolate fudge


